CASSA
Waste Tracking Register
Managing Waste Tracking Register Items
This article walks you through managing existing waste register items.
Updated 2 weeks ago
Watch the below video to see how to effectively manage your waste tracking register items.
Timestamps:
Delete item - 00:35
Edit item - 00:55
Reject item - 01:42
Approve item - 02:39
Revert approved item - 03:00
Close selected item - 03:10
Add video
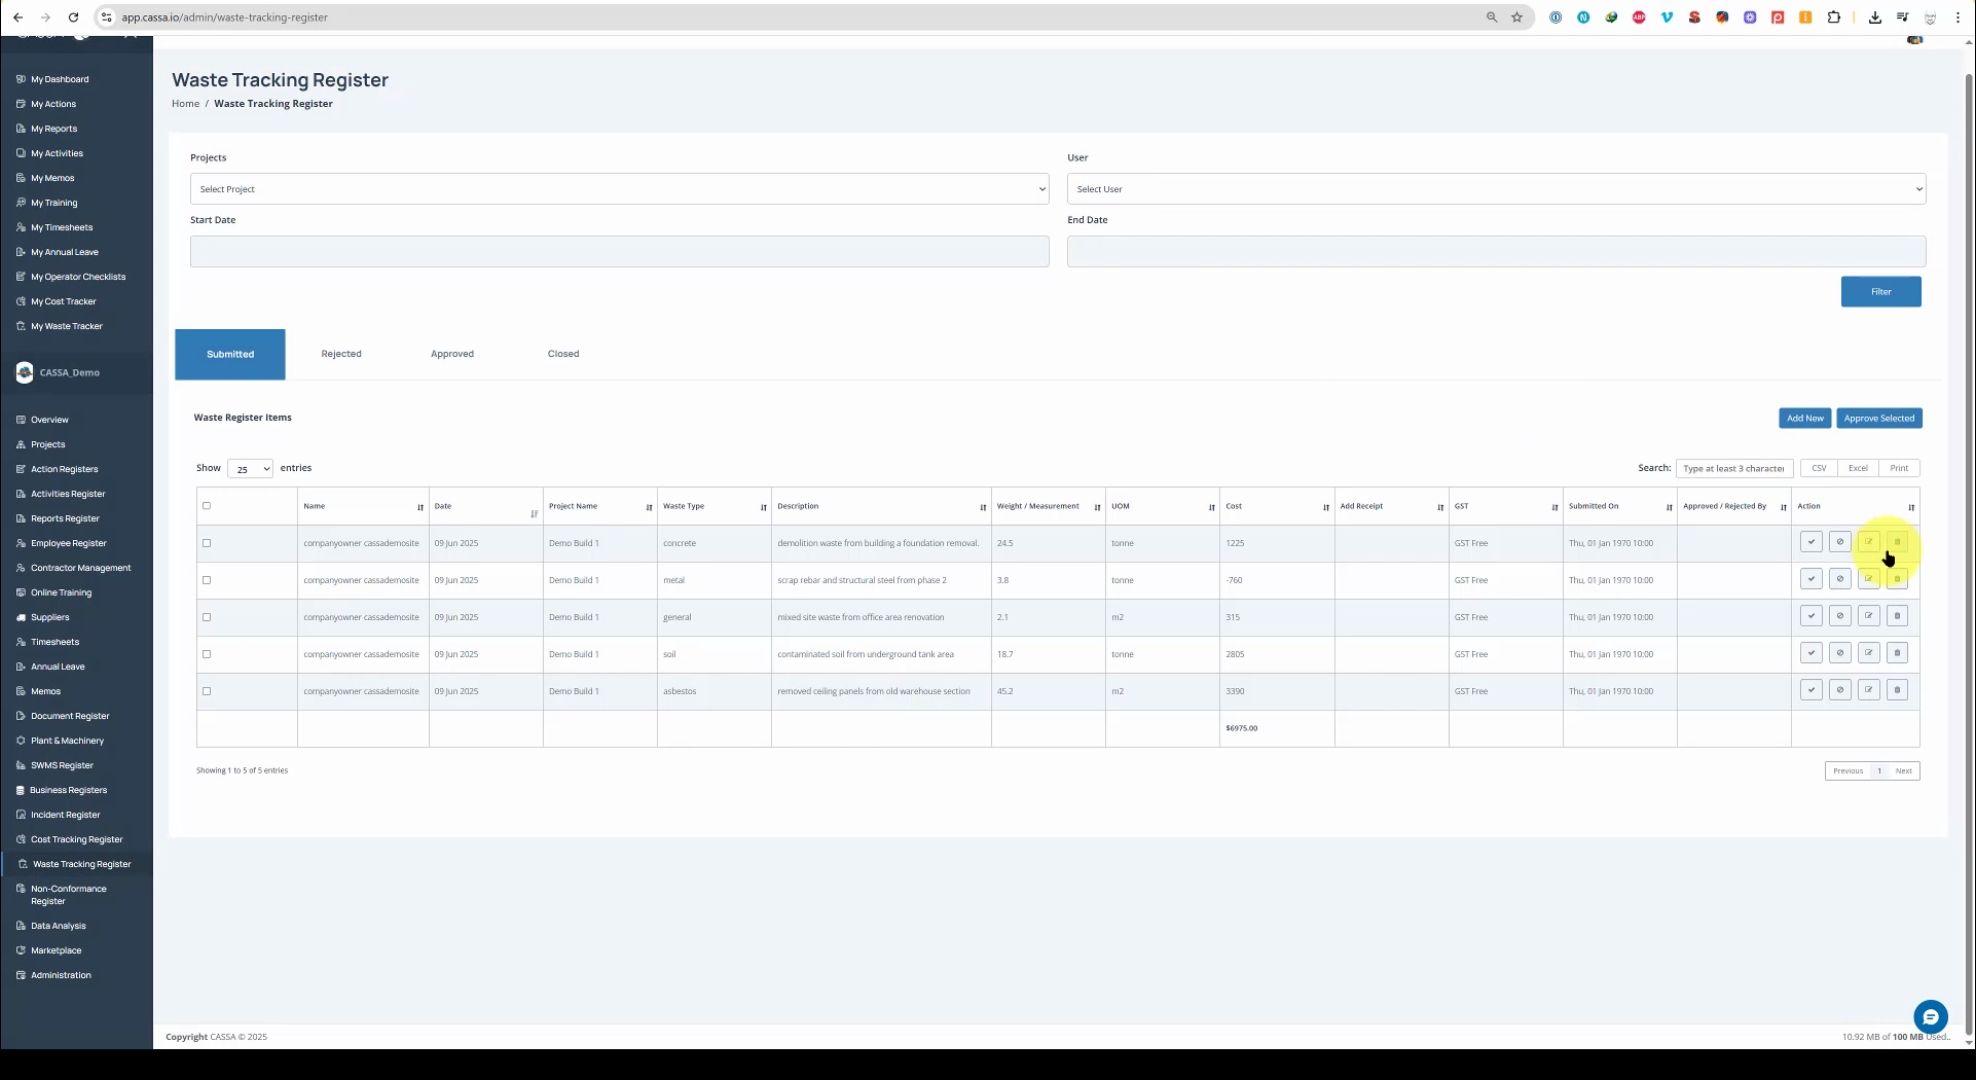
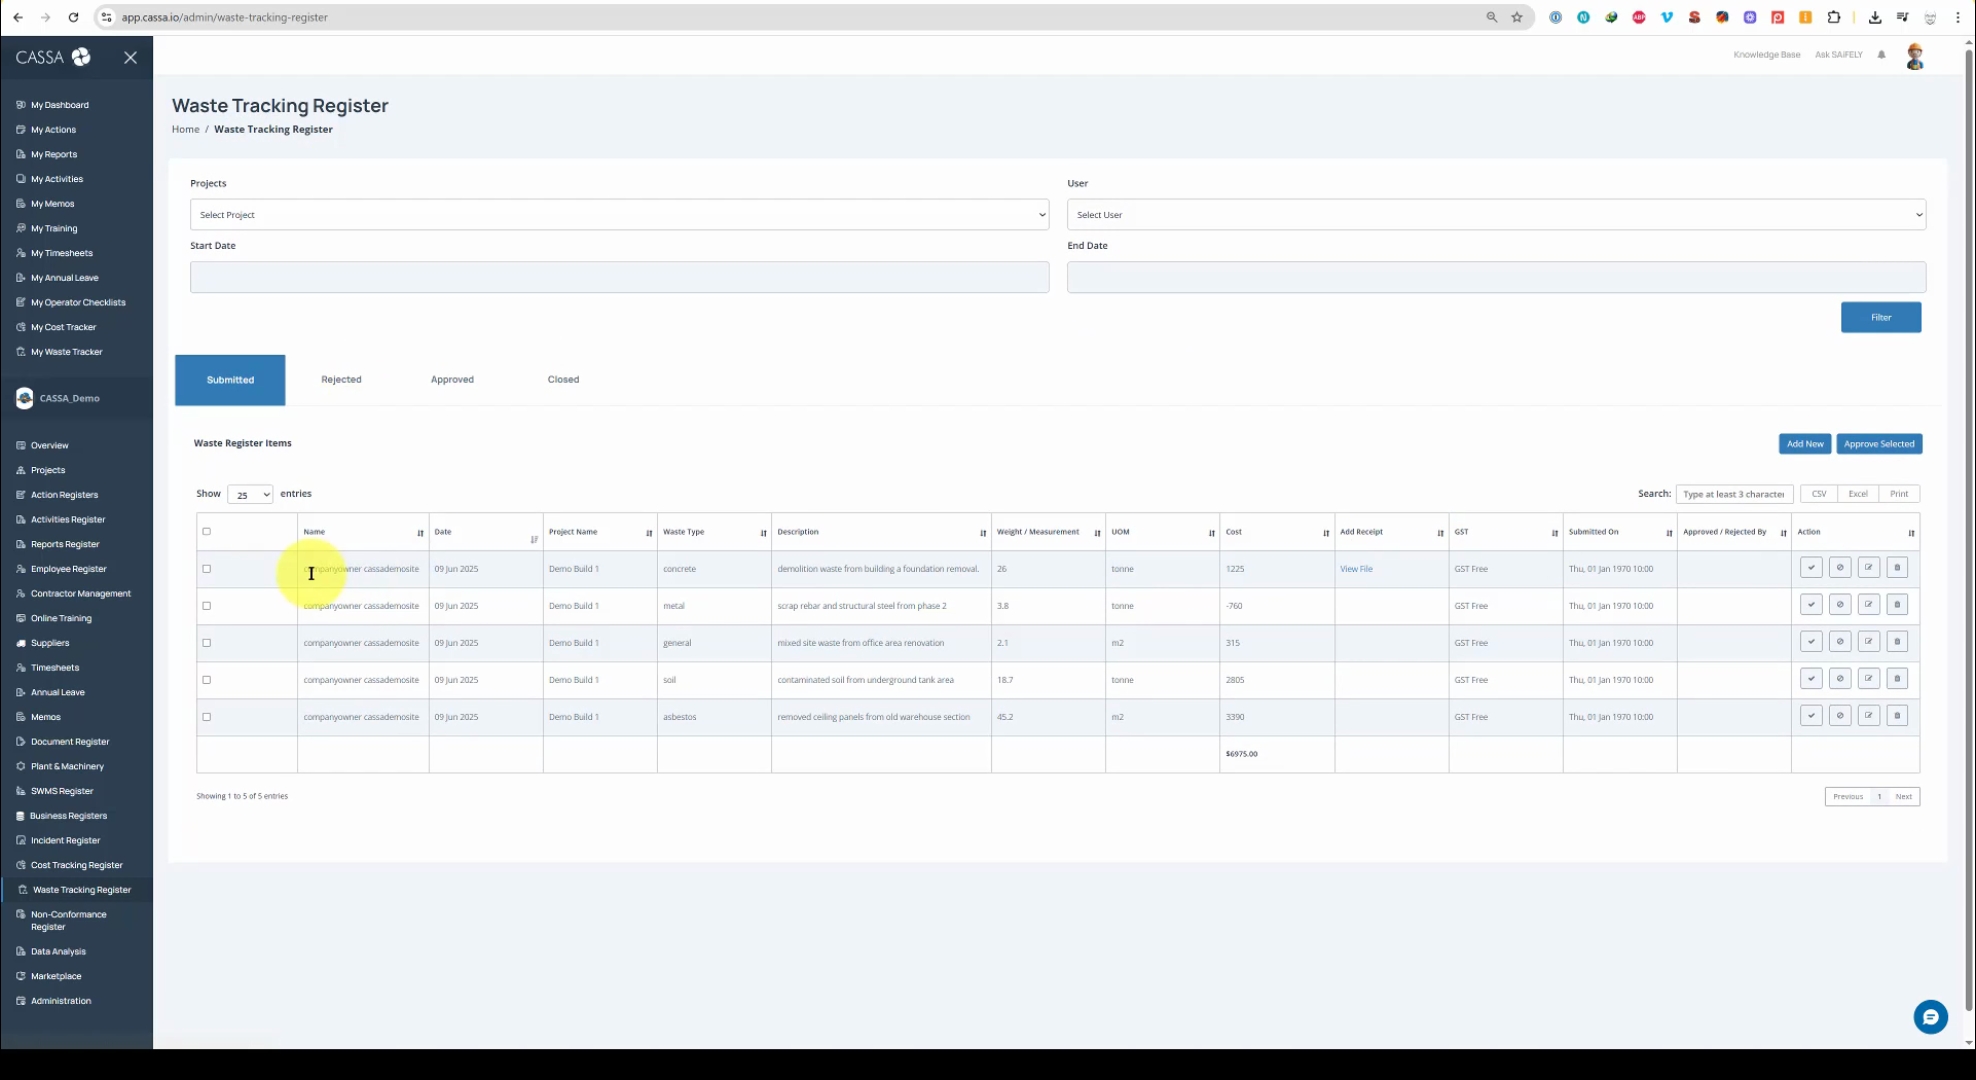
In the main submitted grid, locate the Action column on the right. Here, you will find four actions available for each register item.
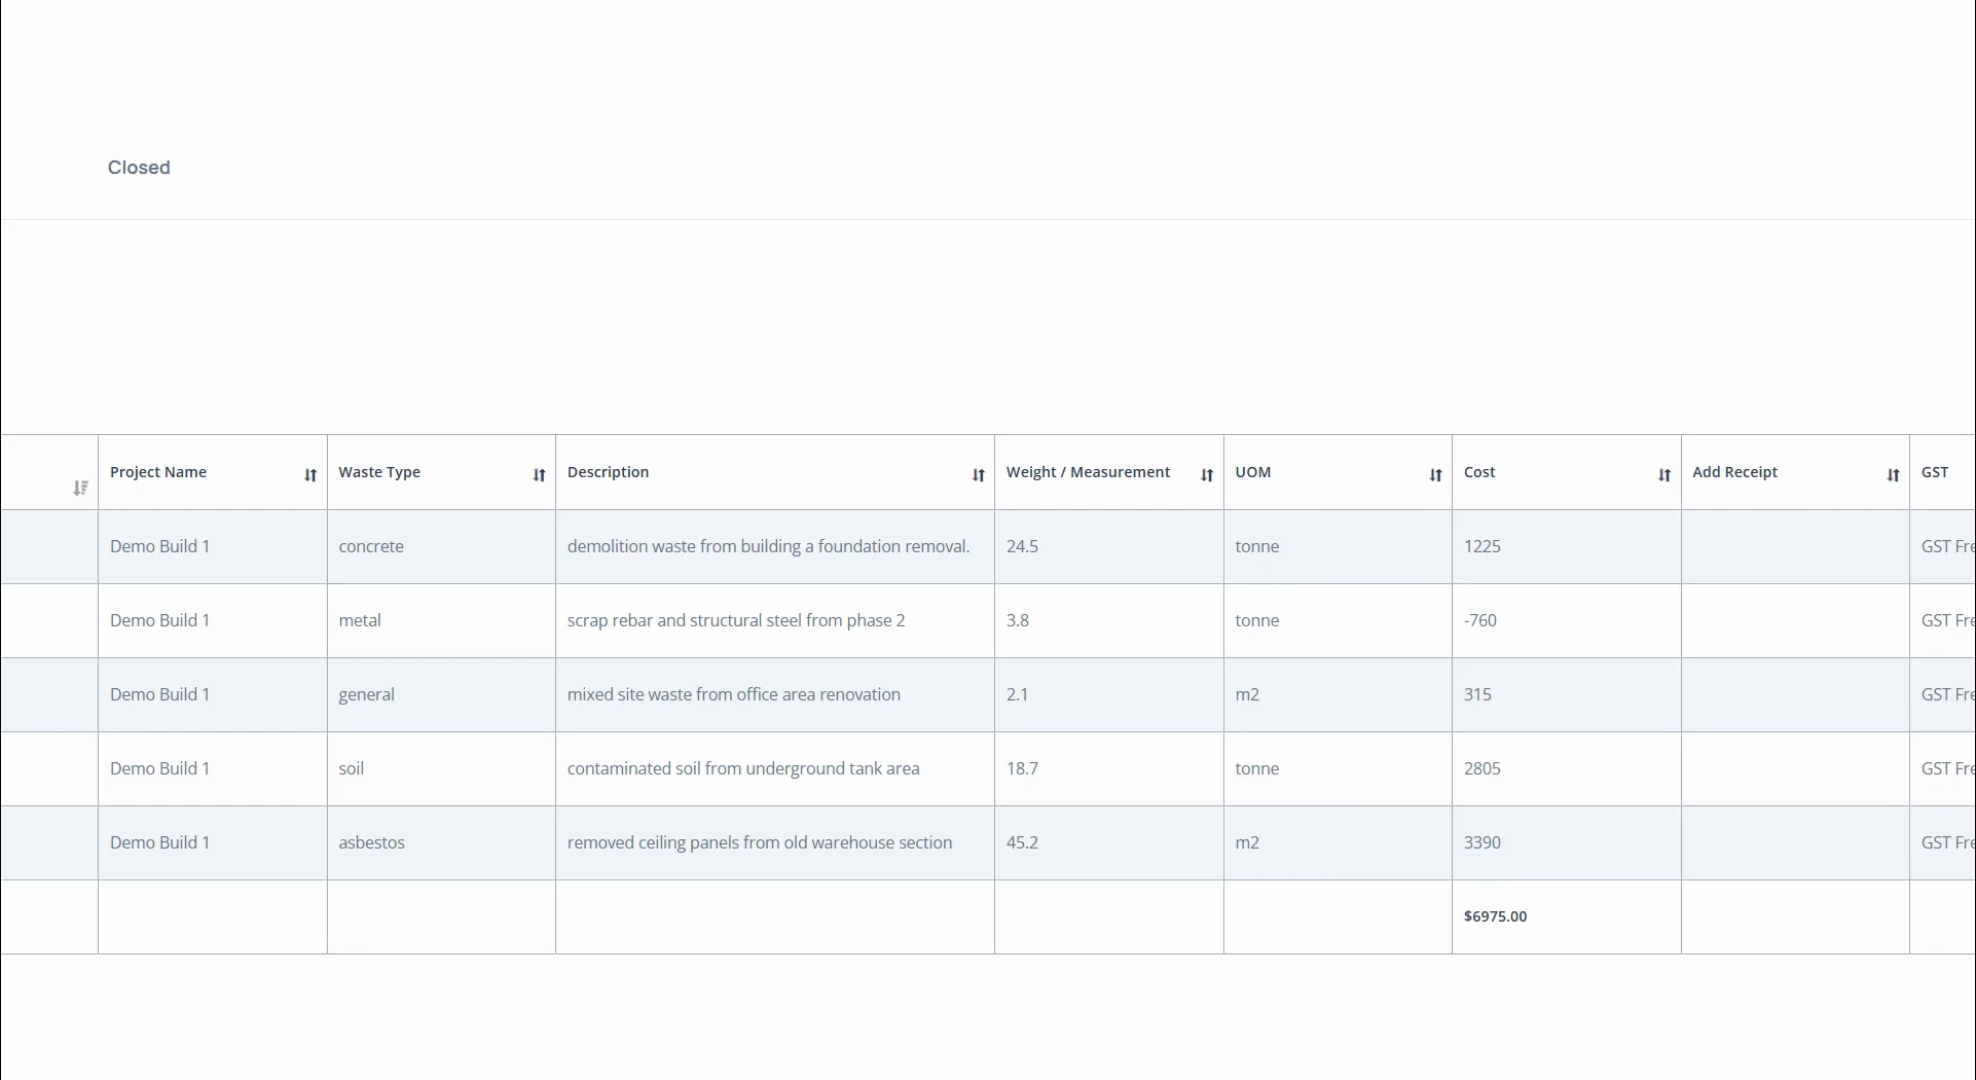
The available actions are: Approve, Reject, Edit, and Delete.

To delete an item, click on OK when prompted.
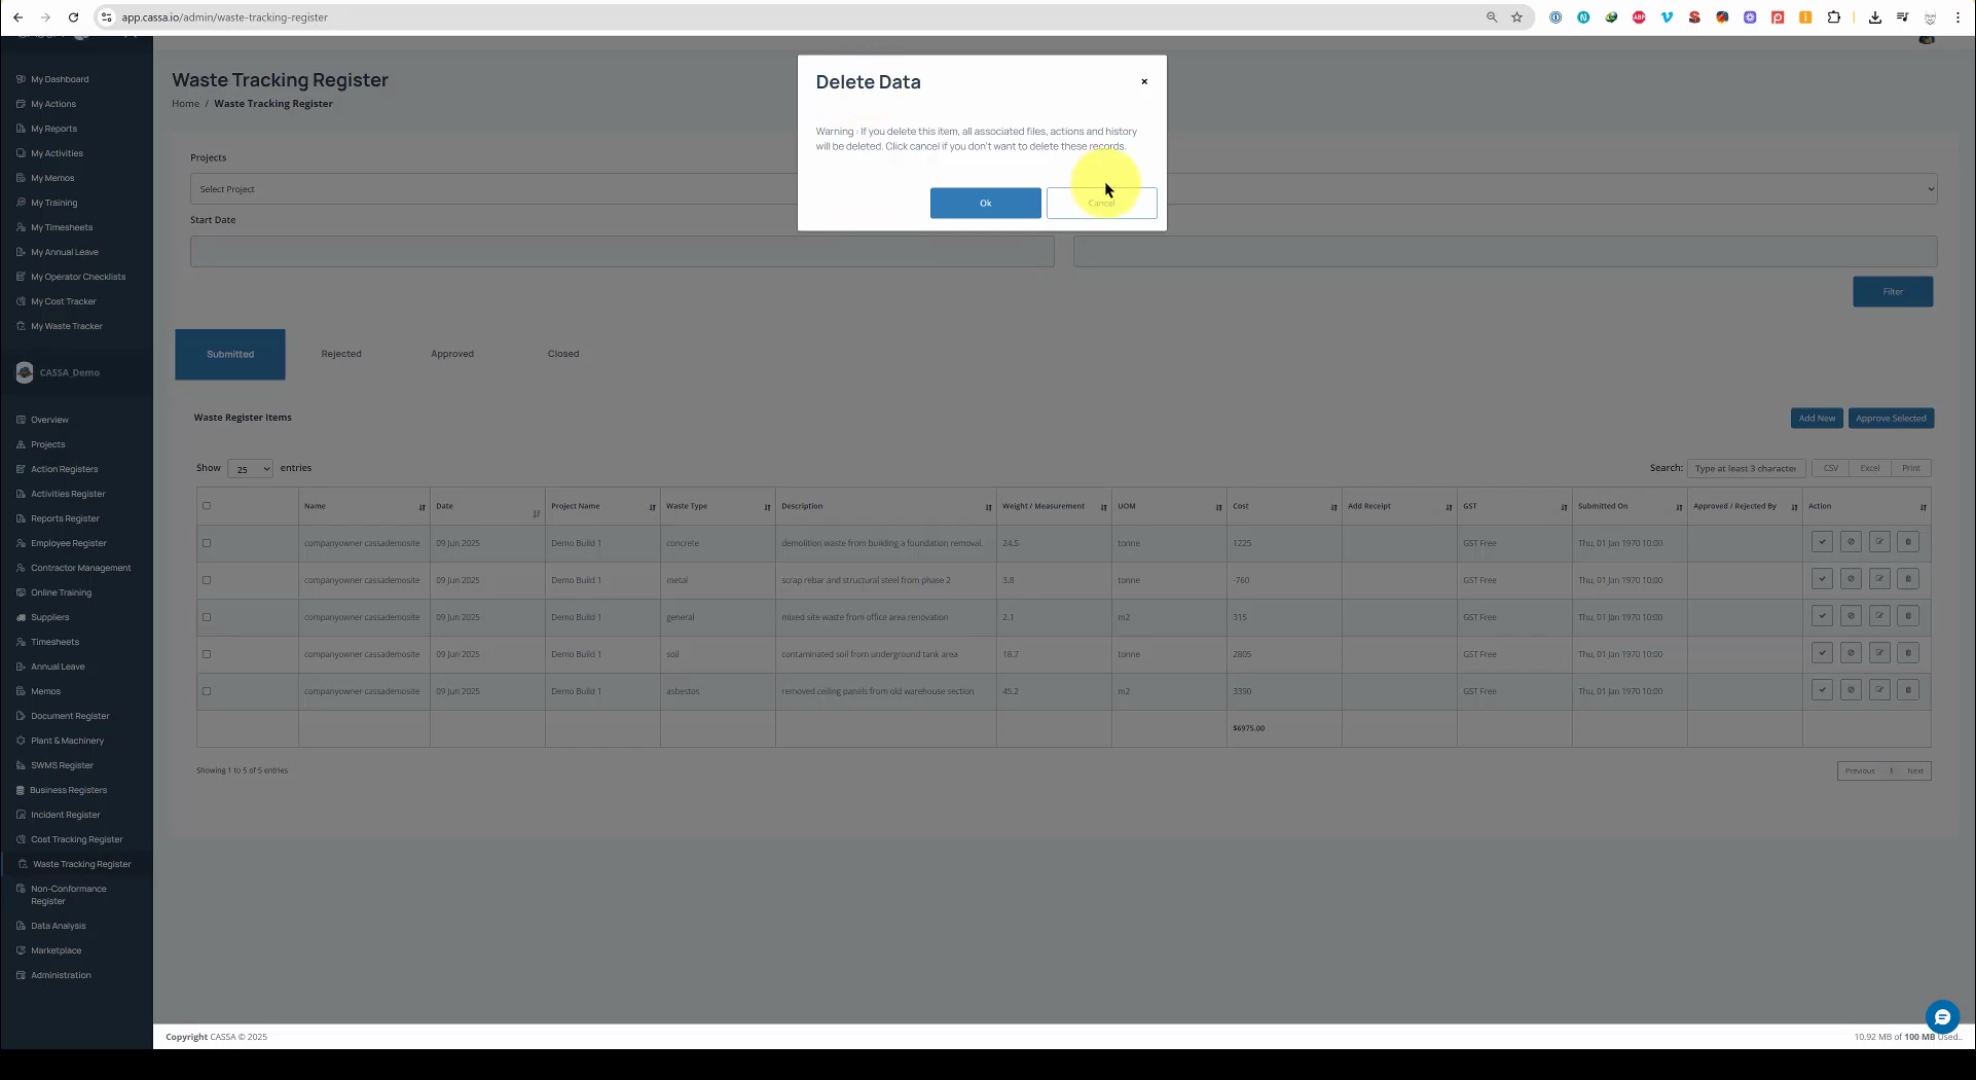
If you decide not to delete the item, click on Cancel to leave it unchanged.

To edit an item, click on the Edit button, which will open the register item for editing.
Please note that you can only edit specific details such as the waste type, description, weight, and cost. Additionally, you can upload a receipt if desired.
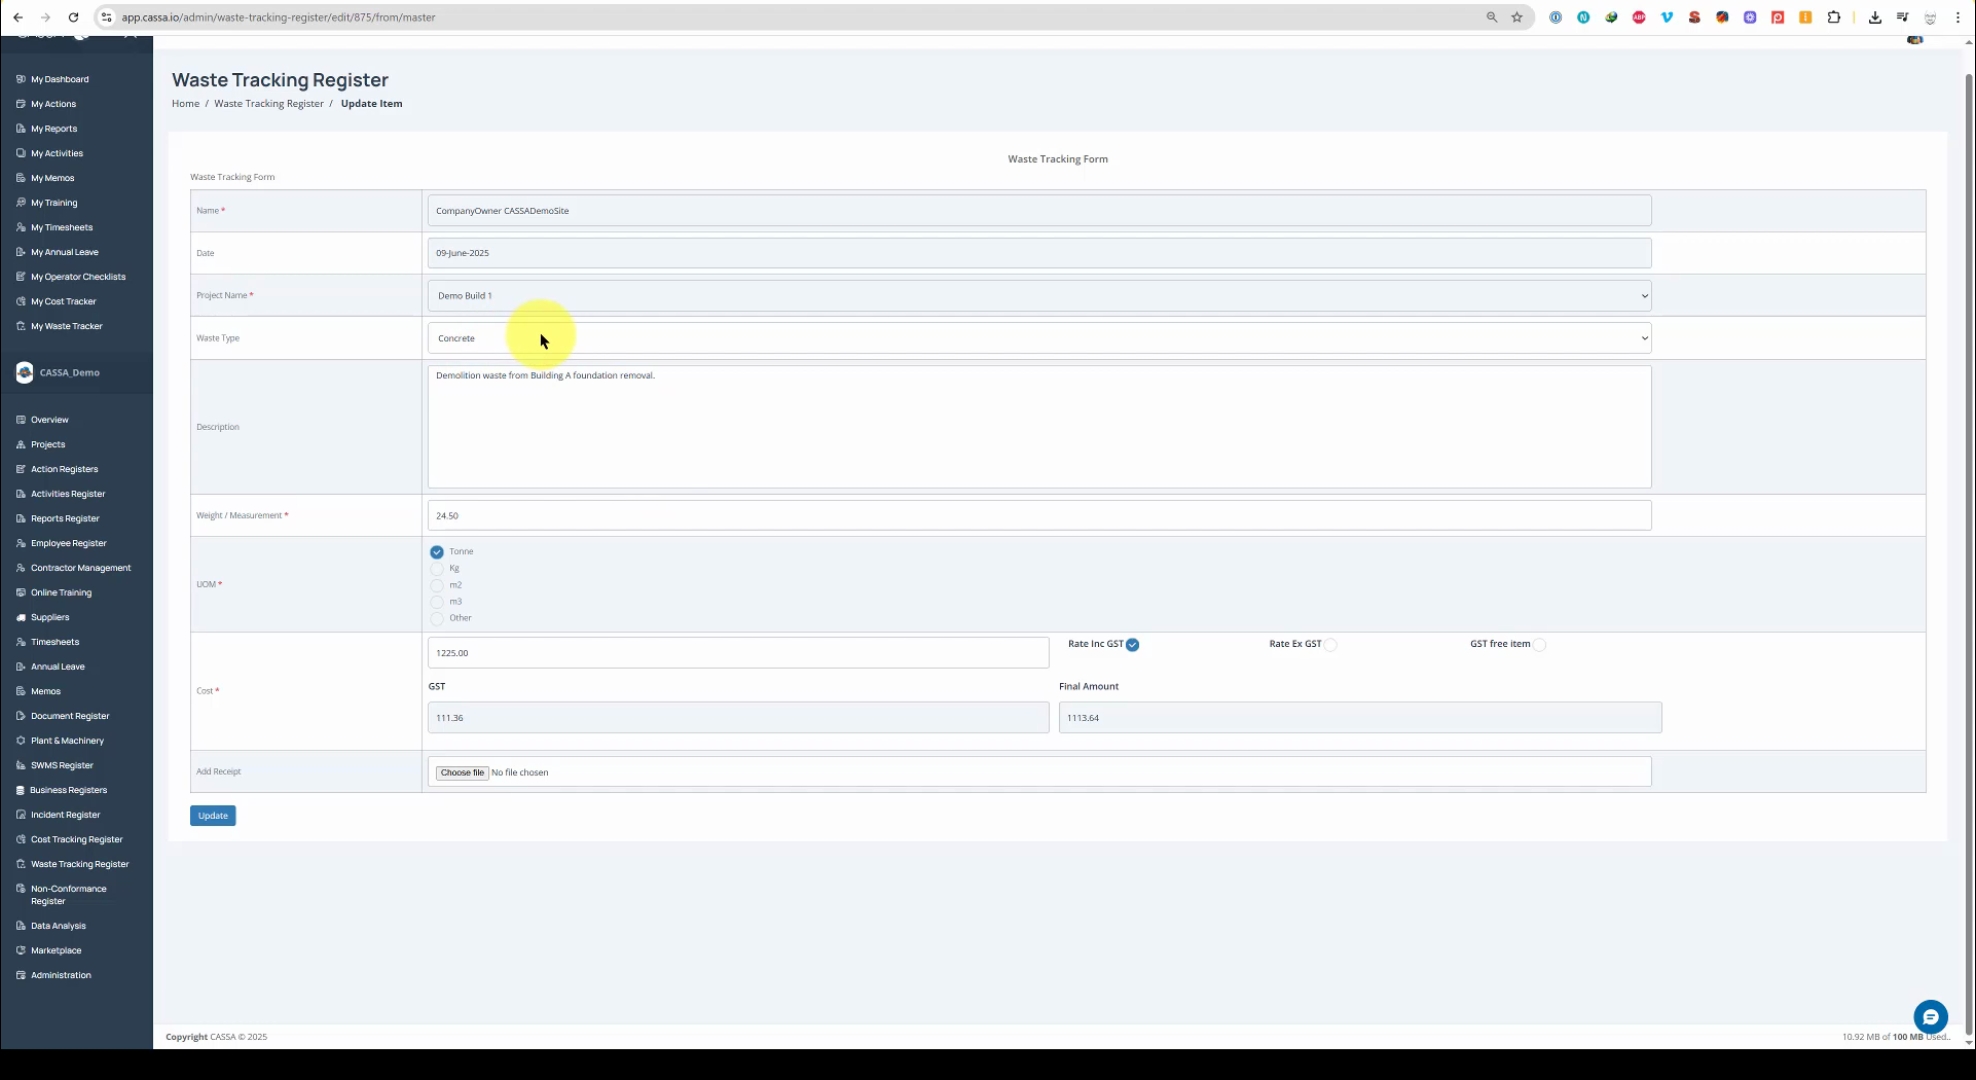
Upload your file as needed, and after uploading, click on Update.
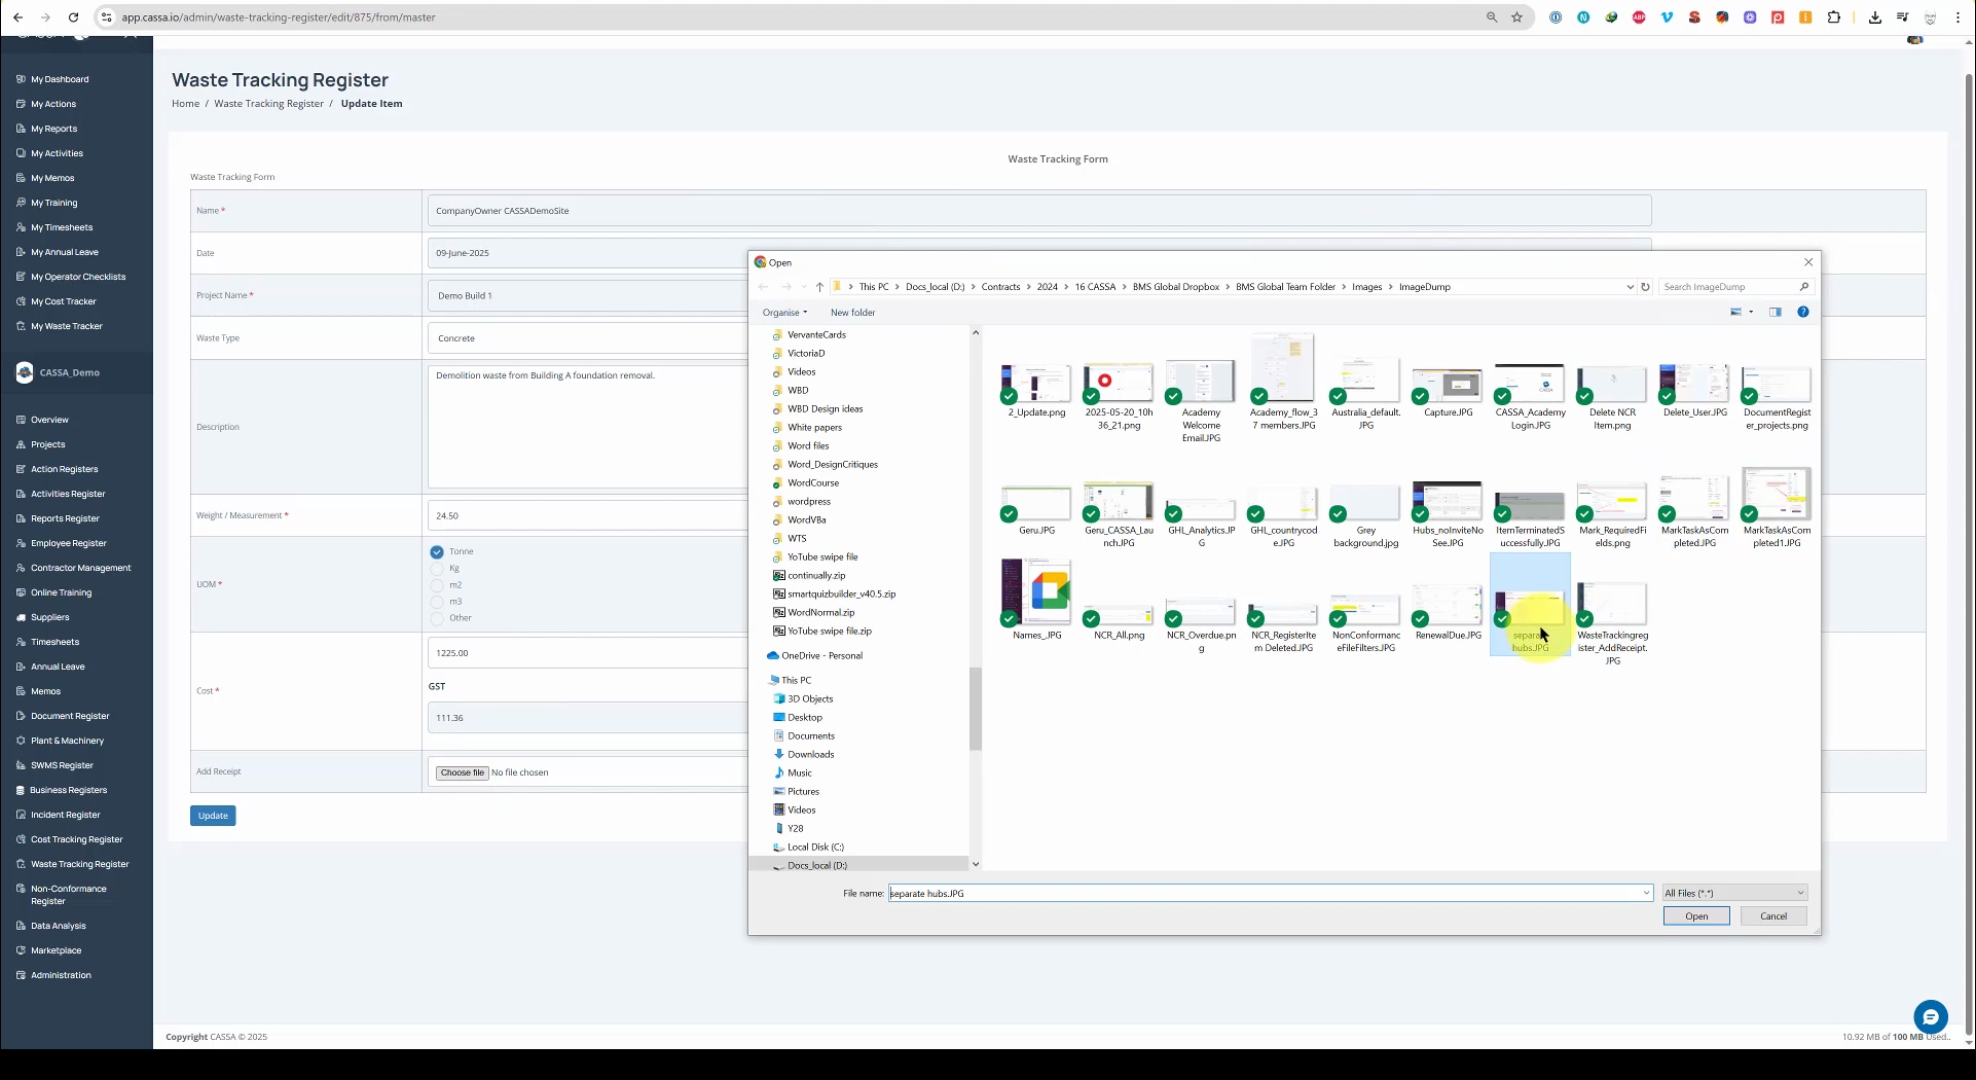
Once the file is successfully uploaded, a confirmation message will appear.

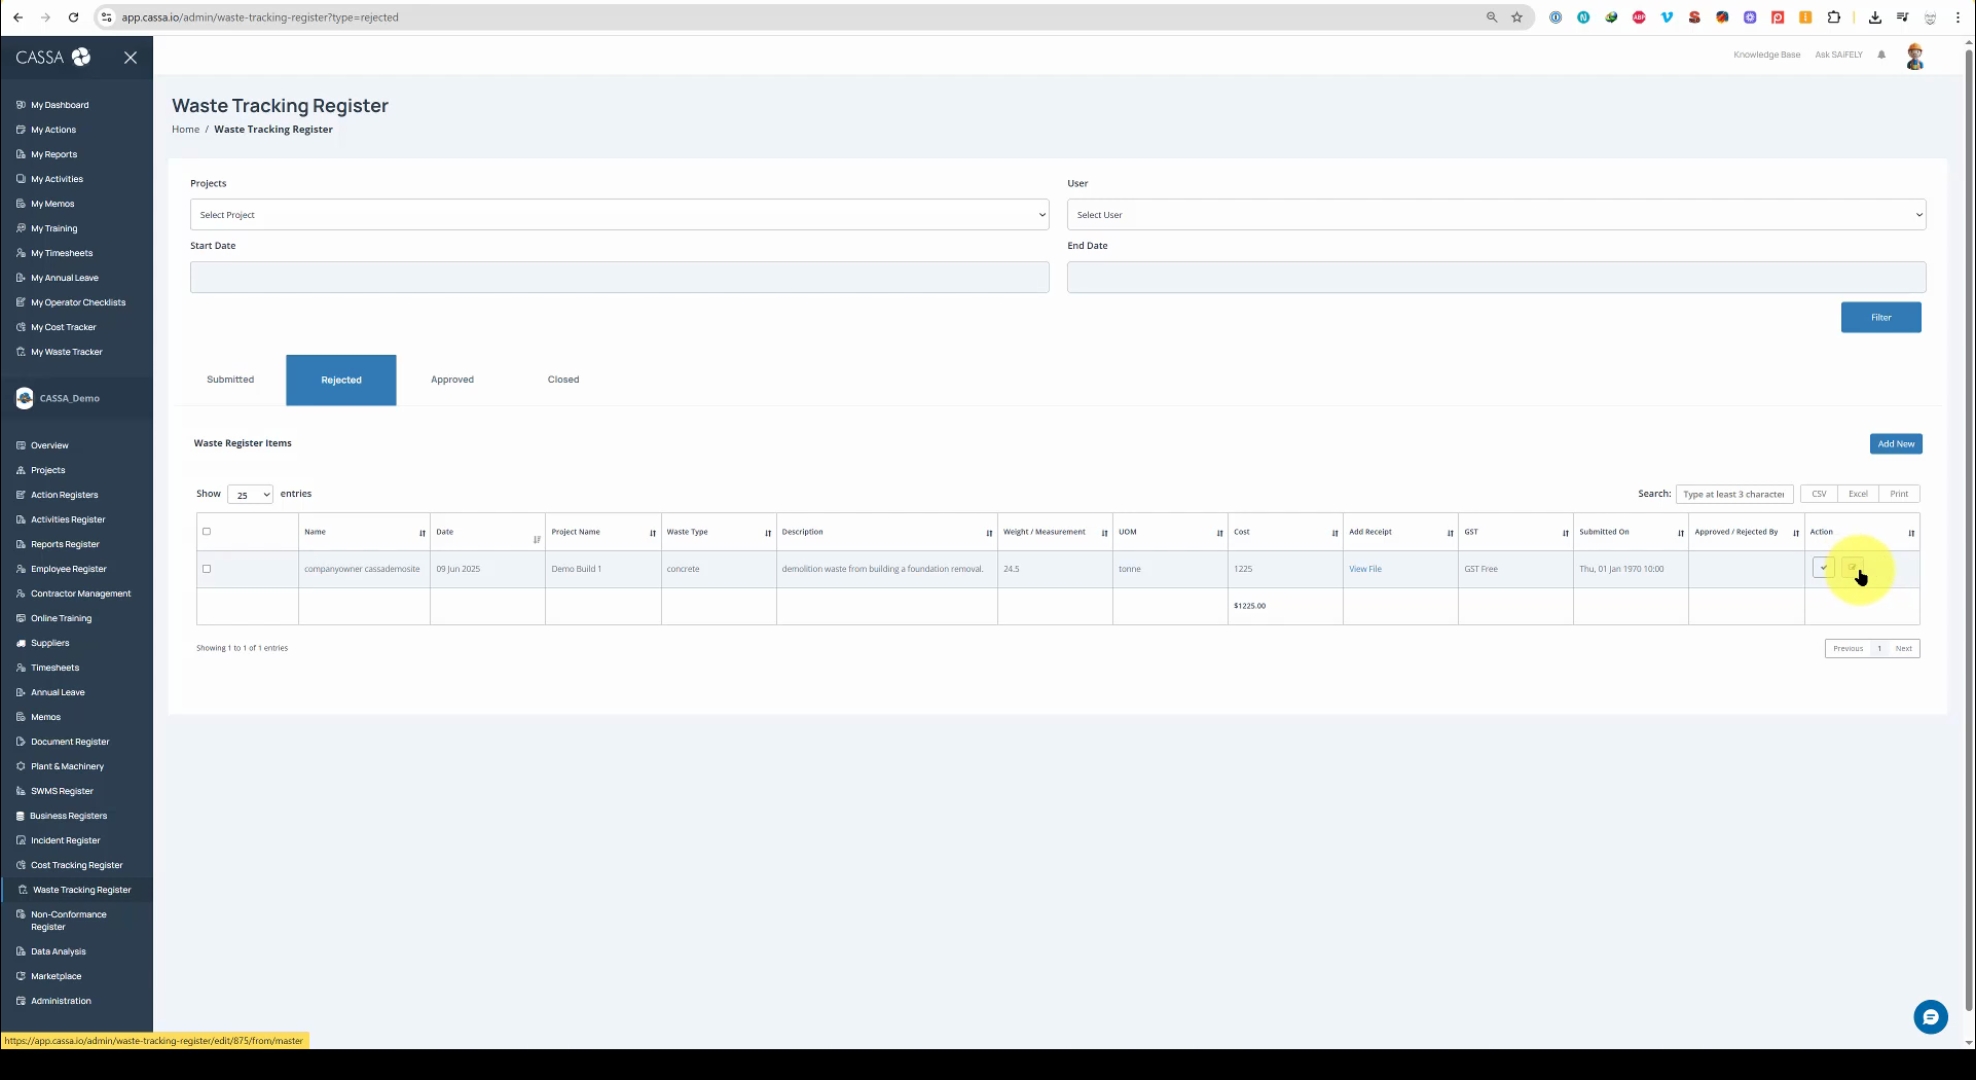
To reject an item, click on Reject for the desired register item, and it will be removed from the submitted grid.
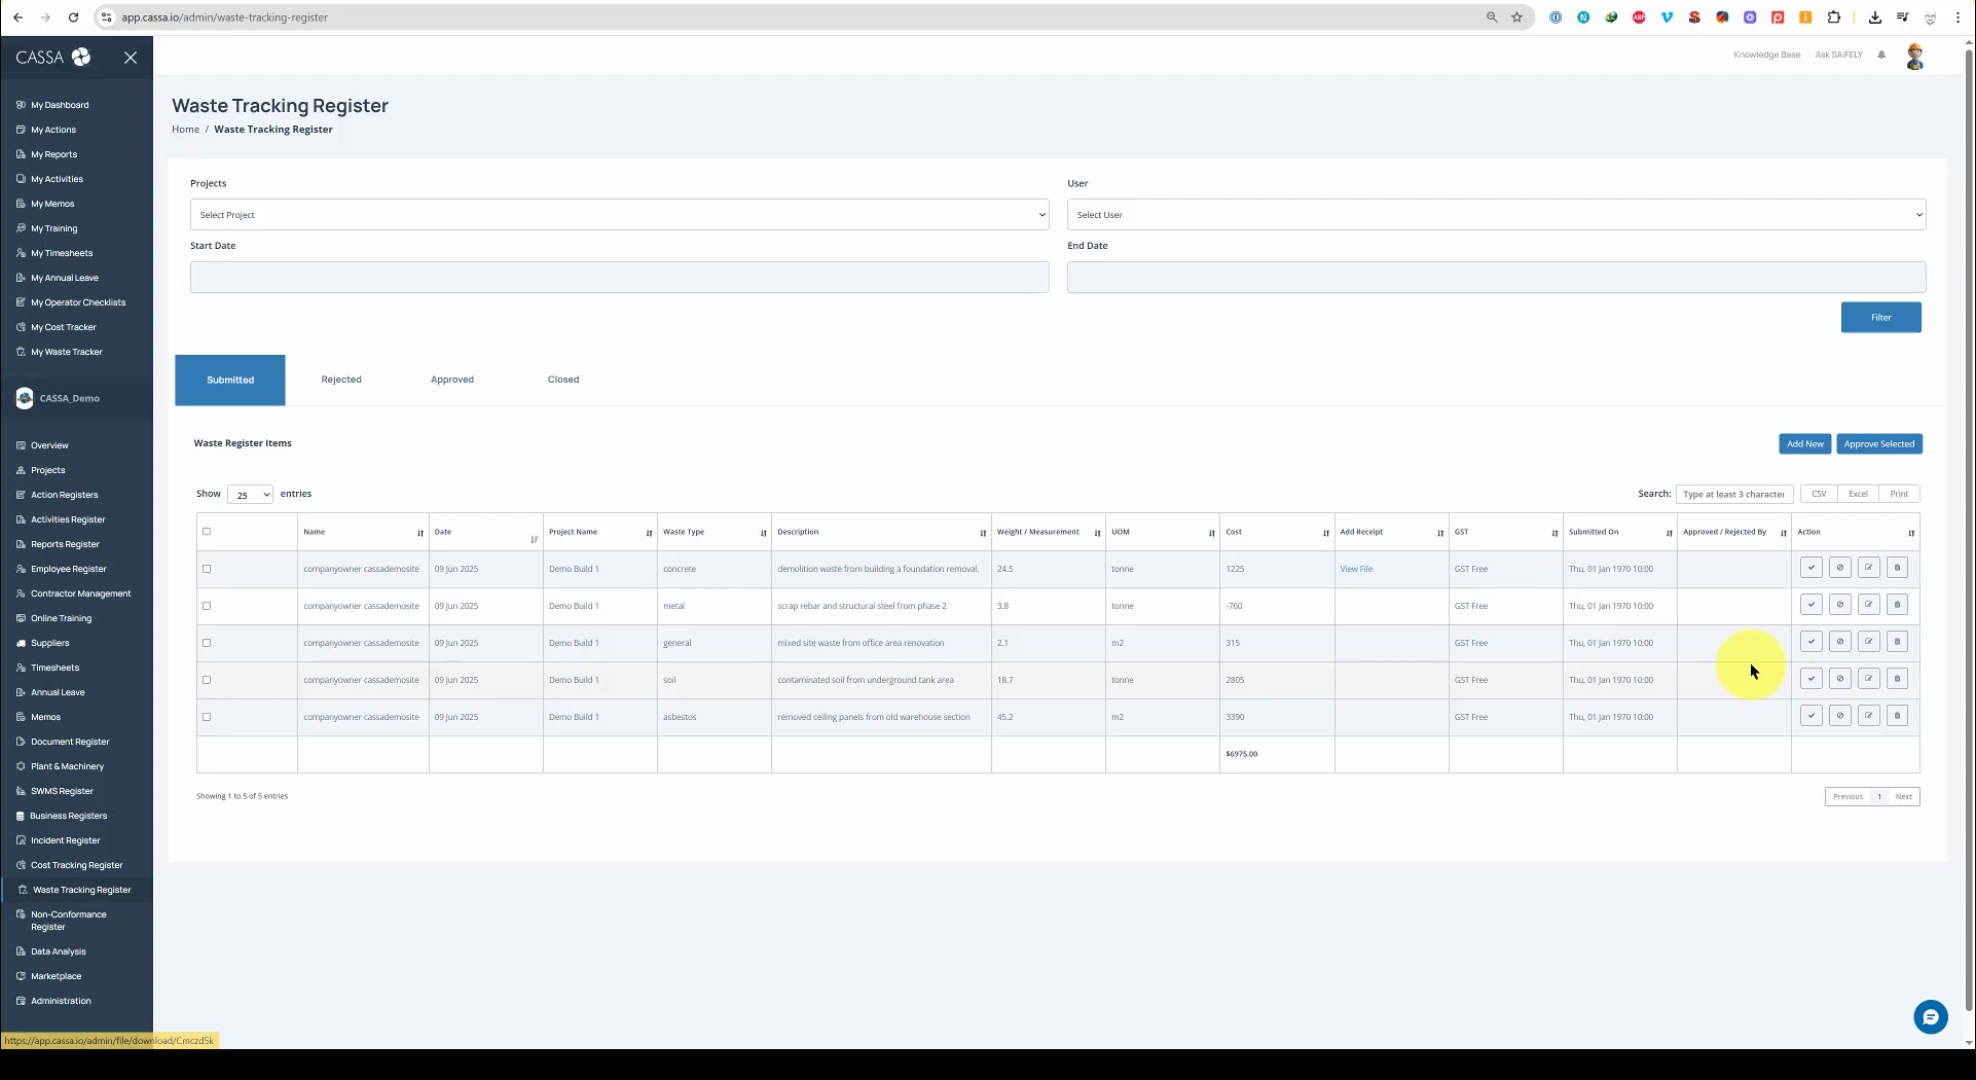
You can find rejected items under the Rejected tab, where you will have options to Edit or Approve the item.
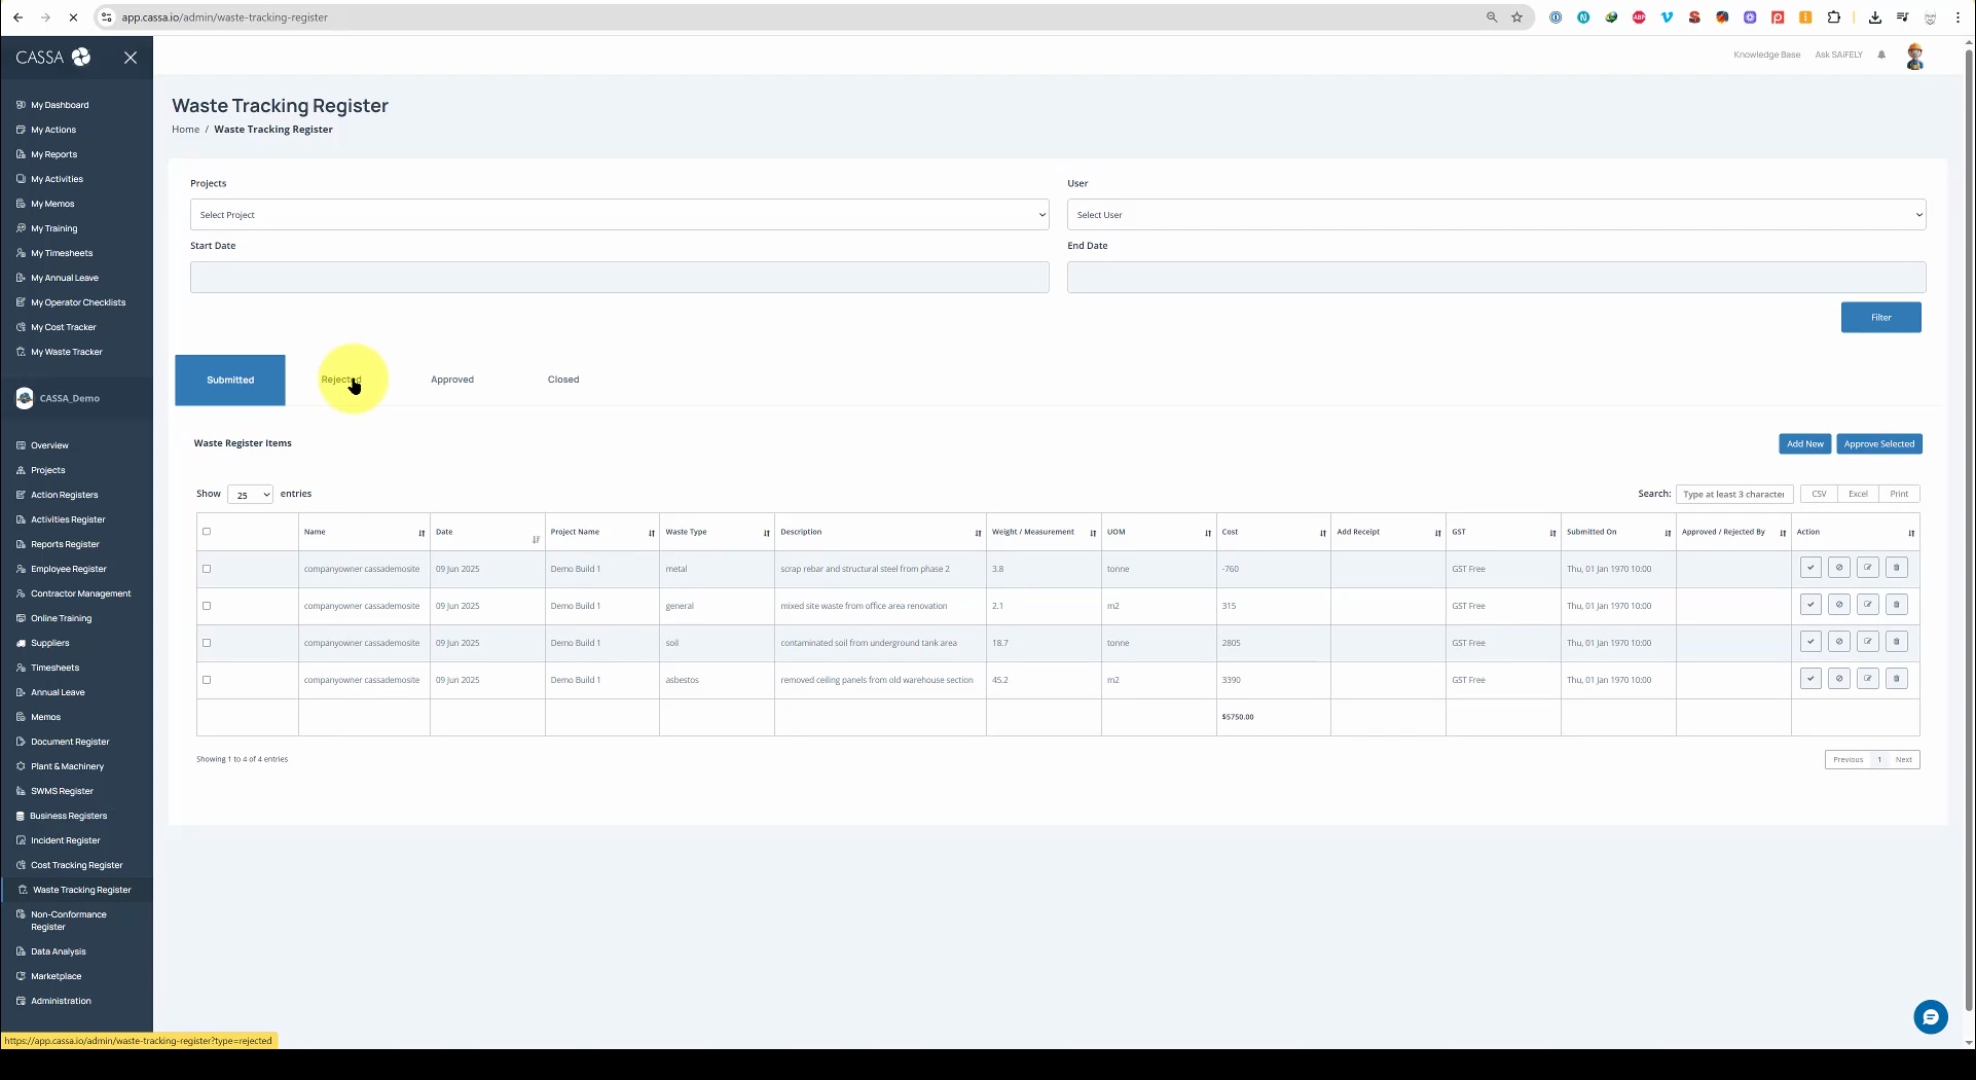
Editing a rejected item is possible. After making necessary changes, click on Update to save them.
The edited item will now return to the submitted tab, ready for approval.
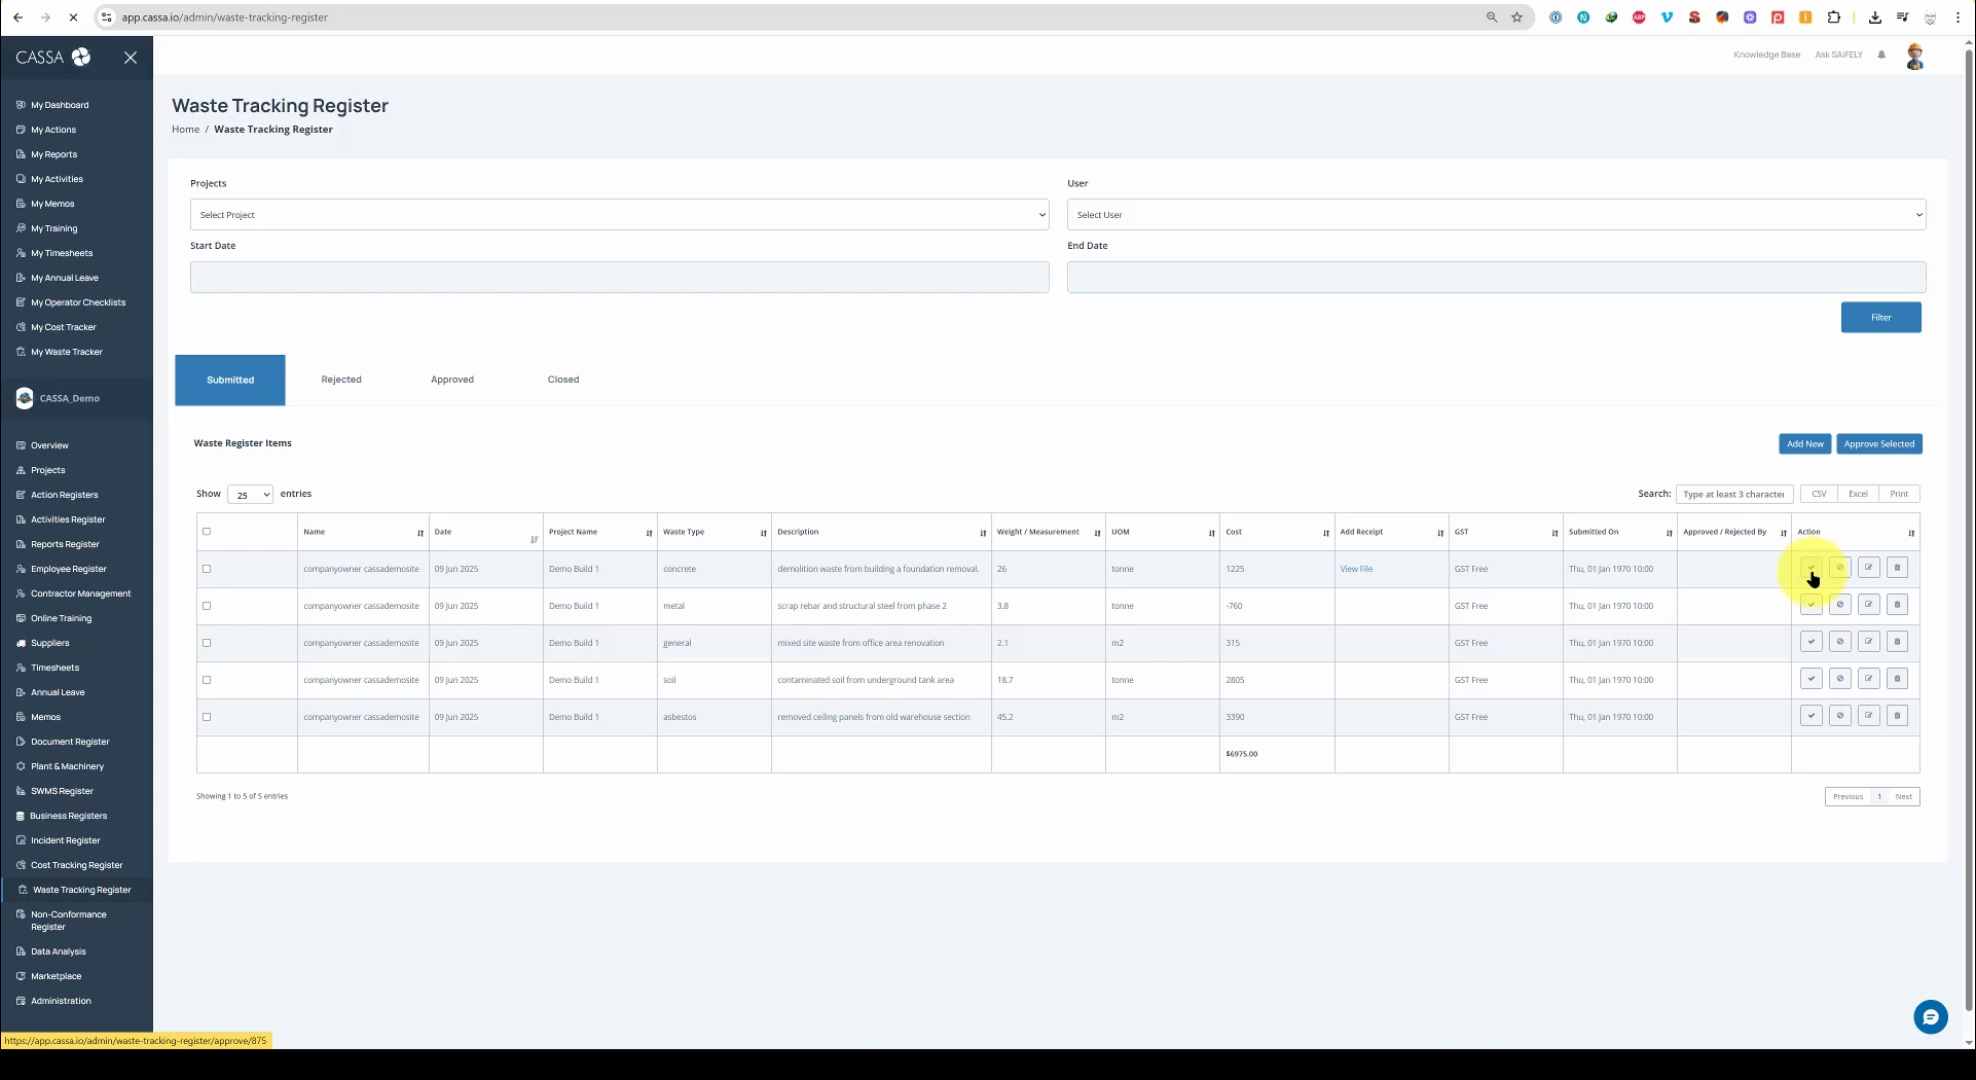
To approve the item, click on the Approval button, which will reduce the number of submitted items in the grid.
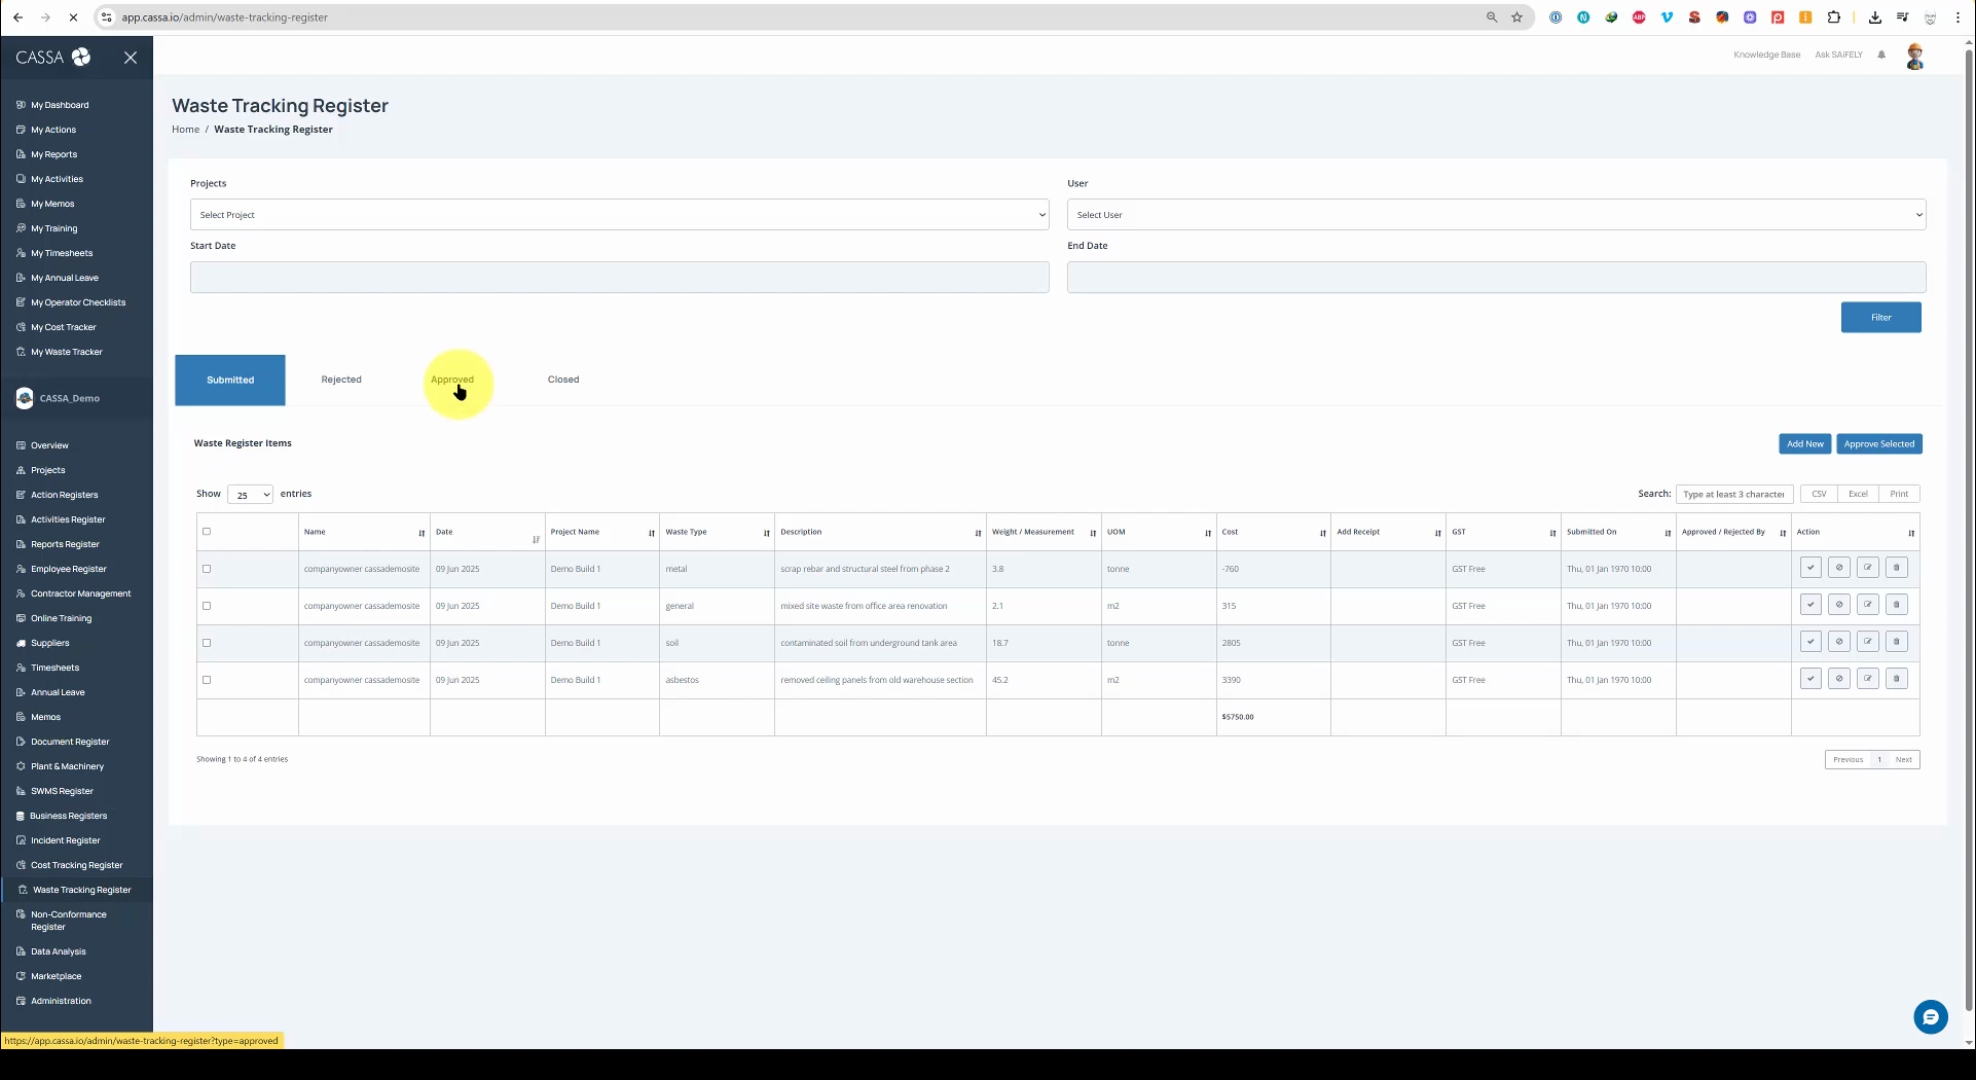
Approved items can be viewed under the Approved tab, where you have the option to revert or select the item.
After selecting an item, clicking on Close Selected will proceed with the necessary actions and submit it for closure.
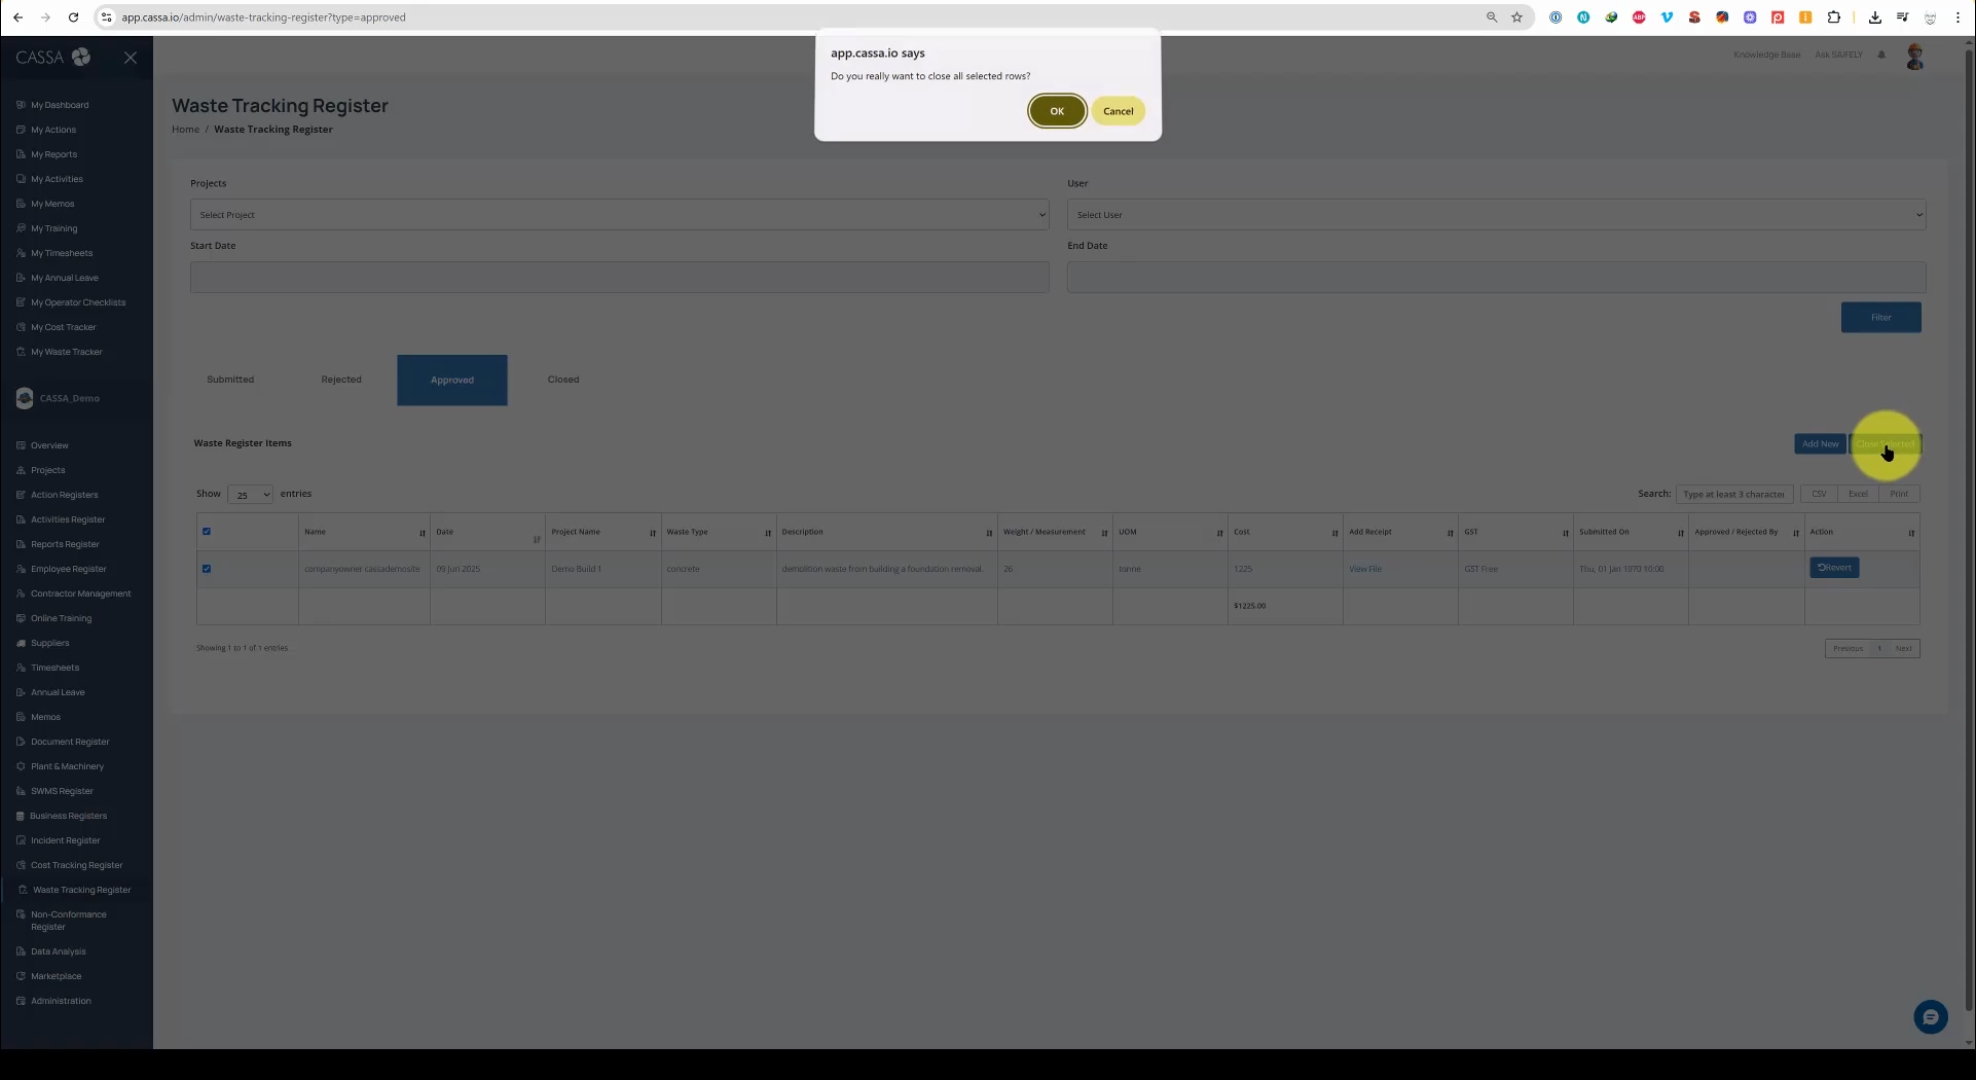
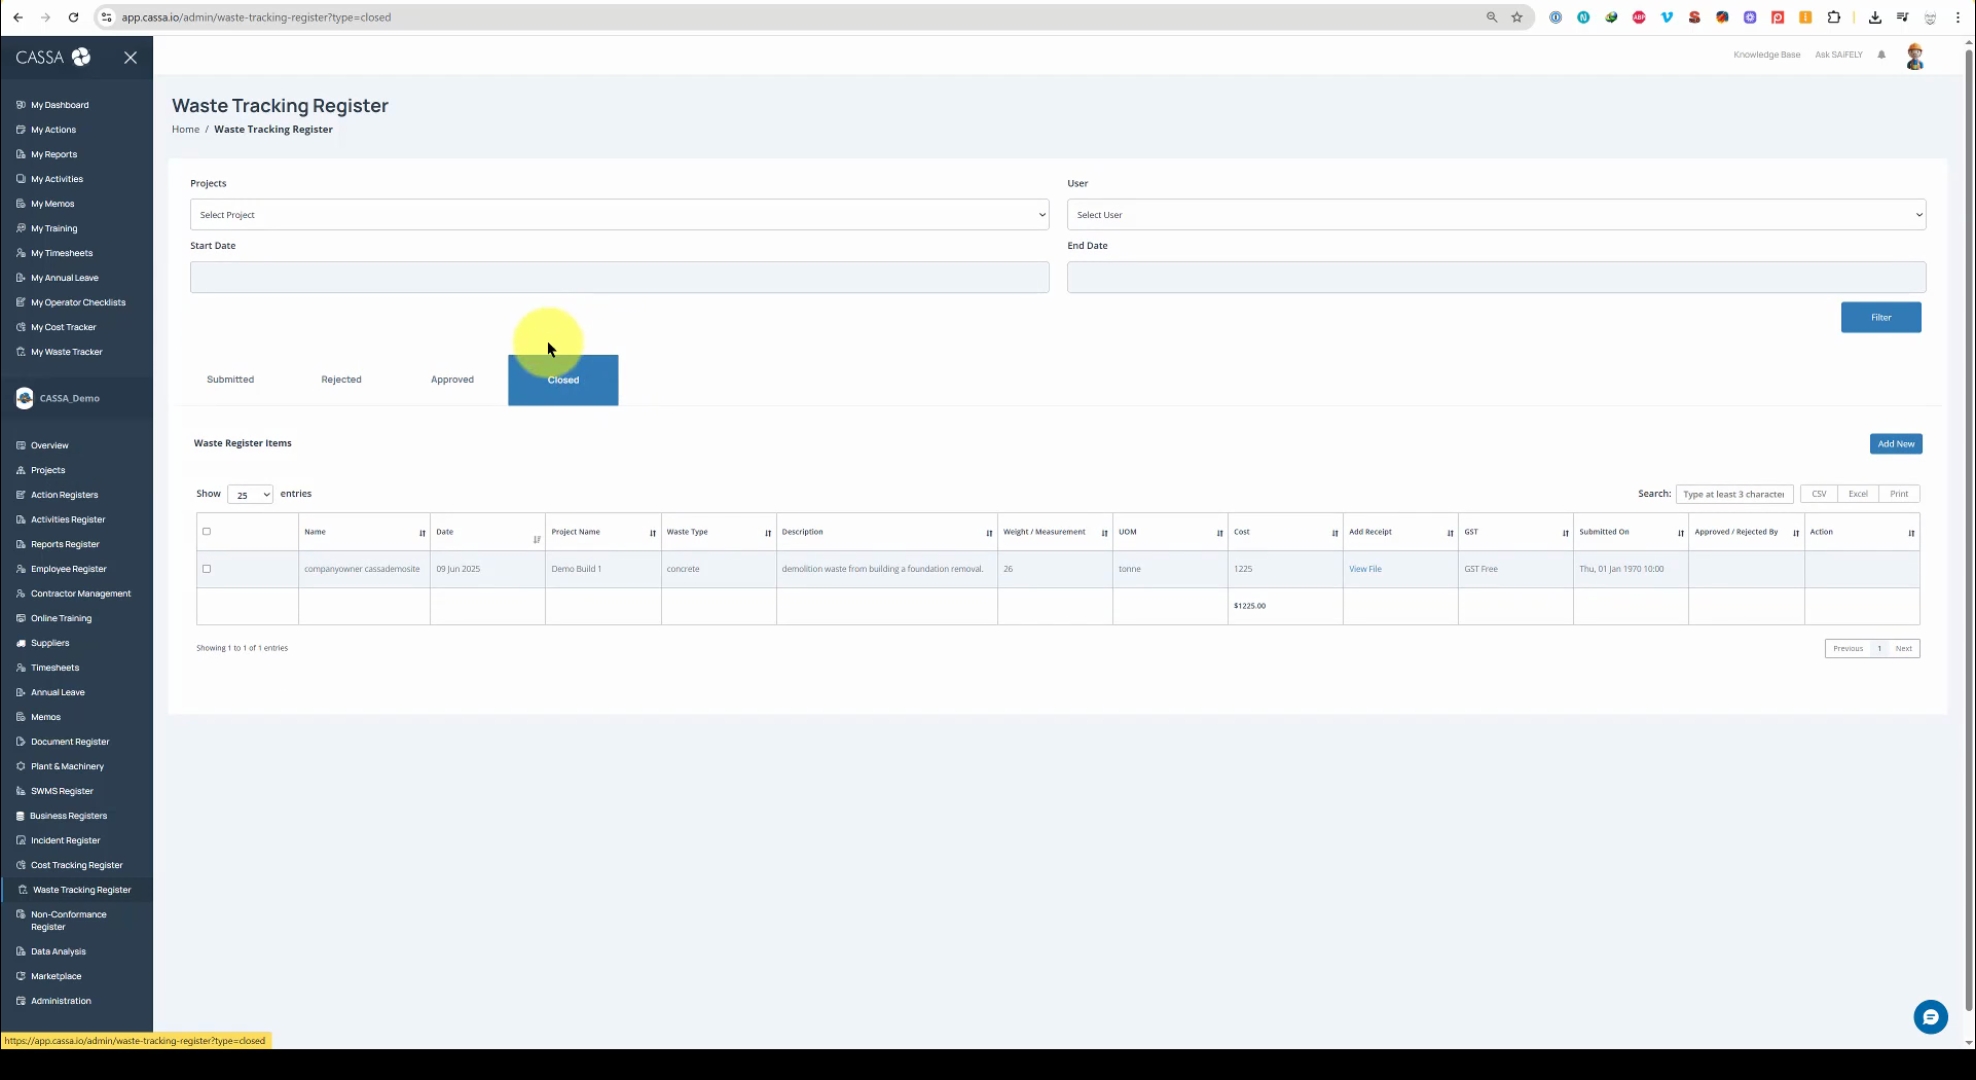
Once completed, the item will appear in the Close tab, indicating all actions have been finalized.