Here's a quick walkthrough of your My Profile:
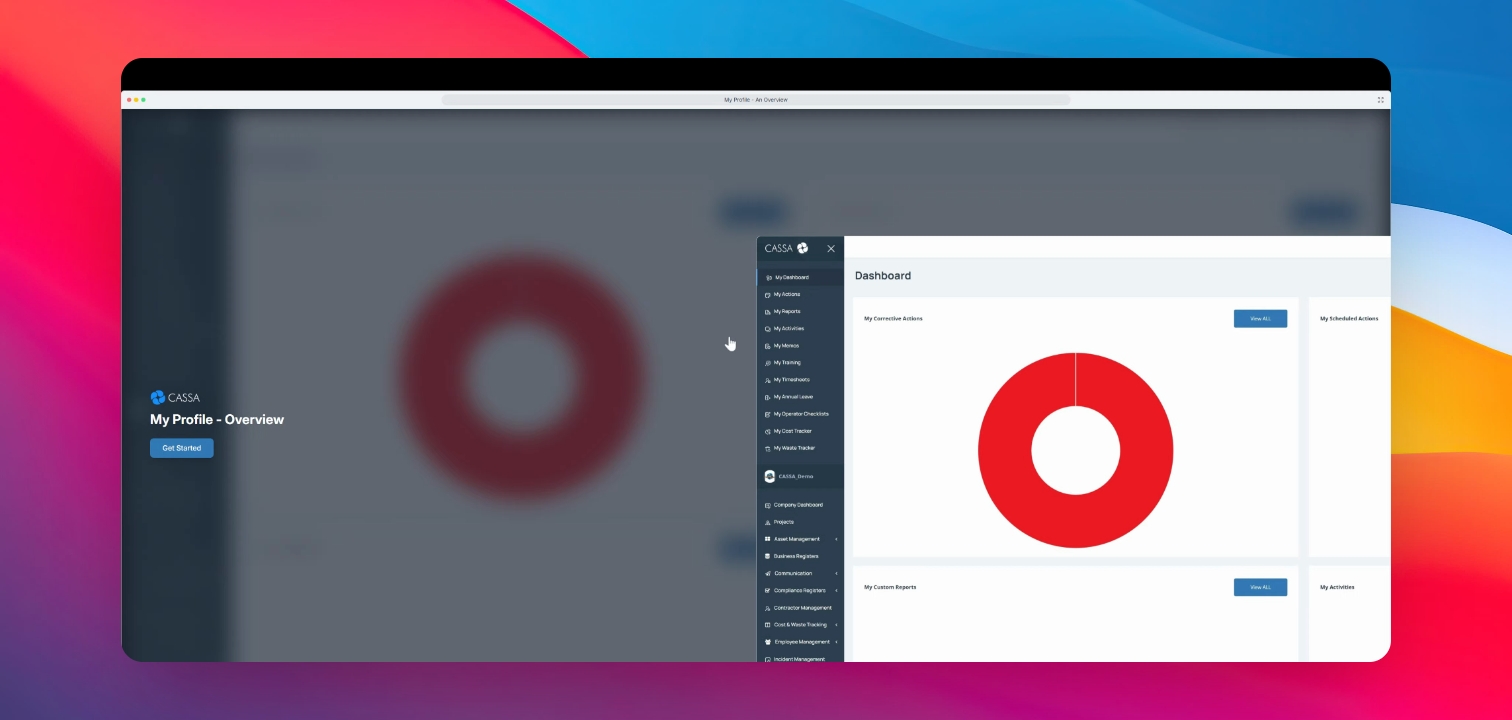
In this demo, we're going to take a quick look through the My Profile overview to access your My Profile. Click on your profile image to access the drop-down menu. Let's look at the steps:
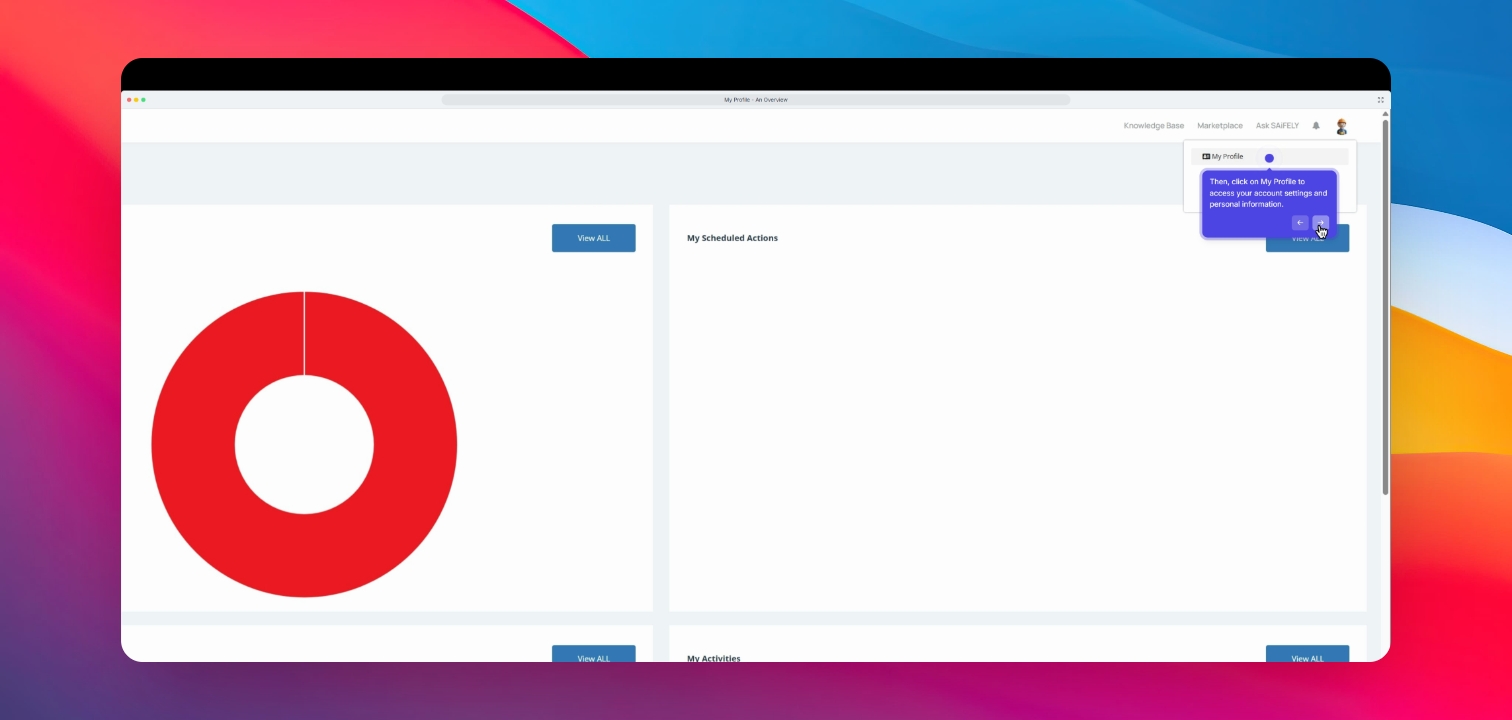
Step 1: Open My Profile
Then click on My Profile to access your account settings and personal information.
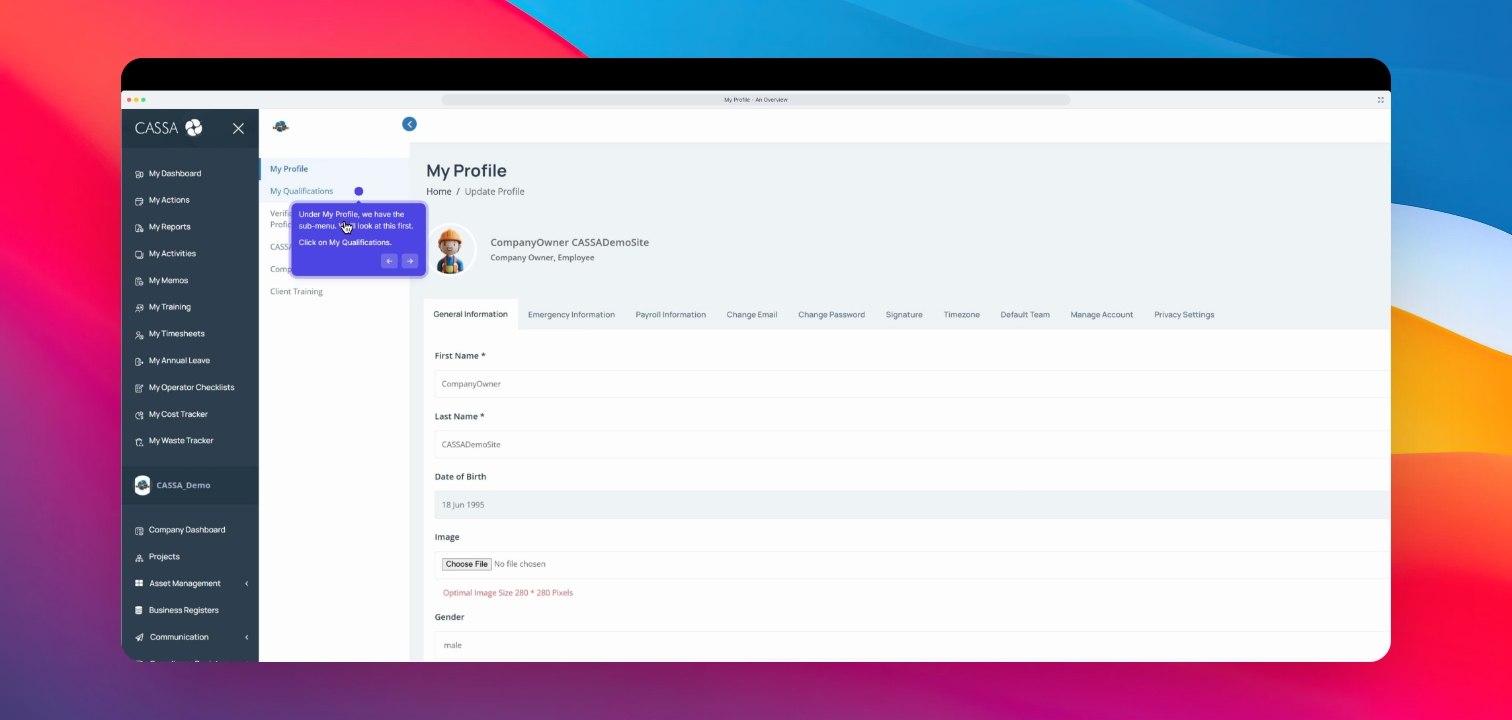
Step 2: Access Qualifications
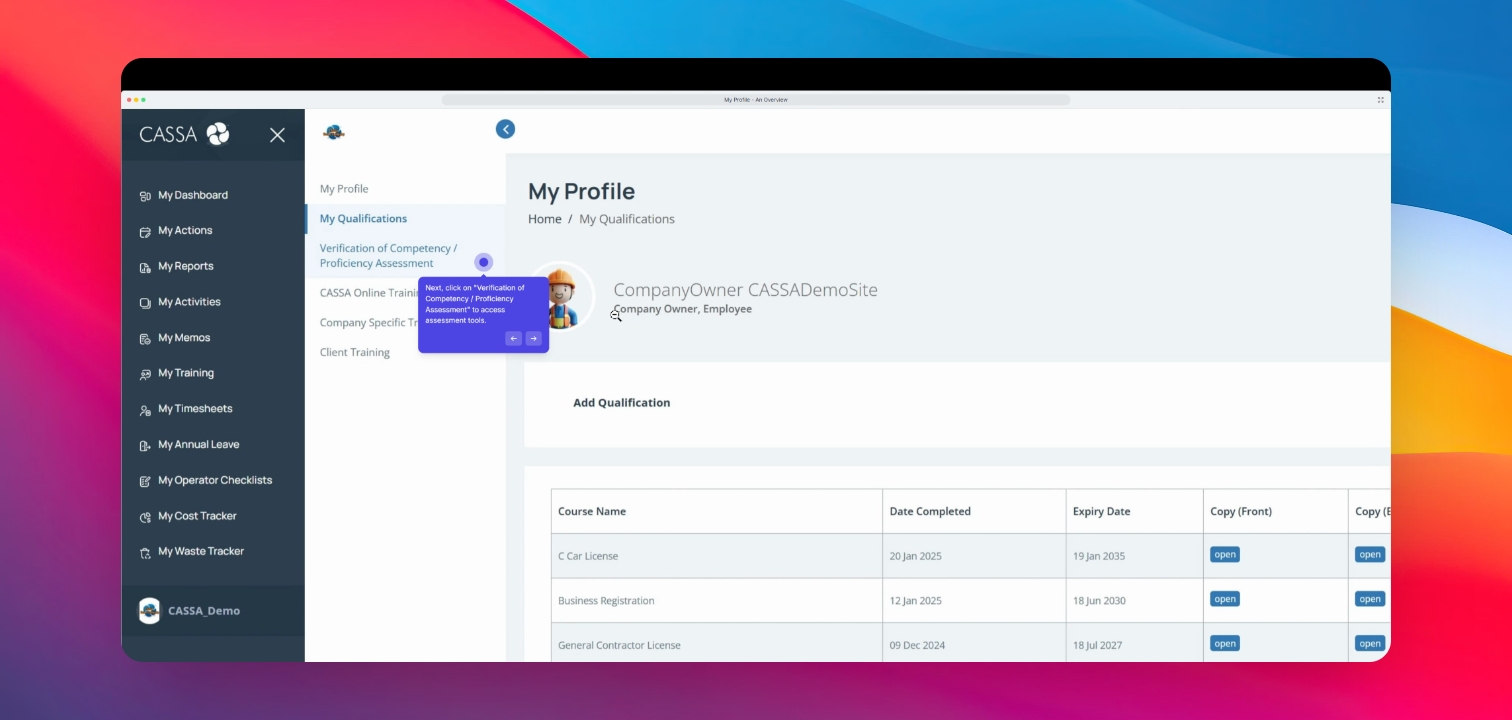
Under My Profile, click on My Qualifications to manage all your currently listed qualifications.
Step 3: Verification of Competency
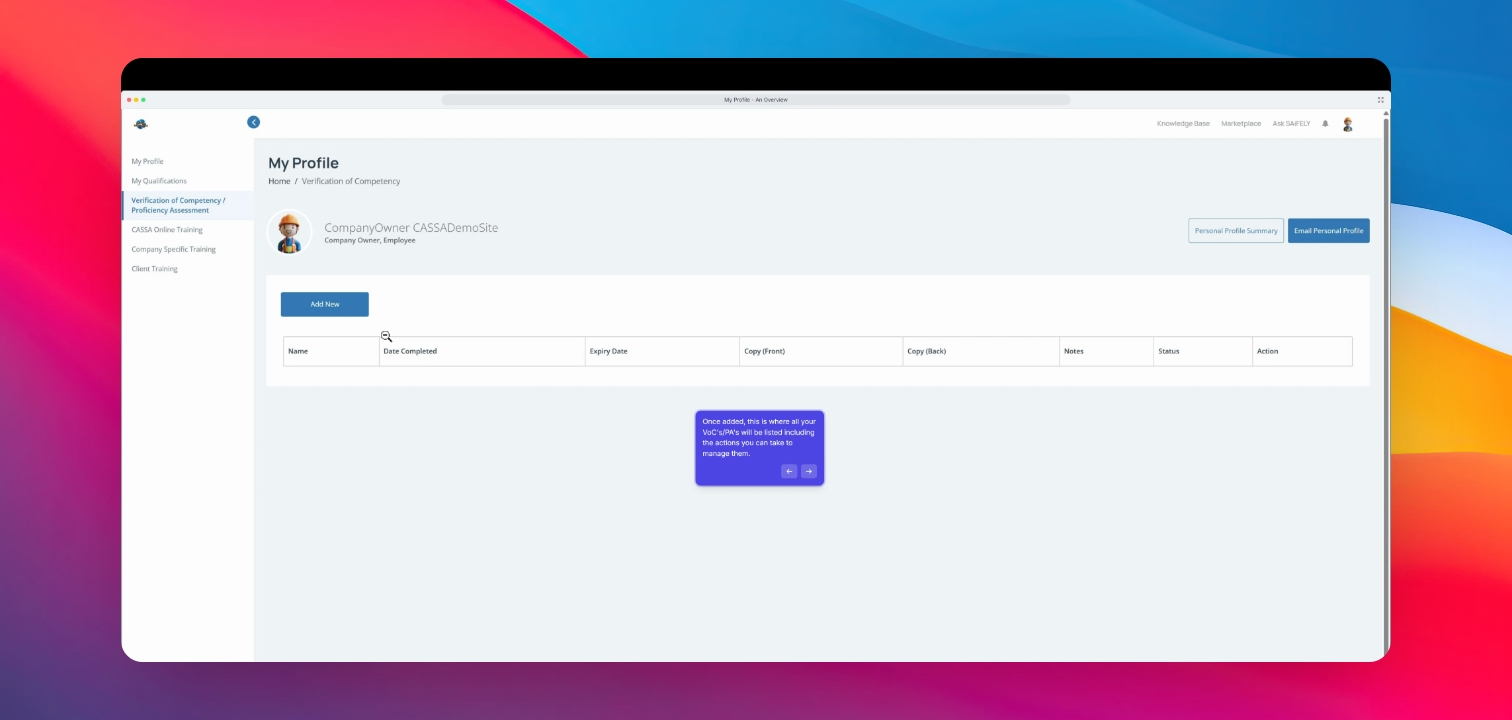
Next, click on Verification of Competency Proficiency Assessment to access those assessment tools, where you will add your VOC proficiencies.
Step 4: Add New Proficiency
By clicking on the Add New button.
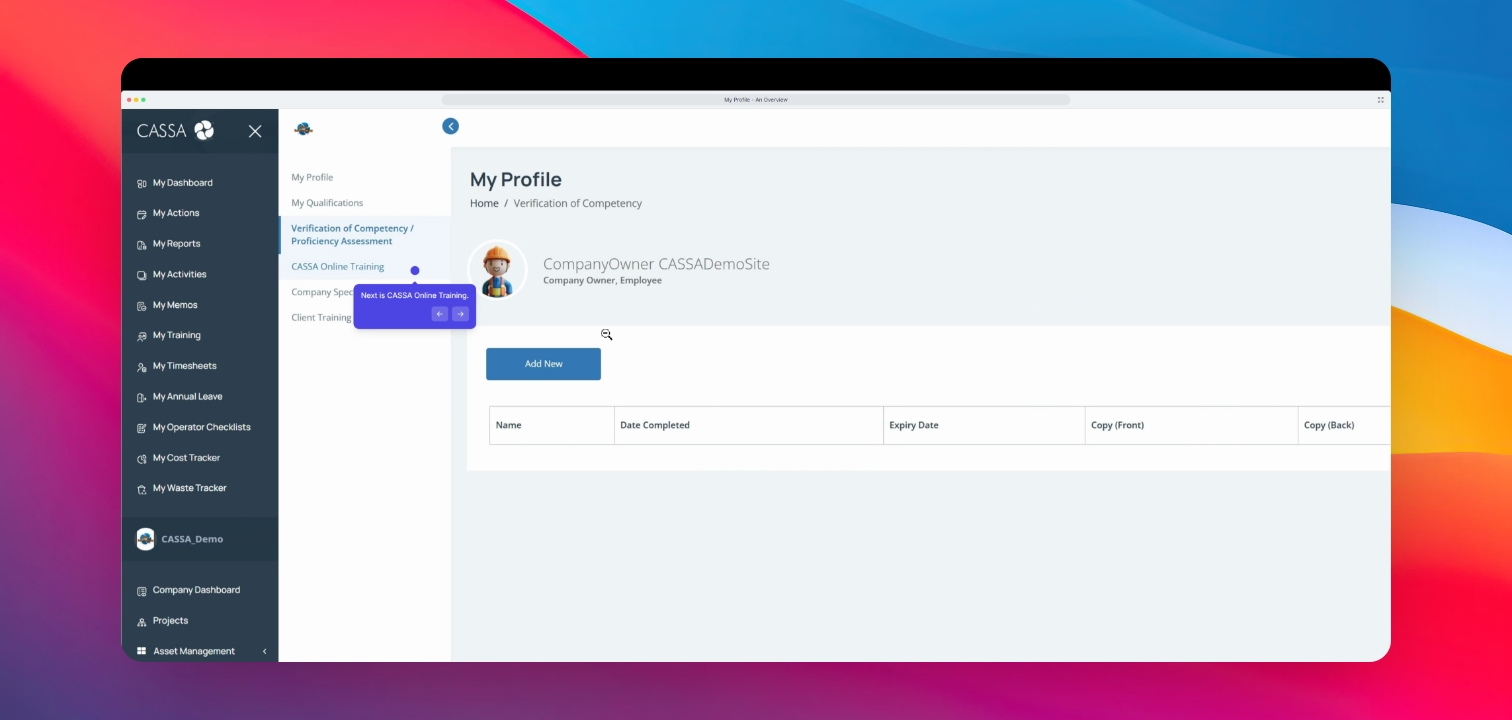
Step 5: CASA Online Training
Next, we'll look at CASA Online Training. All your allocated CASA online training will be listed here along with the relevant dates and actions.
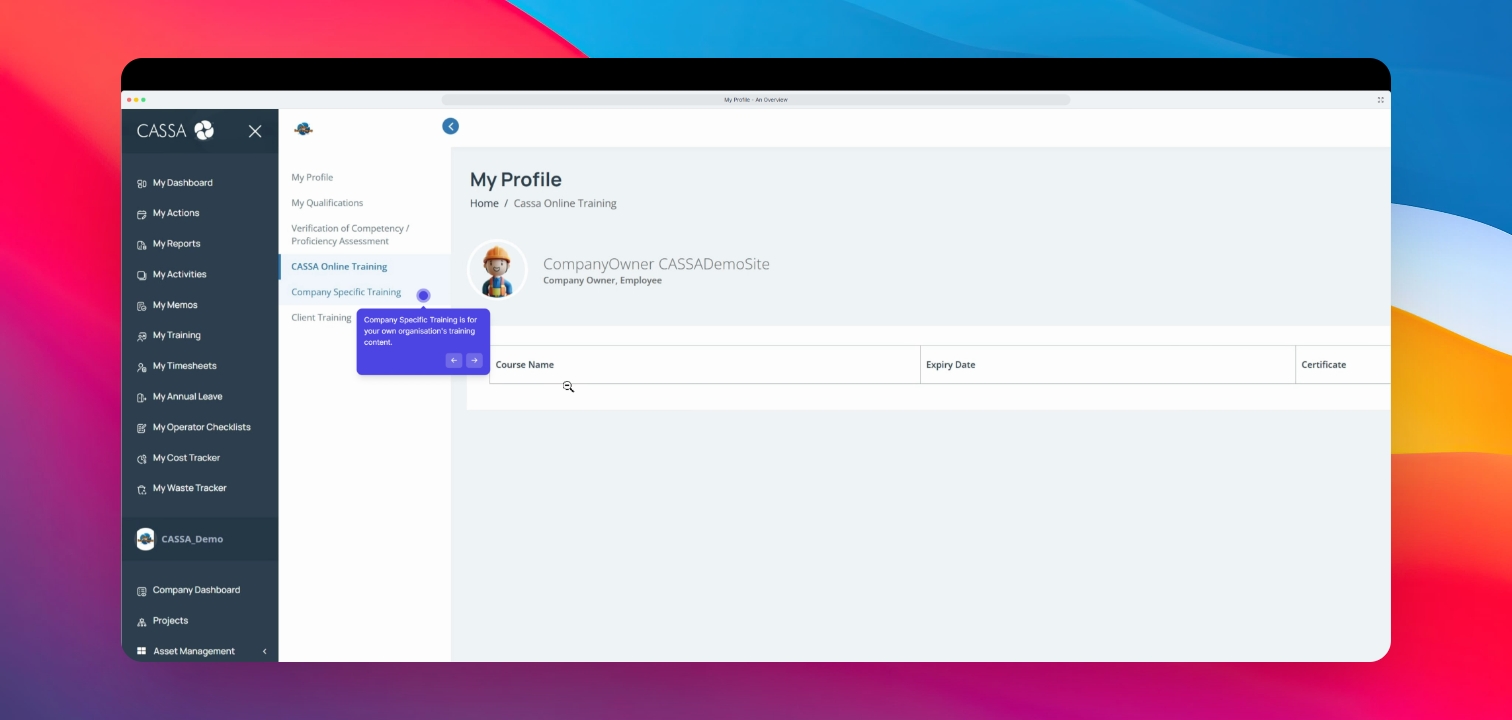
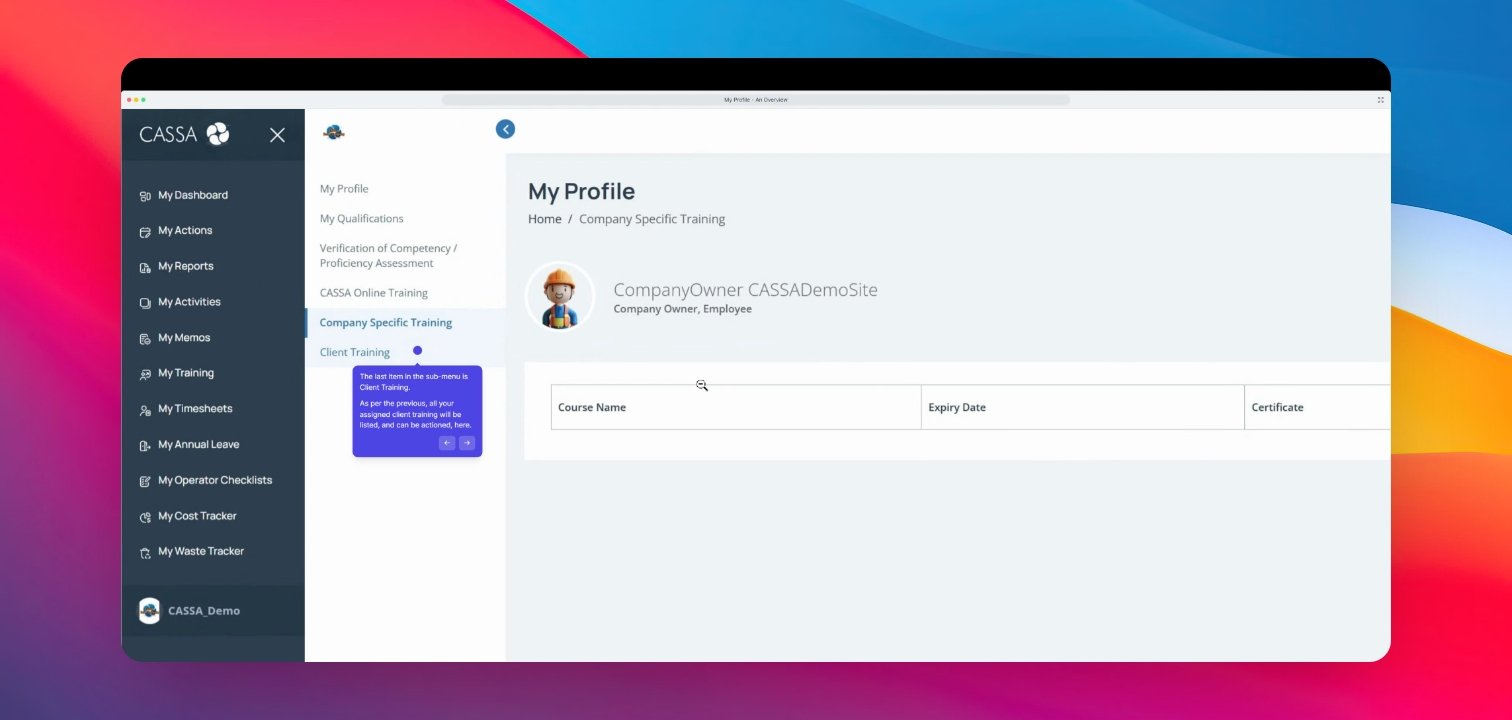
Step 6: Company Training
Your company-specific training will all be listed here with the date, certificate, company name, and the relevant actions.
Step 7: Client Training
Finally, the last item in the submenu is Client Training, where all your assigned client training will be listed and can be actioned.
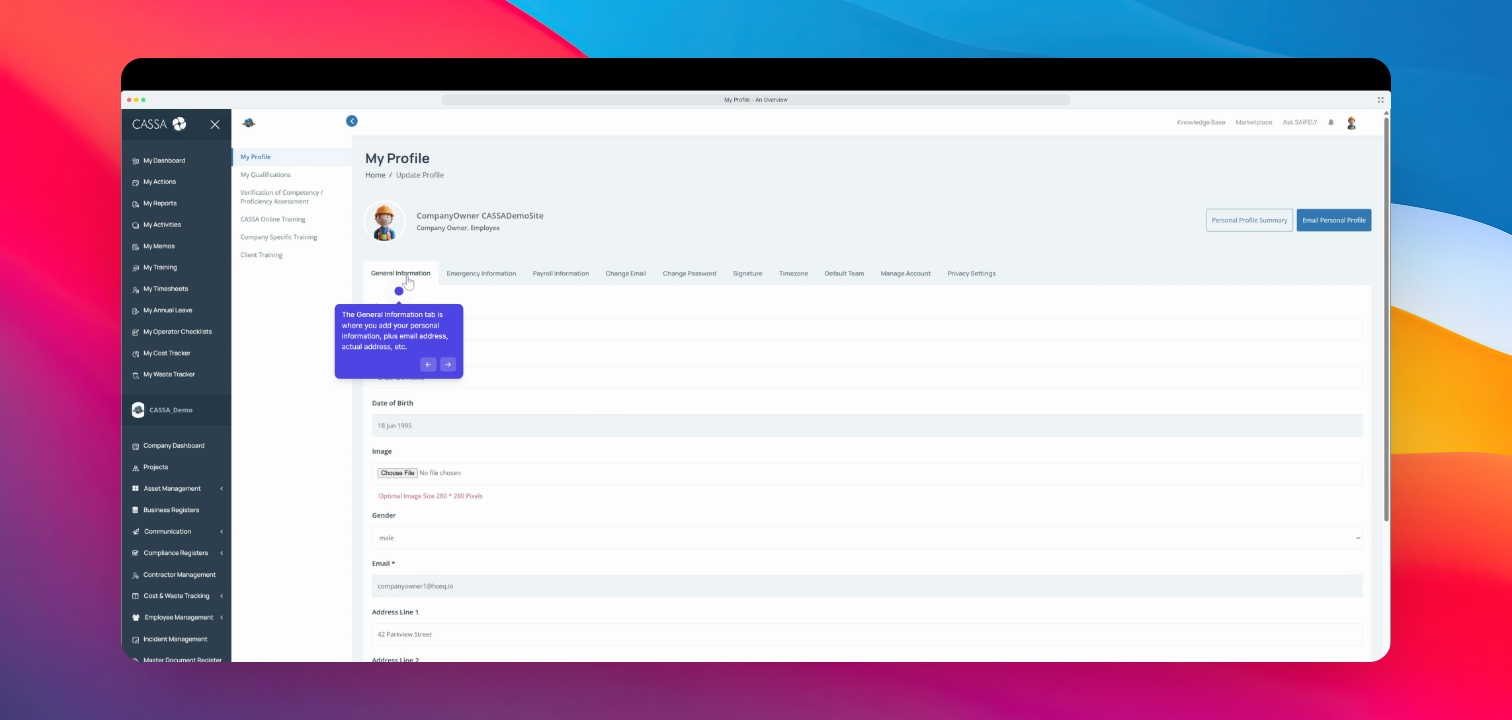
Step 8: General Information
Click on the General Information tab to add your personal information, including email address and actual address.
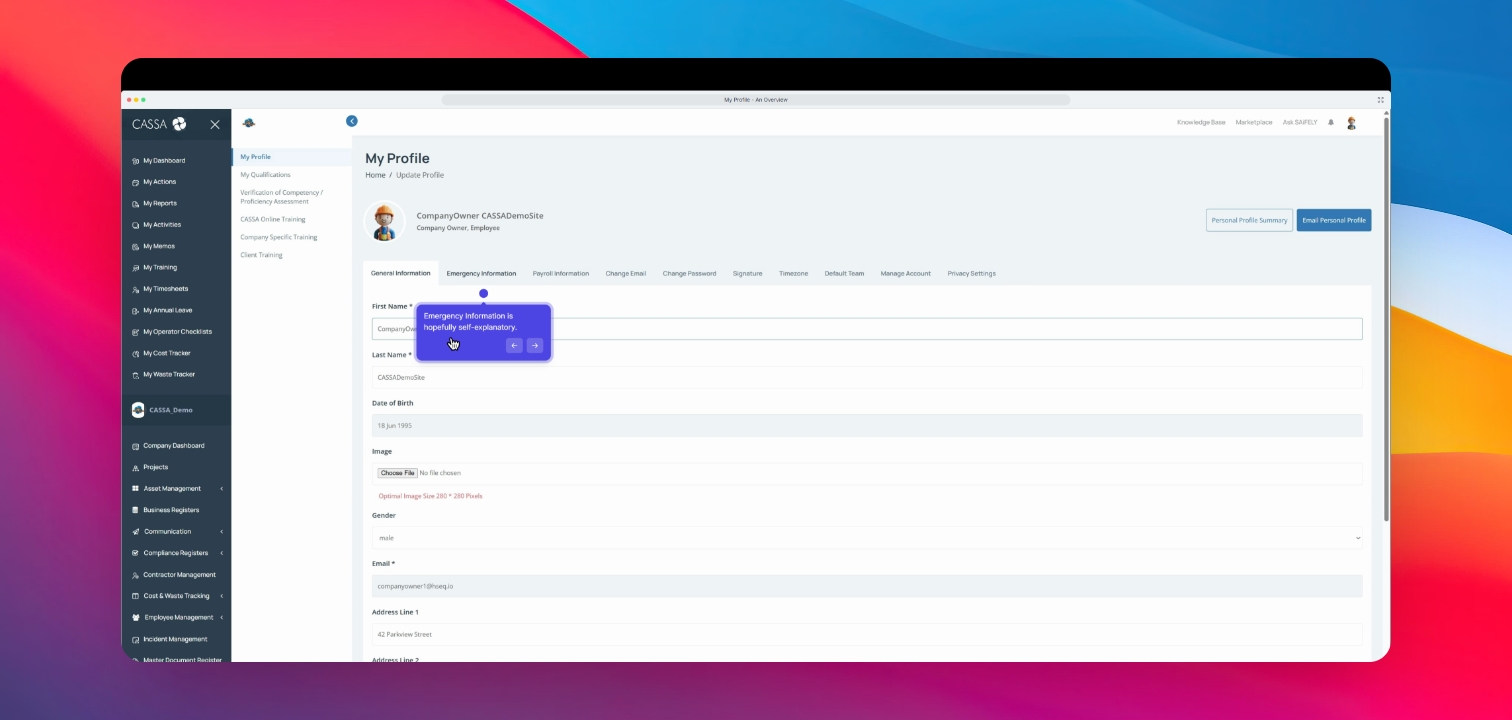
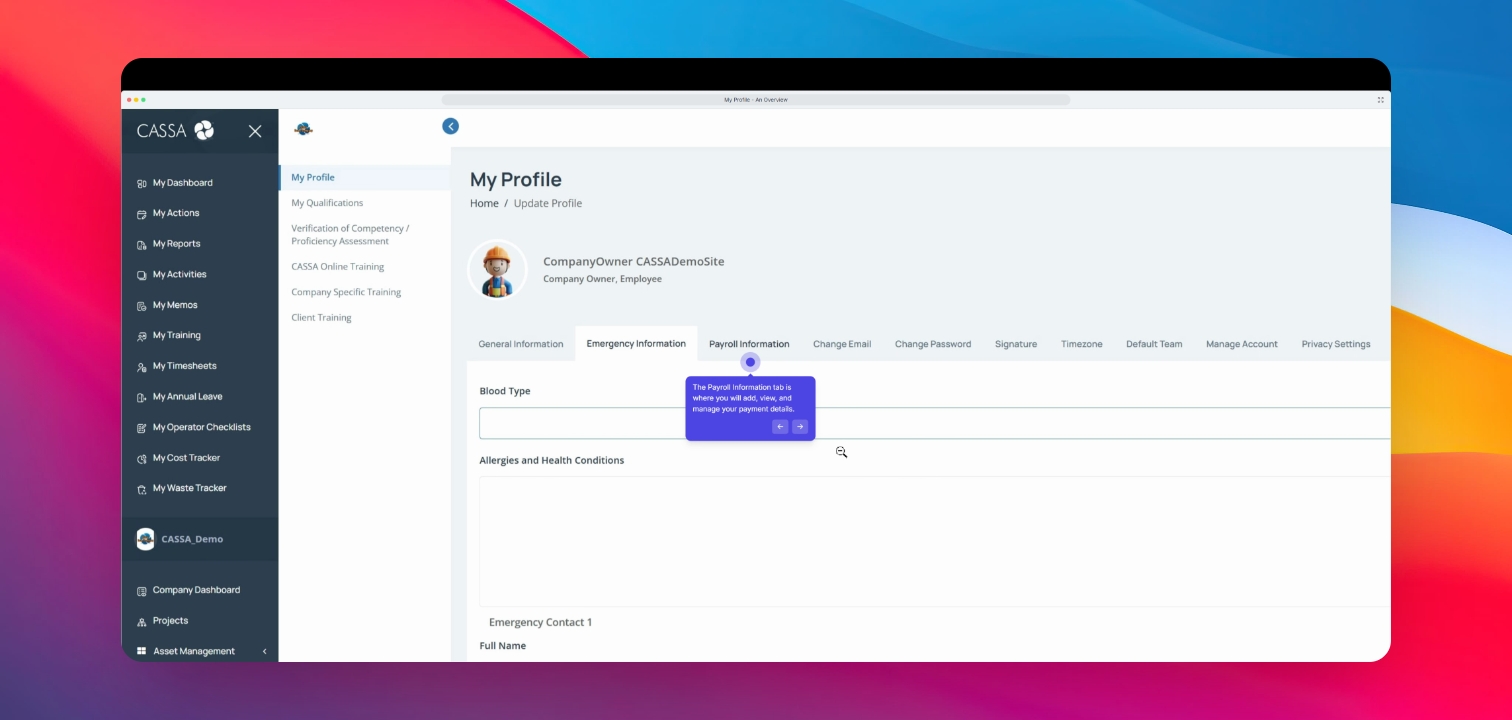
Step 9: Emergency Information
Next is the Emergency Information tab, where you can enter your blood type, allergies, emergency contacts, etc. We recommend completing this tab as soon as you can.
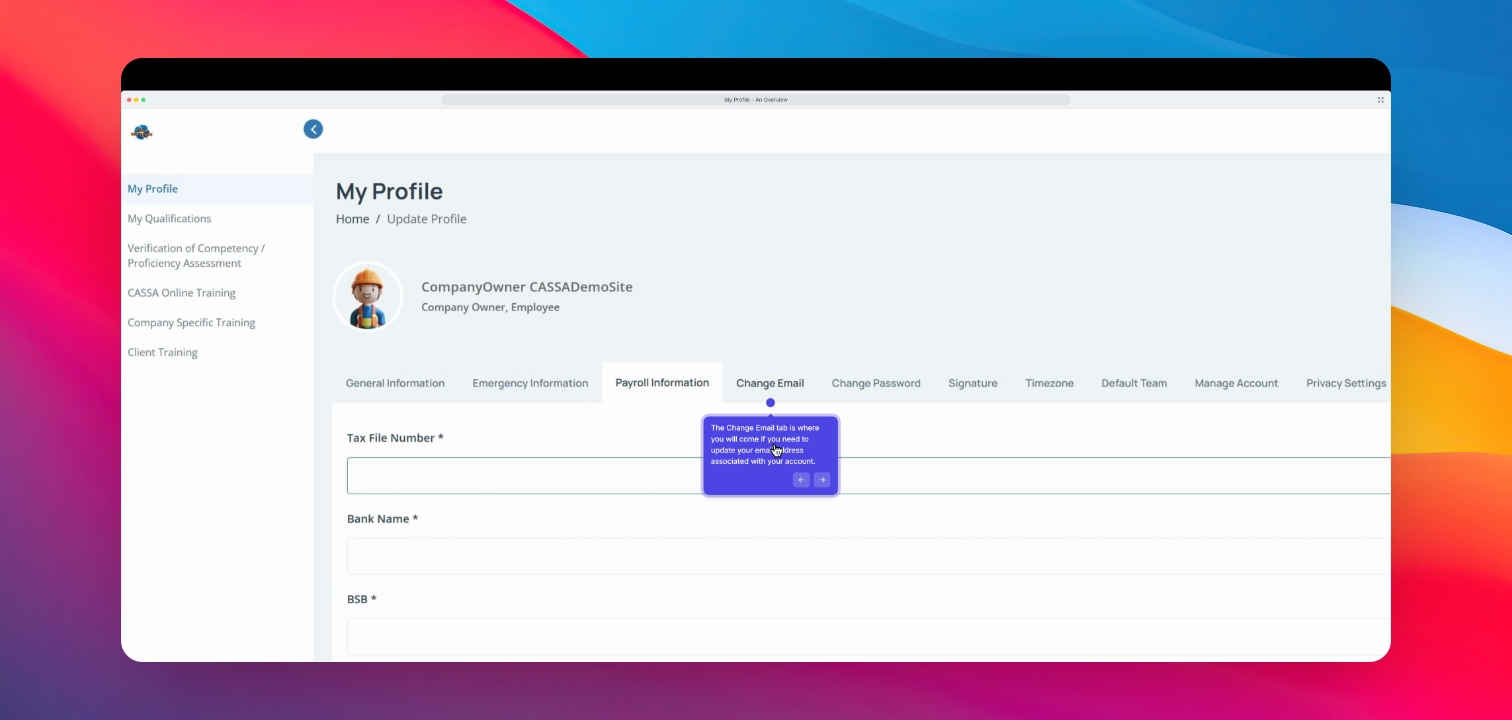
Step 10: Payroll Information
The Payroll Information tab is where you manage your payment details, including your tax file number, bank name, and account number.
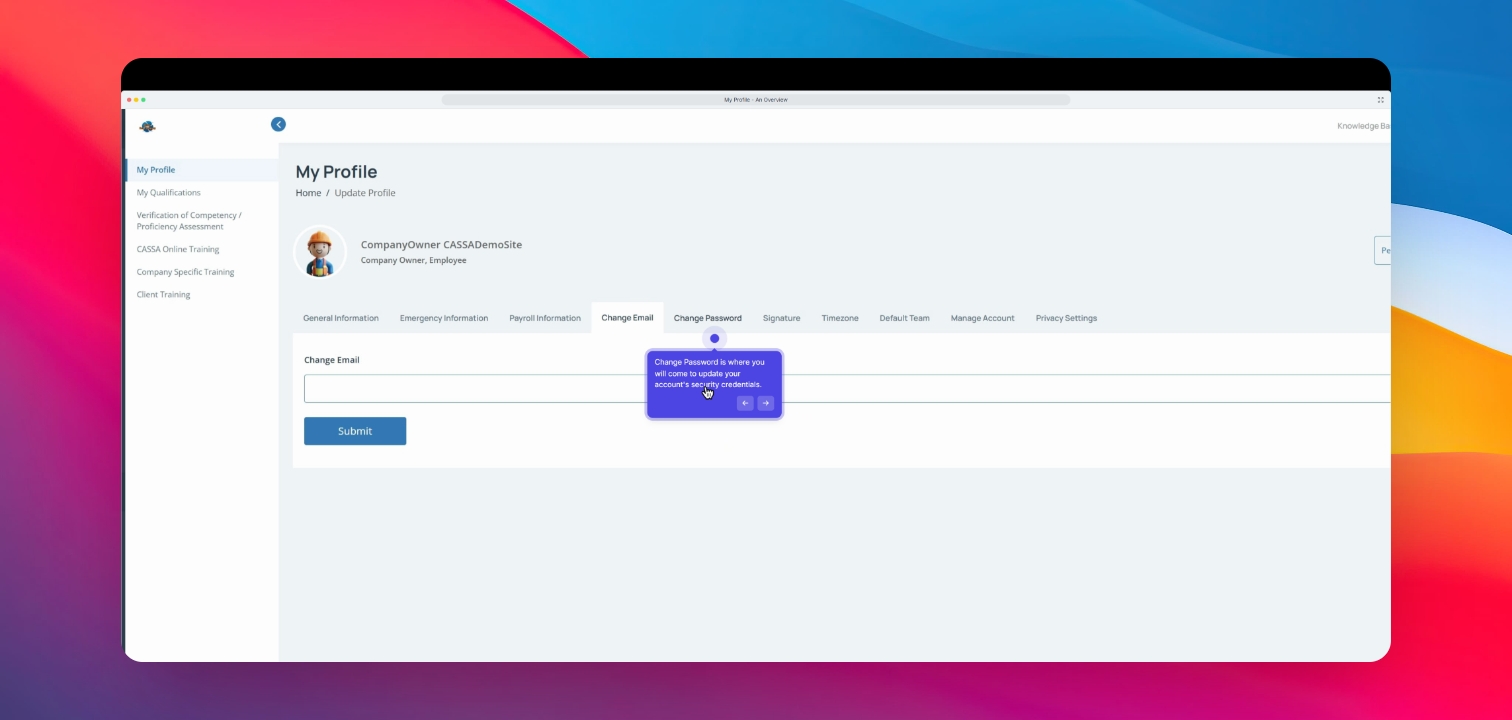
Step 11: Change Email
Next is the Change Email tab. Enter your new email address in the field, click on Submit, and check your email for instructions on what to do next.
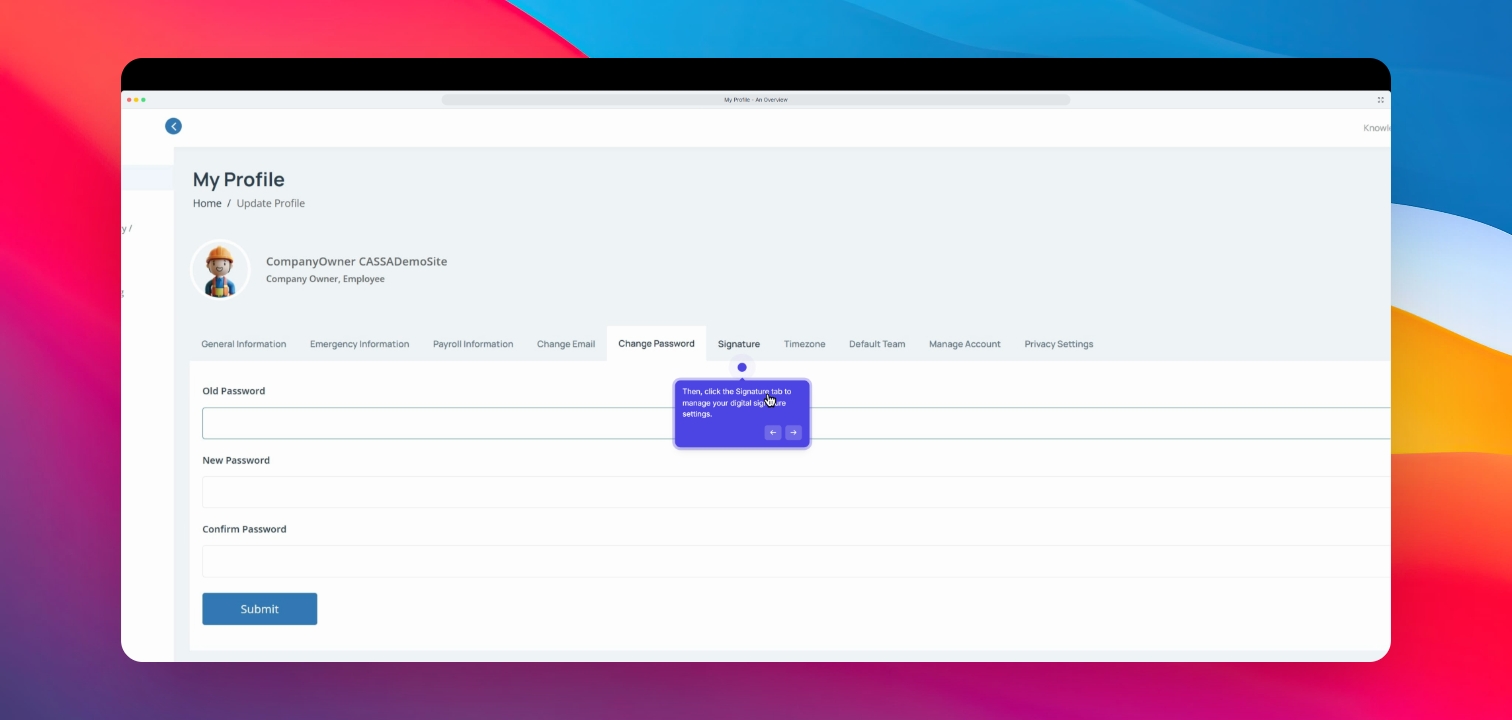
Step 12: Change Password
The Change Password tab is where you update your account security credentials. Enter your old password, current password, new password, and confirmation, then click Submit.
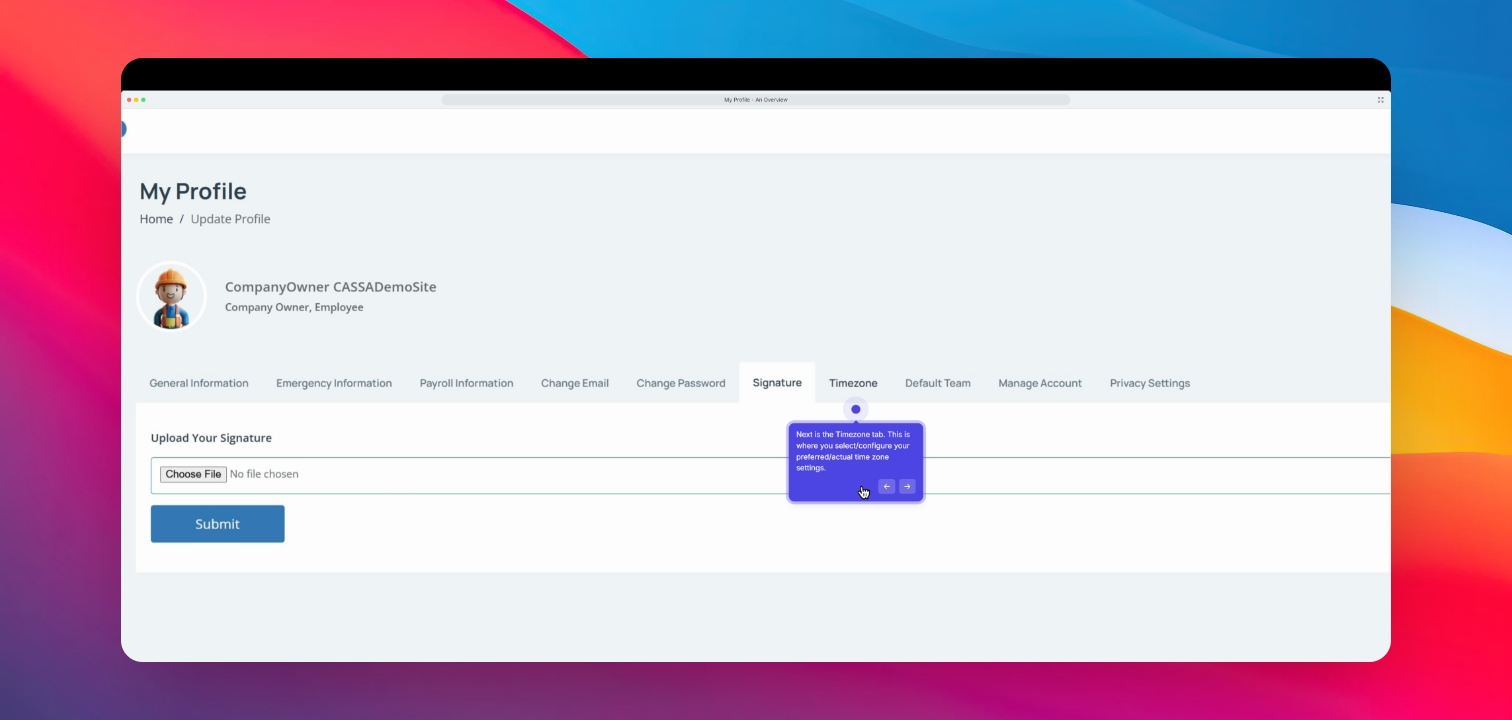
Step 13: Upload Signature
Next, click on the Signature tab to upload your signature. It's recommended to do this early as you'll use it throughout the CASA system.
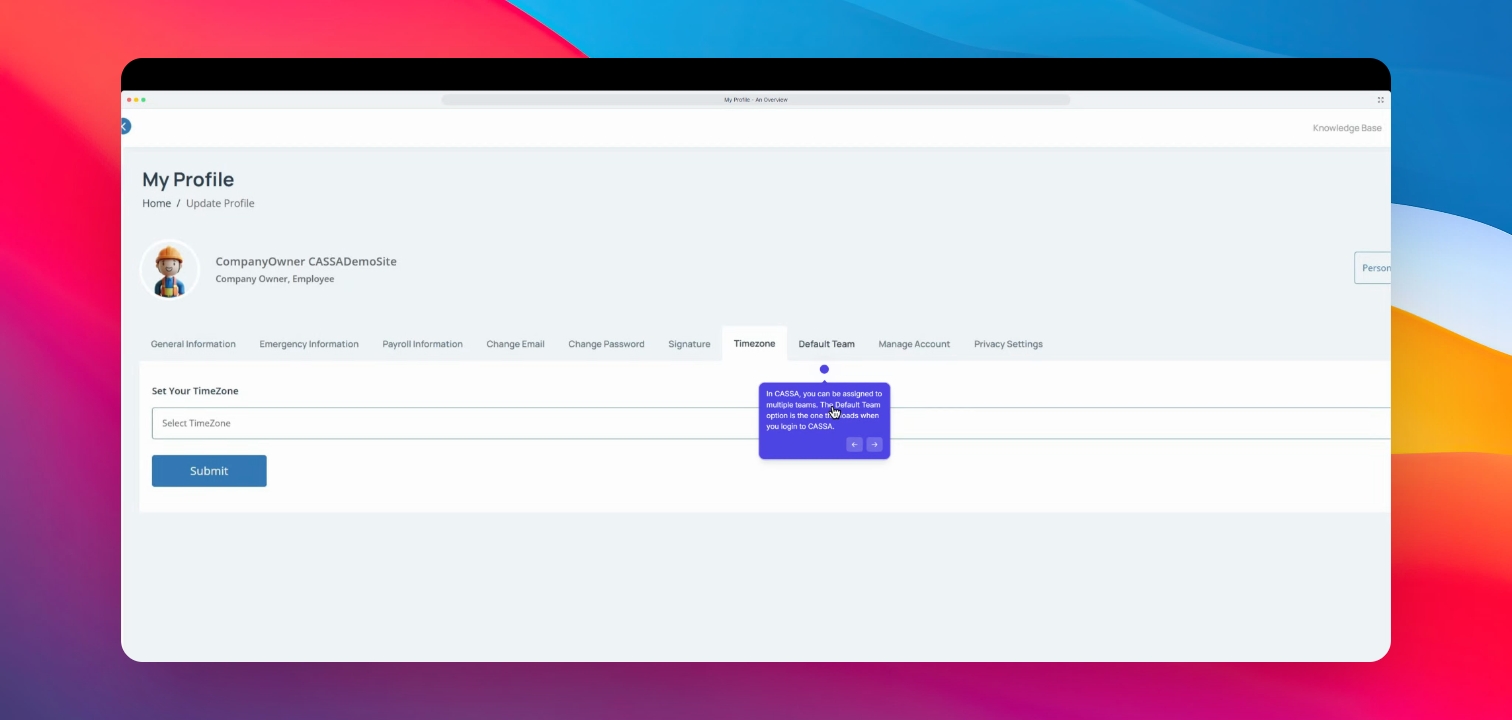
Step 14: Time Zone Configuration
Now, click on the Time Zone tab to configure your current time zone. Select your time zone from the drop-down list.
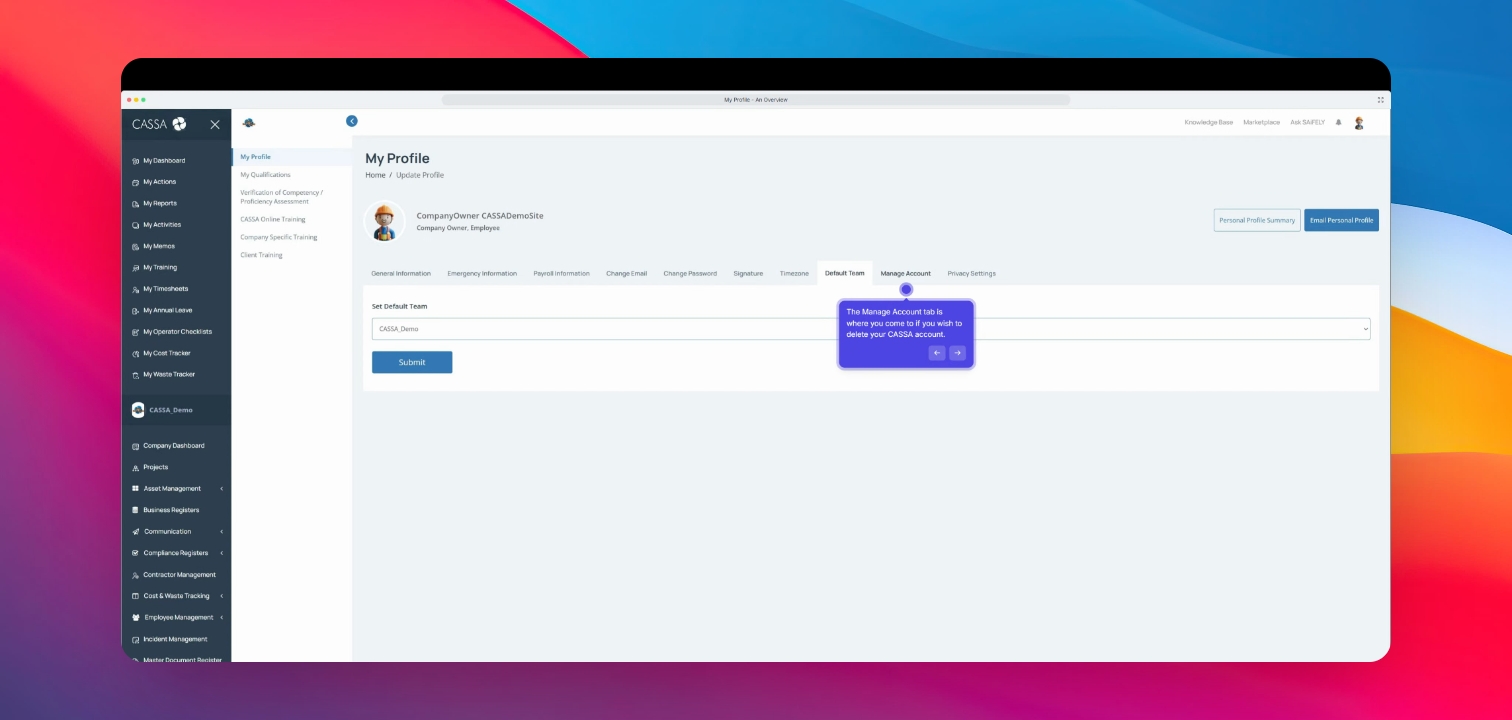
Step 15: Default Team Selection
All you need to do is click on the drop-down list and select your default team. If you have multiple teams, they will be listed here.
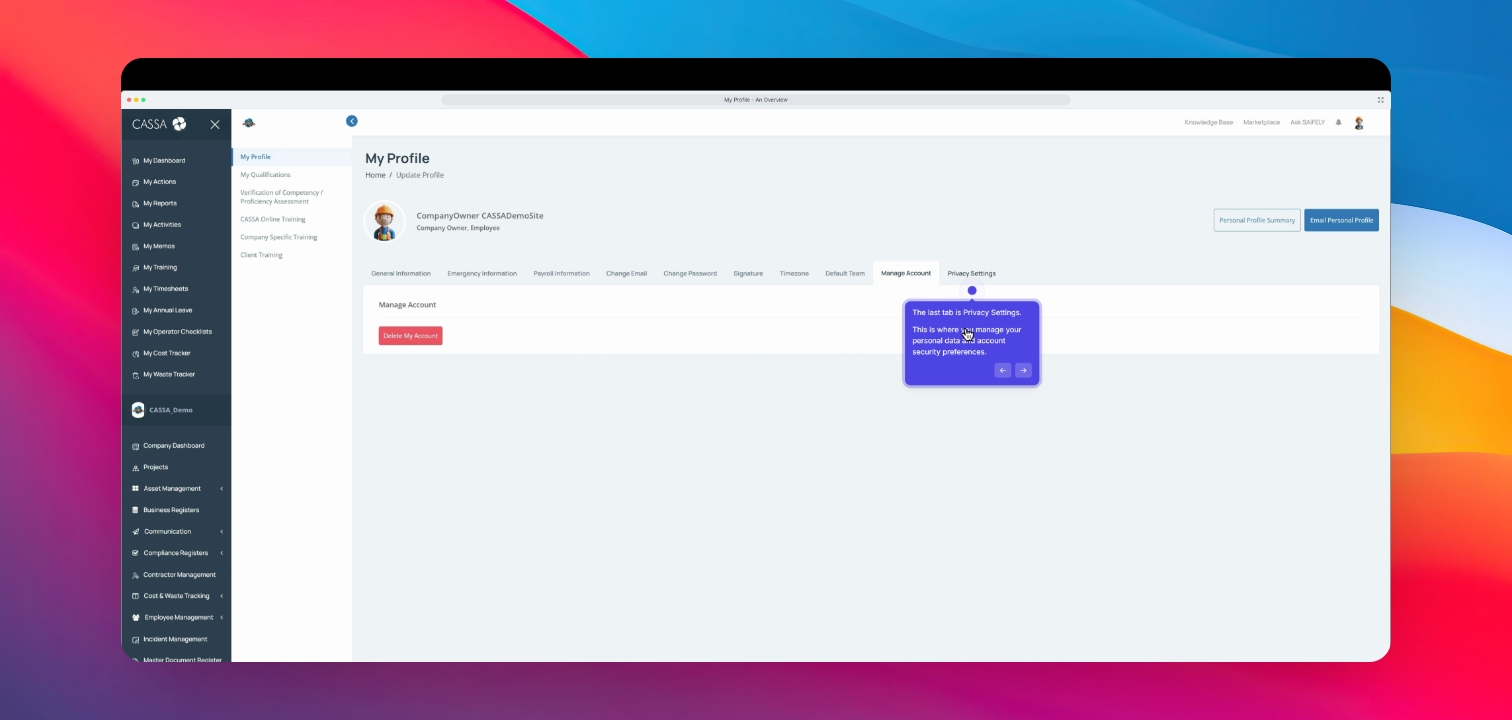
Step 16: Manage Account
For the Manage Account tab, this is where you can delete your account and associated data. Please note that deleting your account is irreversible.
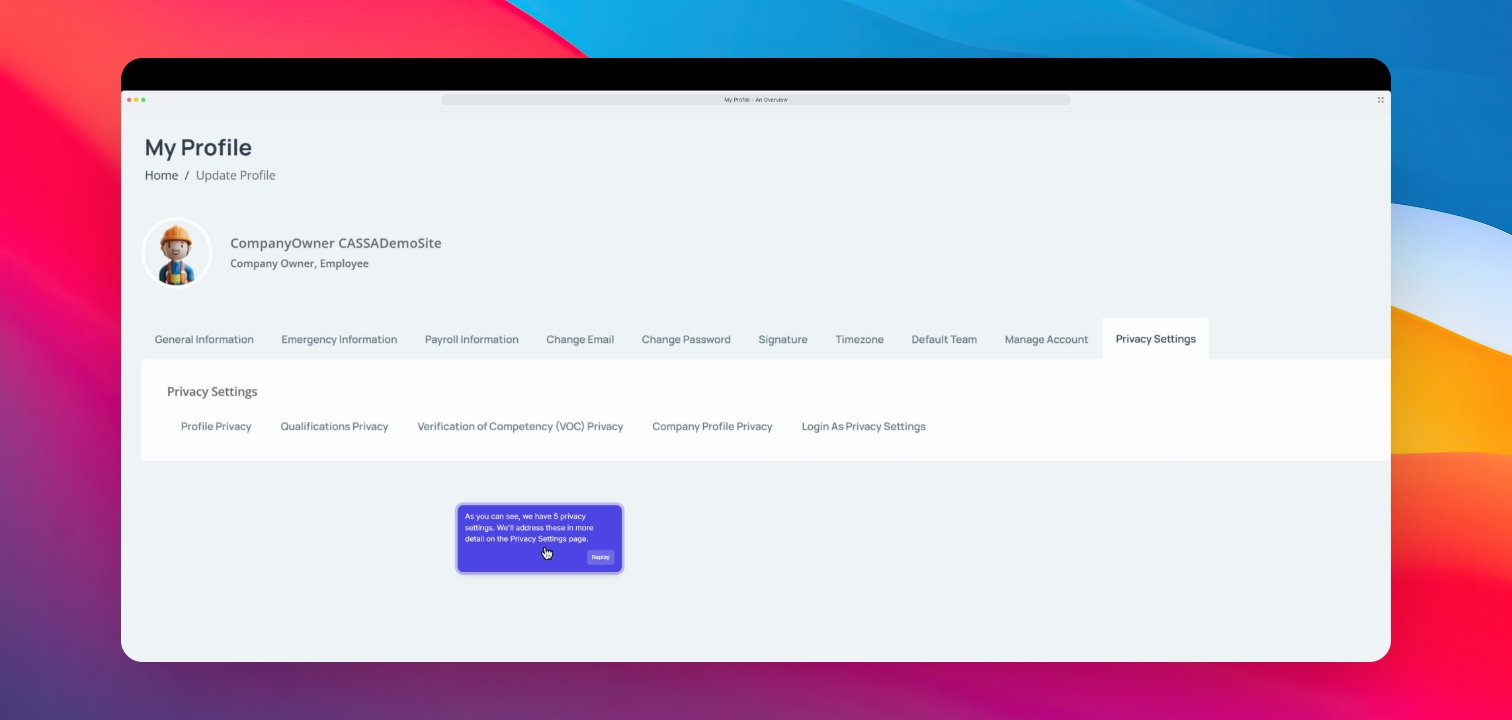
Step 17: Privacy Settings
The last tab is Privacy Settings, where you manage your personal data and account security preferences.
That's your My Profile overview.