The below video walks you through the waste tracking register:
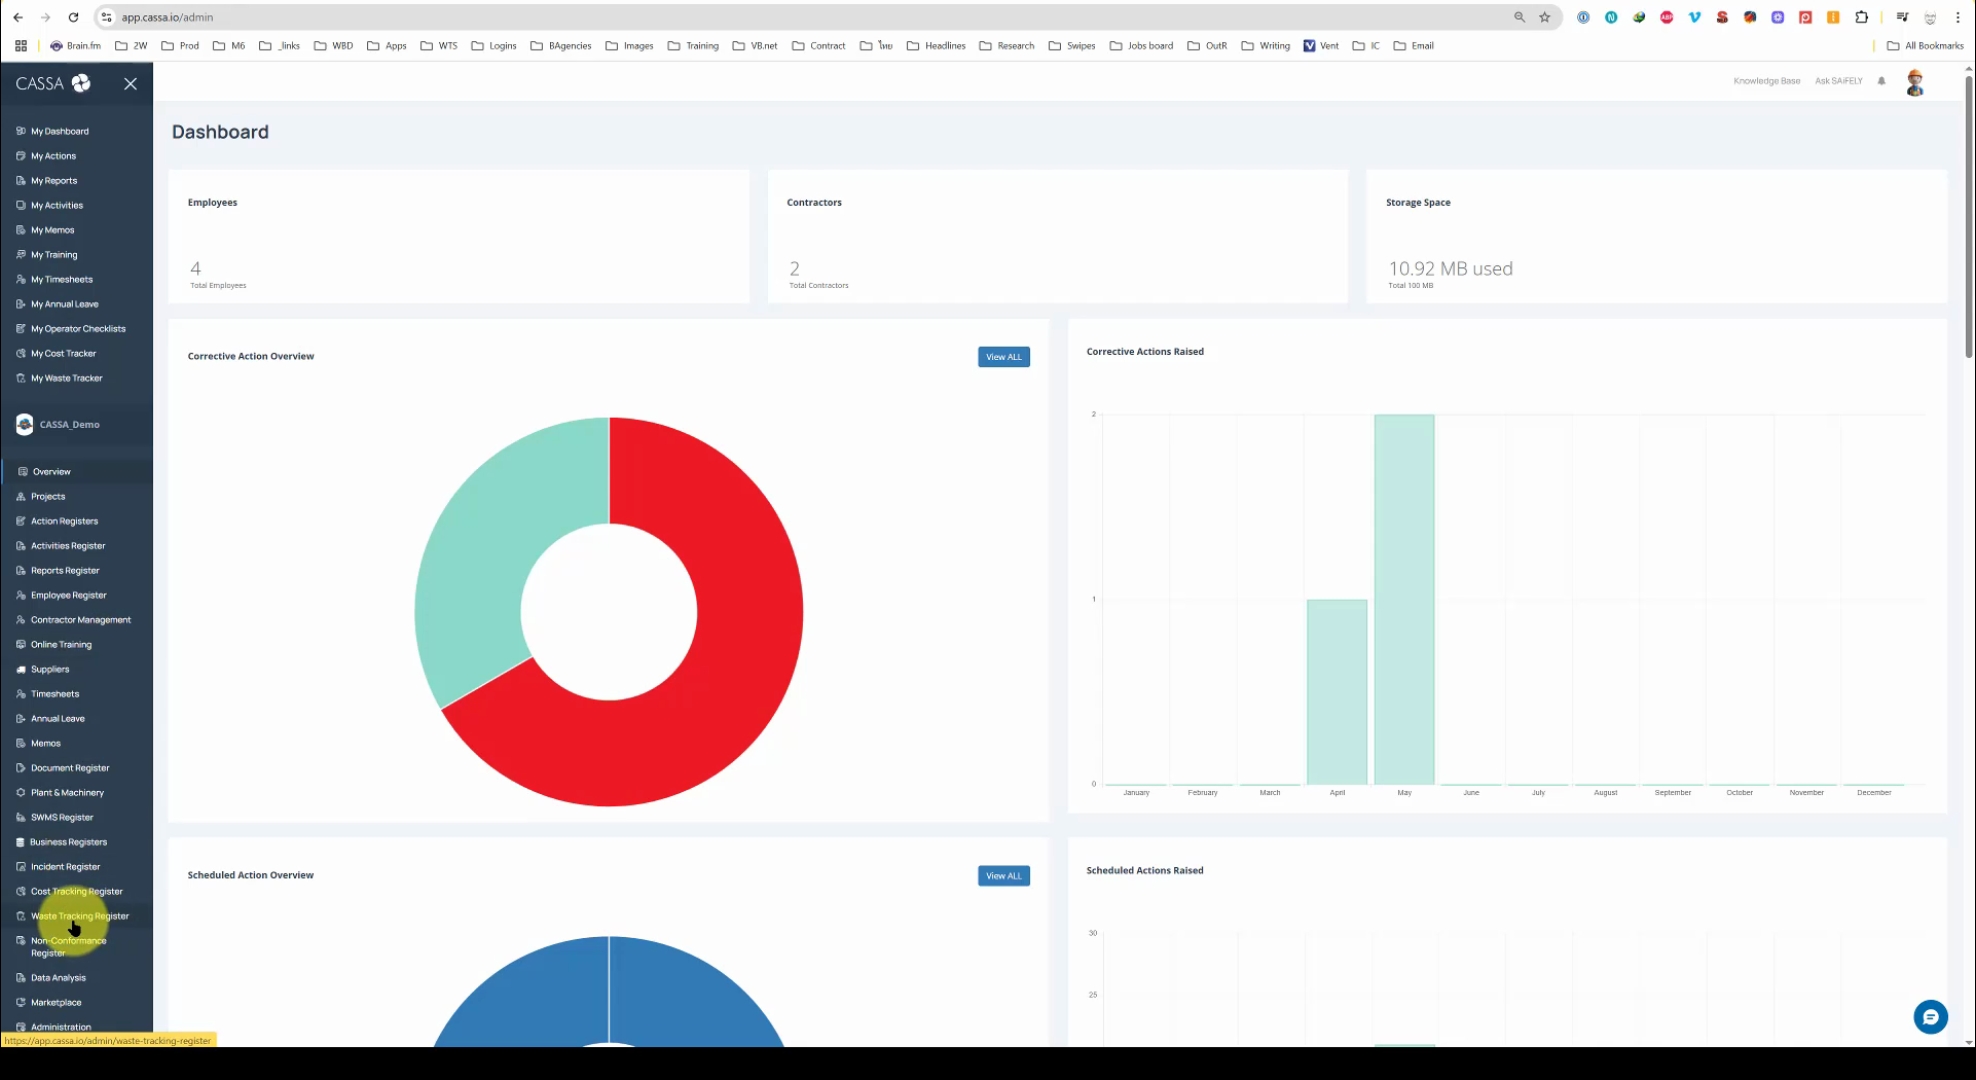
To access the Waste Tracking Register, click on it in the navigation pane. After a few seconds, it will load.
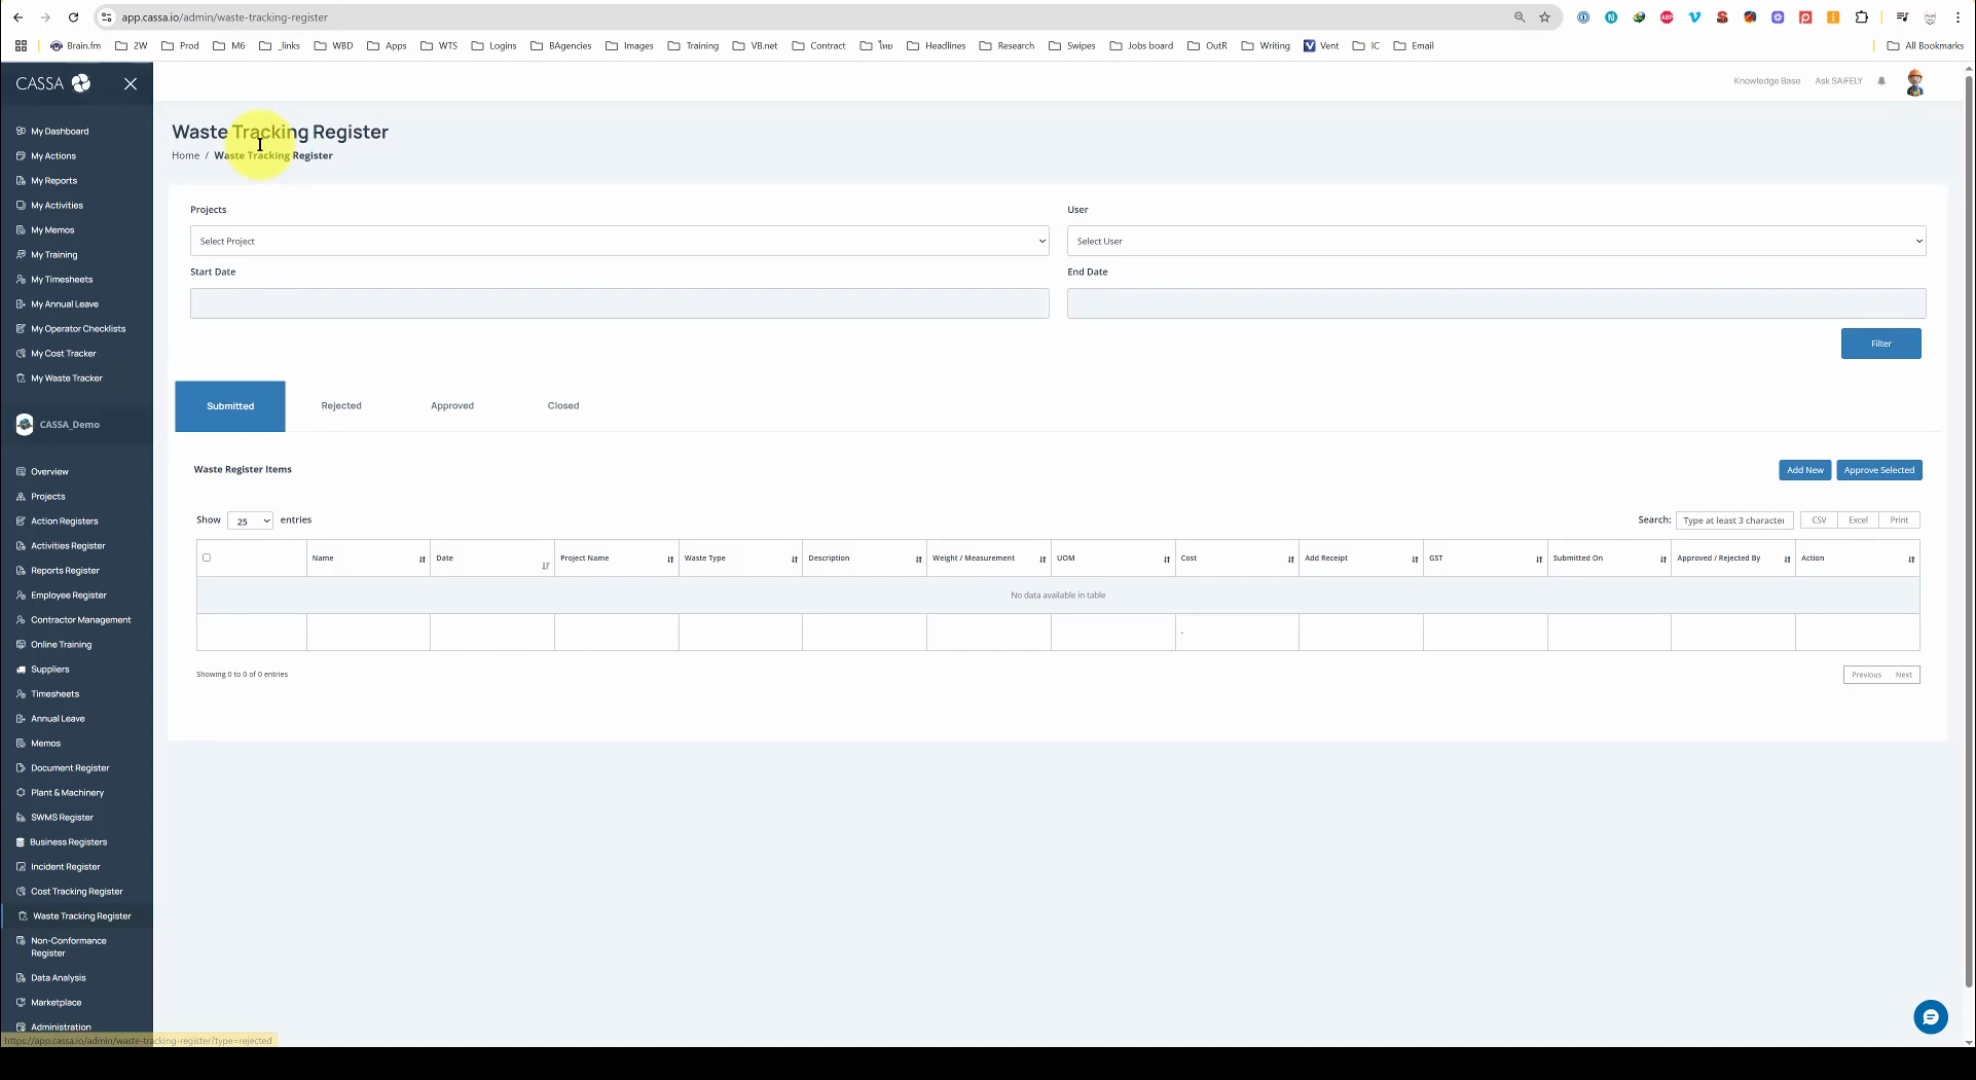
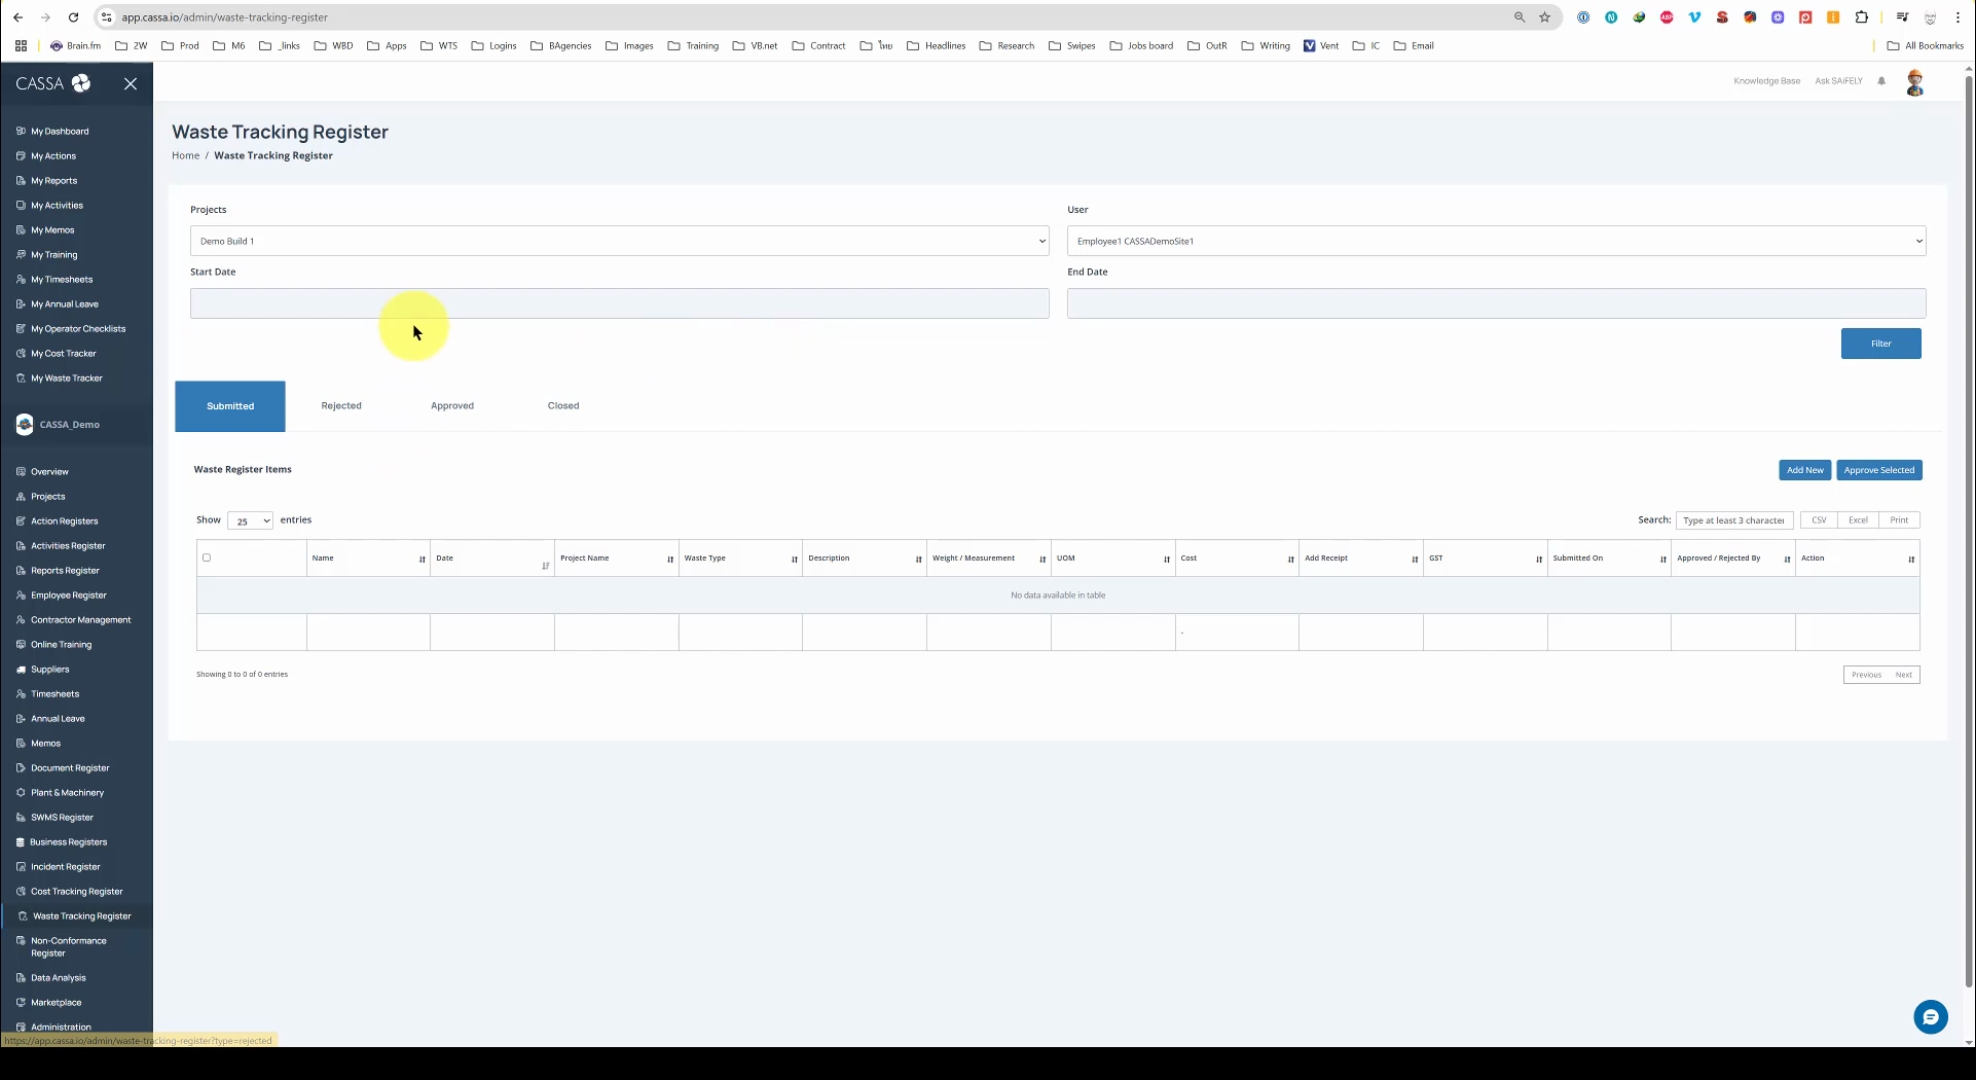
At the top, you will find the filter options which include: projects, user, start date, end date, and the filter action button.
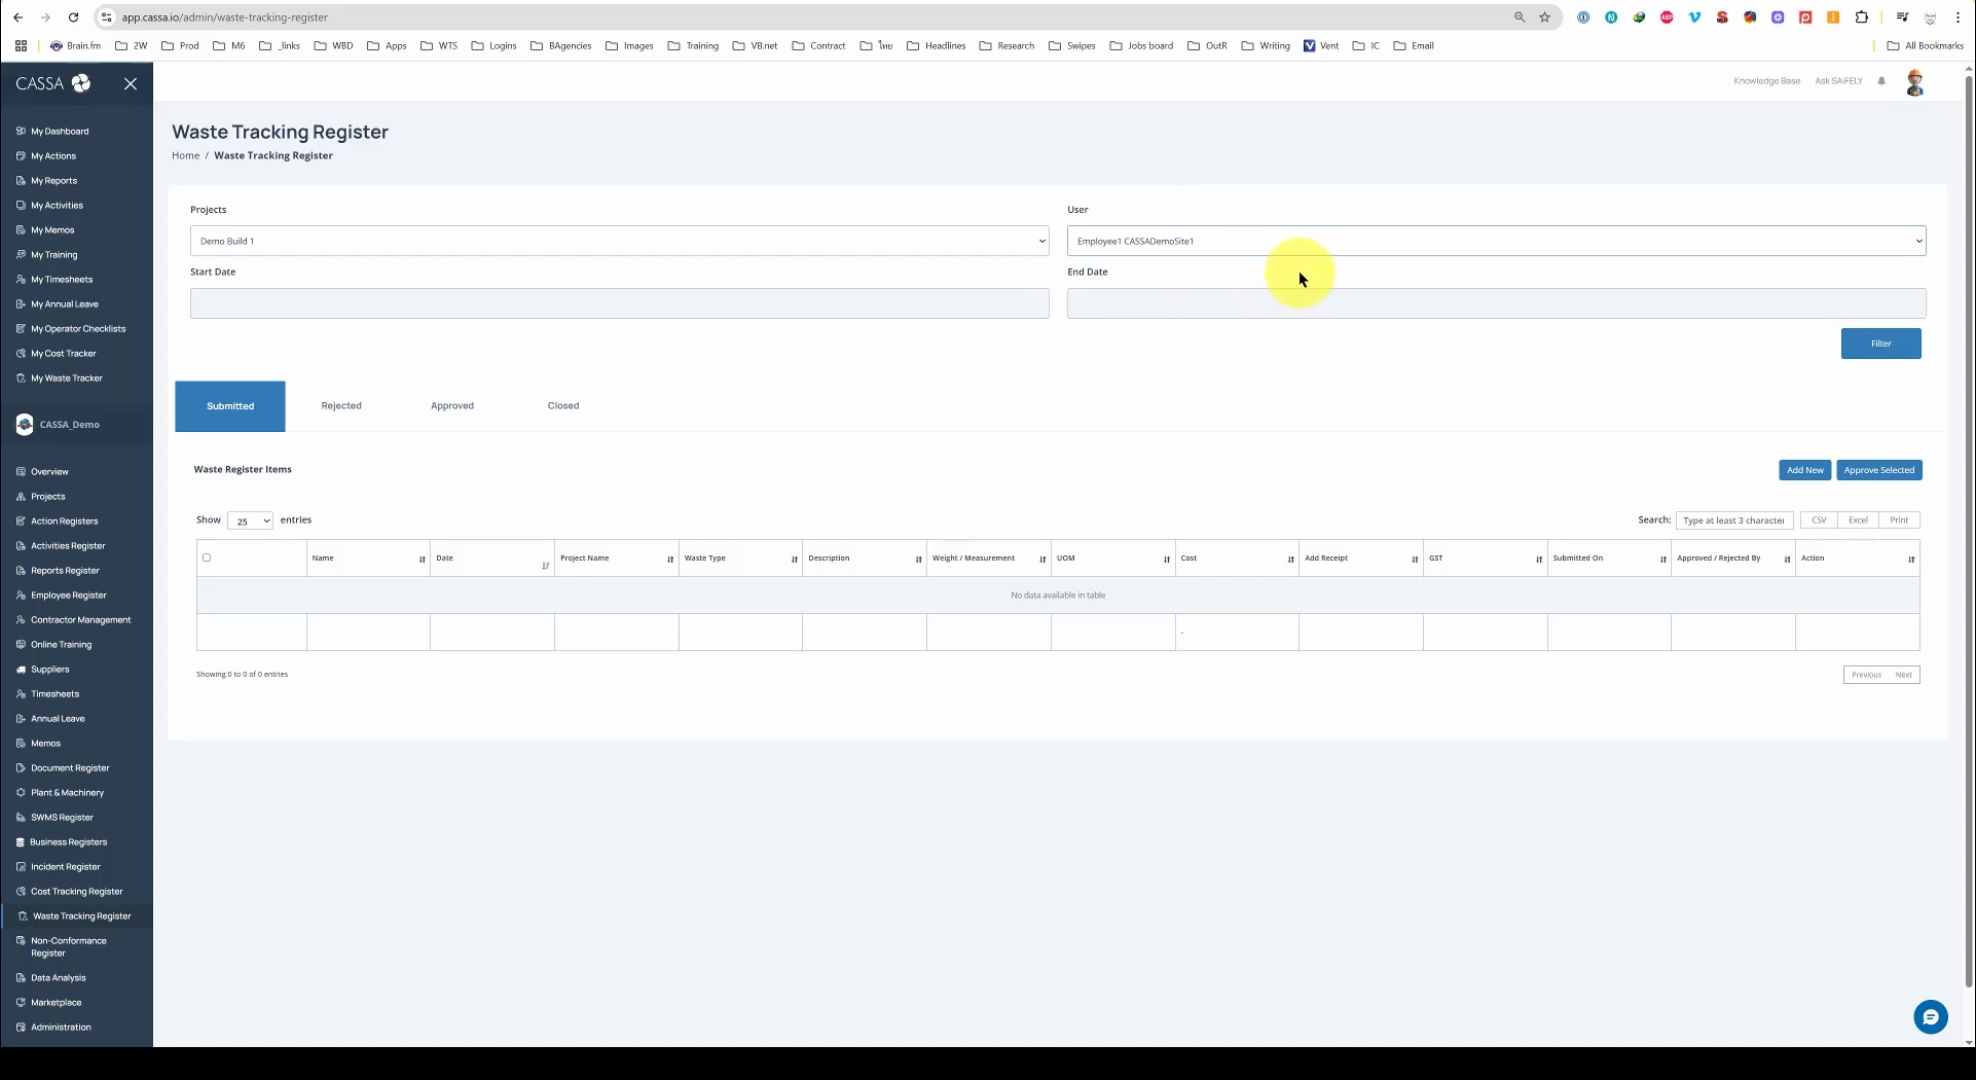
Click on the drop-down for the project and also for the user.

You can specify a start date and an end date using the date picker in the conventional manner.
Once you have selected your filter criteria, click on the filter button.
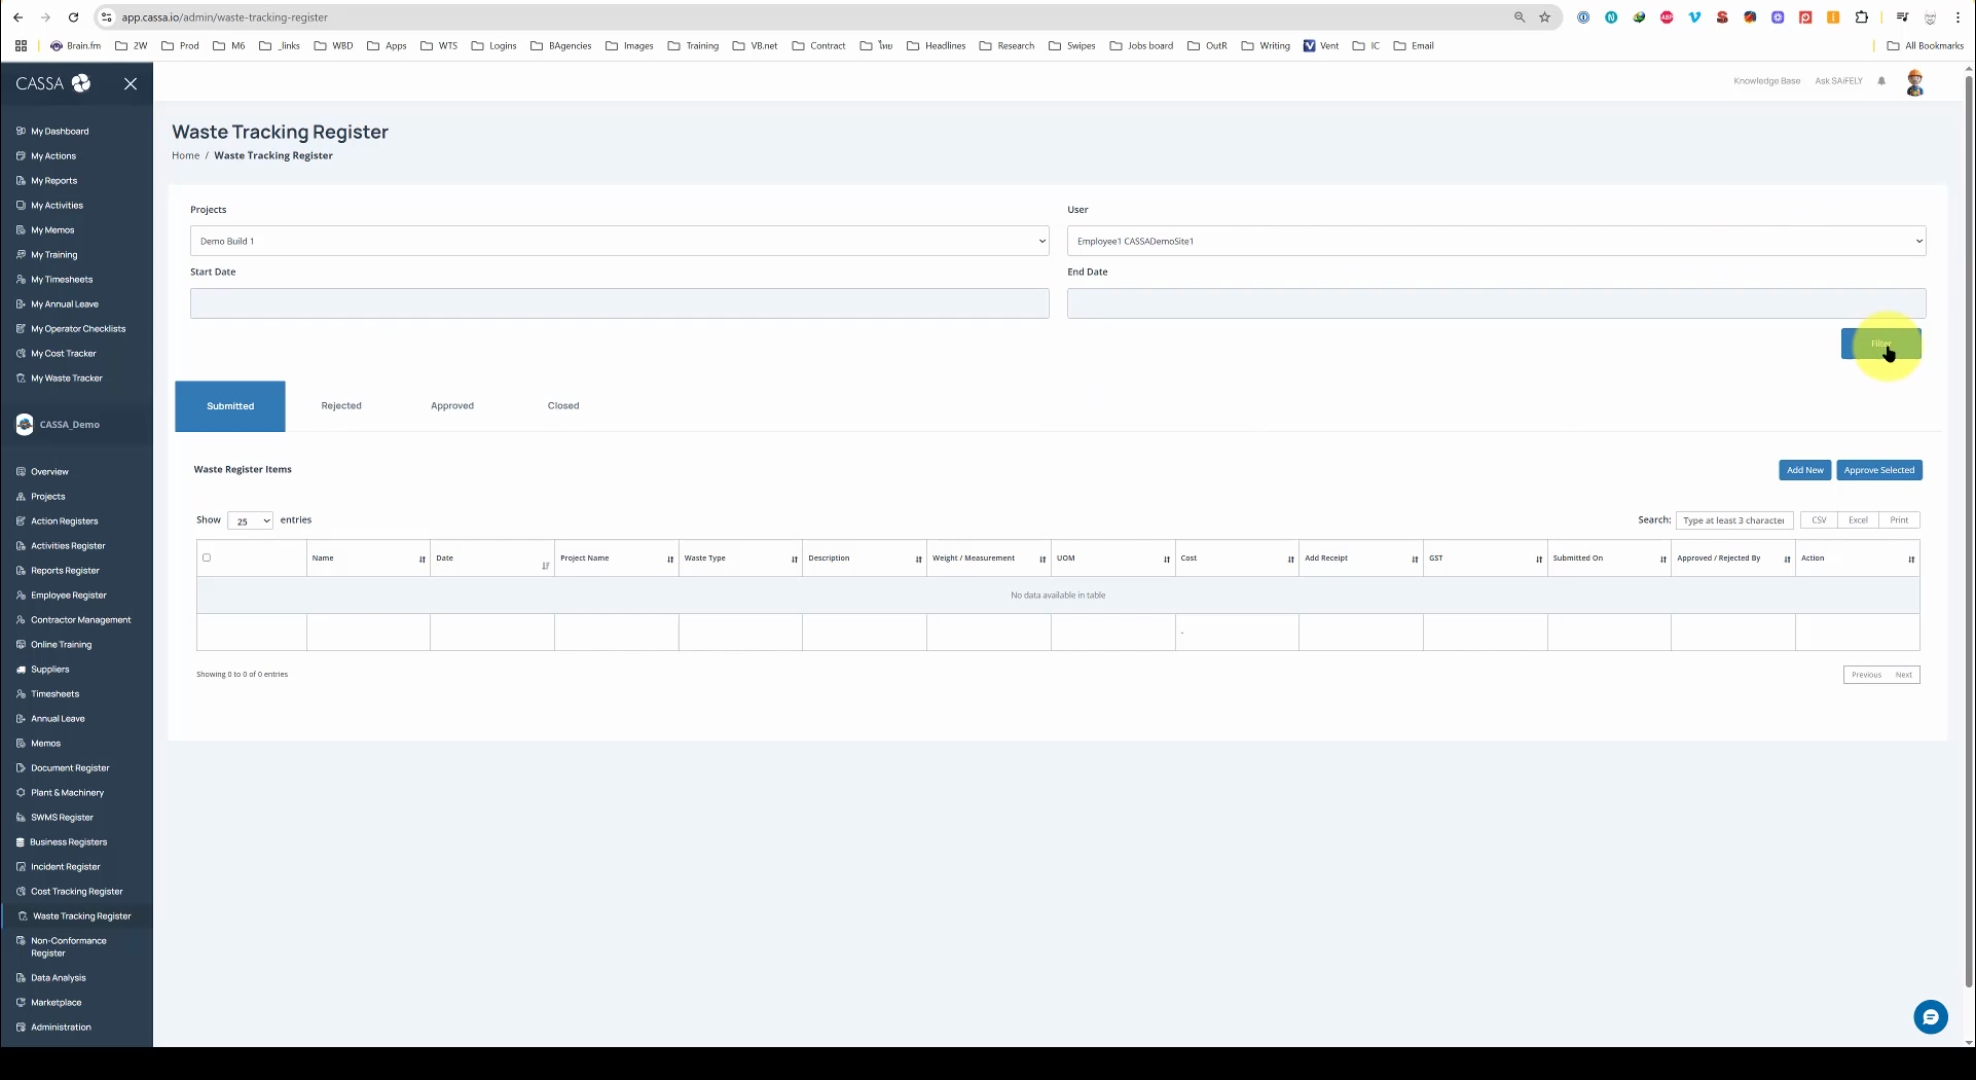
The grid will update based on the items selected in the filter.

Below that, you will find four tabs: submitted, rejected, approved, and closed. The grid displays the waste register items underneath these tabs.
Additionally, there is an add new button and an approve selected button.

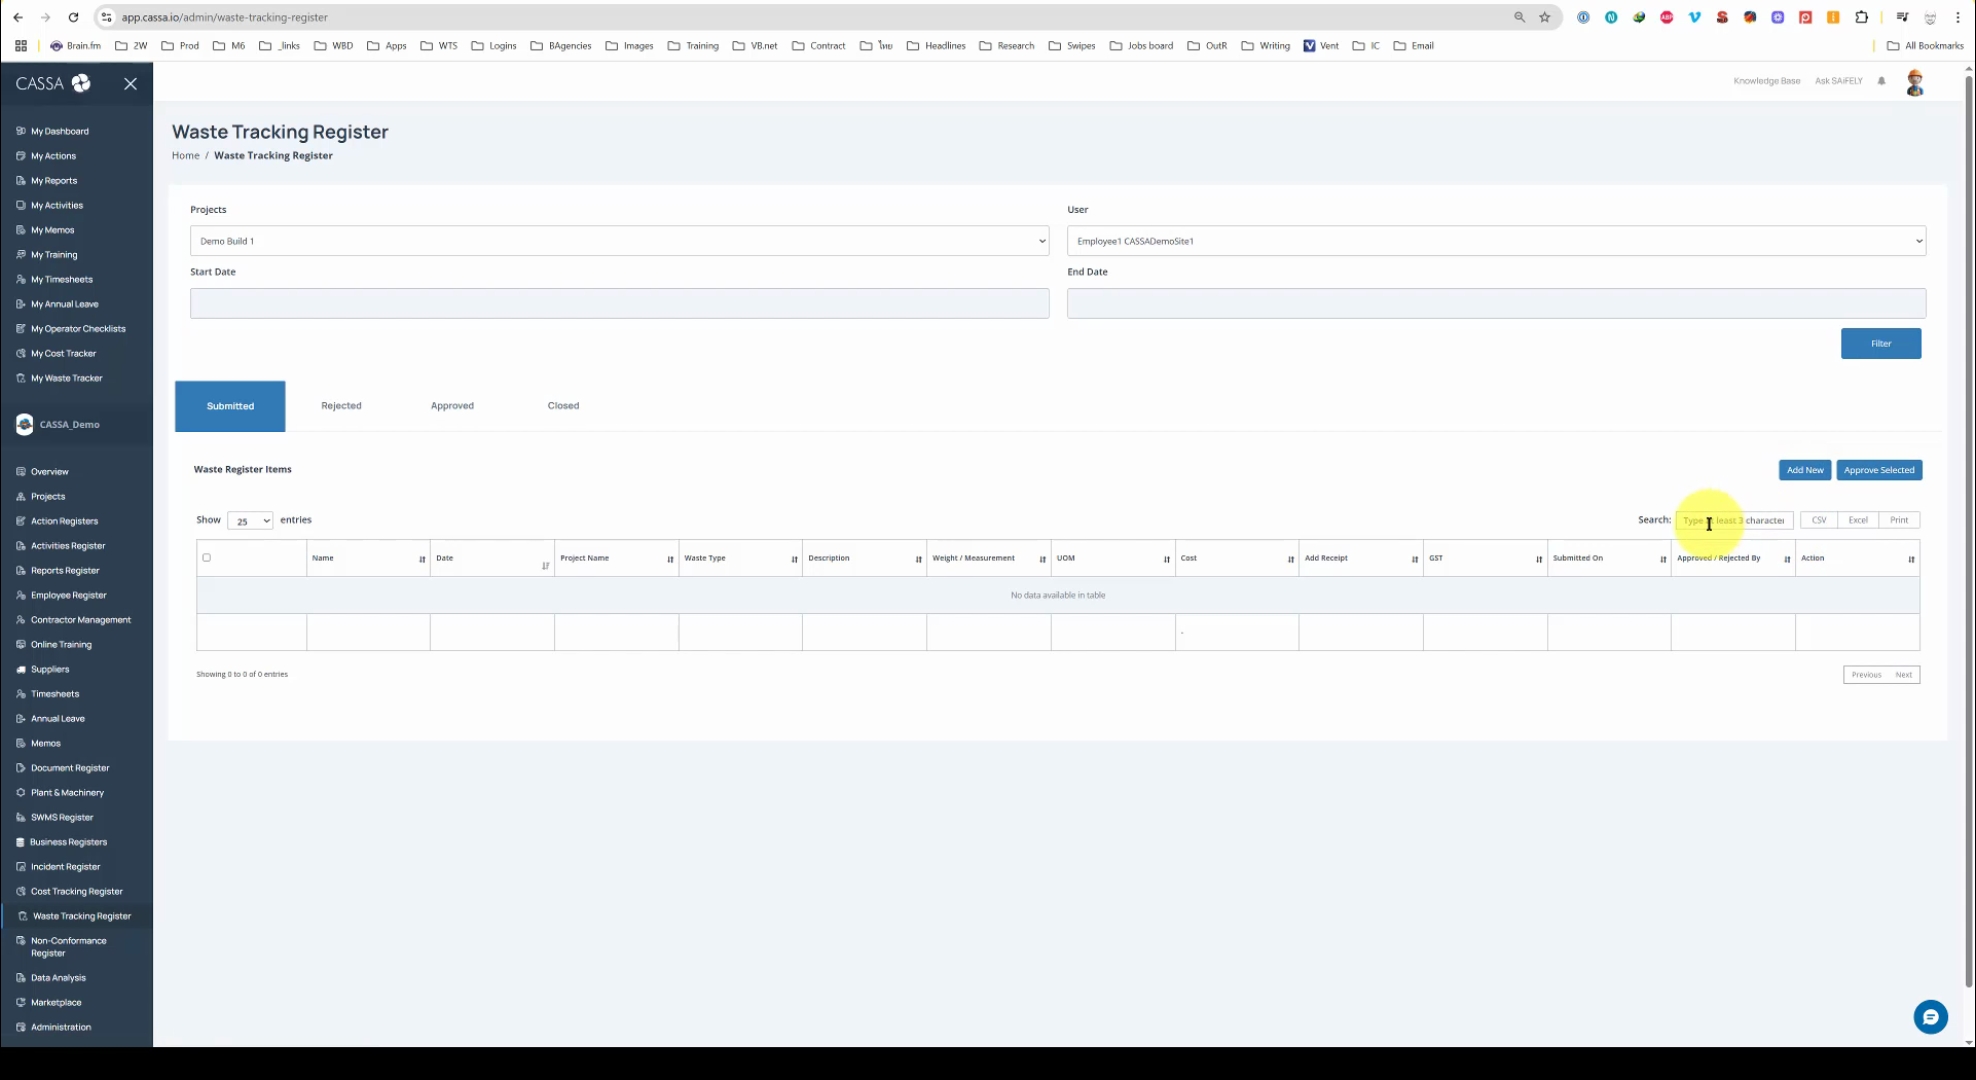
You also have a dynamic search criteria section, which updates automatically. As you type, it will filter results based on the entered characters.
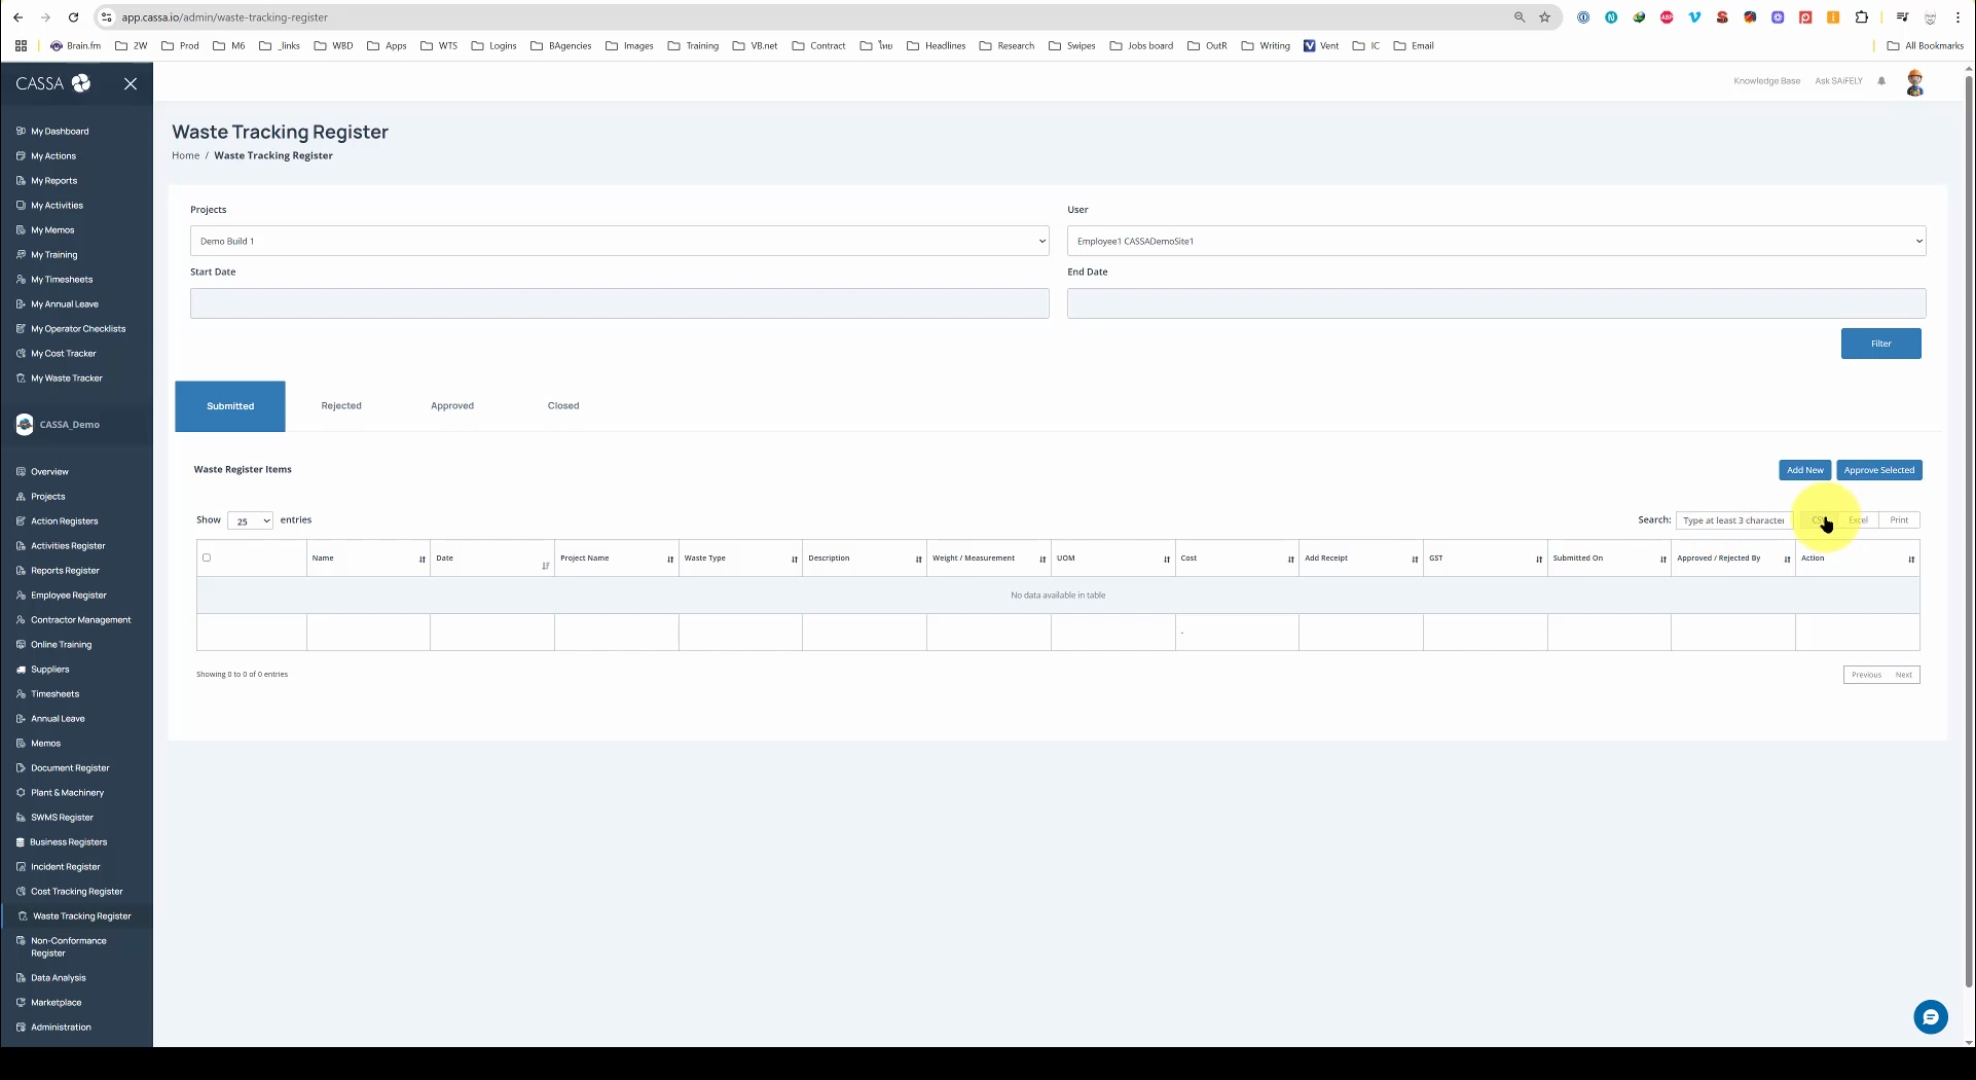
Finally, you have your export options: CSV, Excel, and send to printer. These are self-explanatory.
This concludes the quick overview of the waste tracking register, highlighting its key features and functionalities.