This video provides a brief overview of the asset management register:
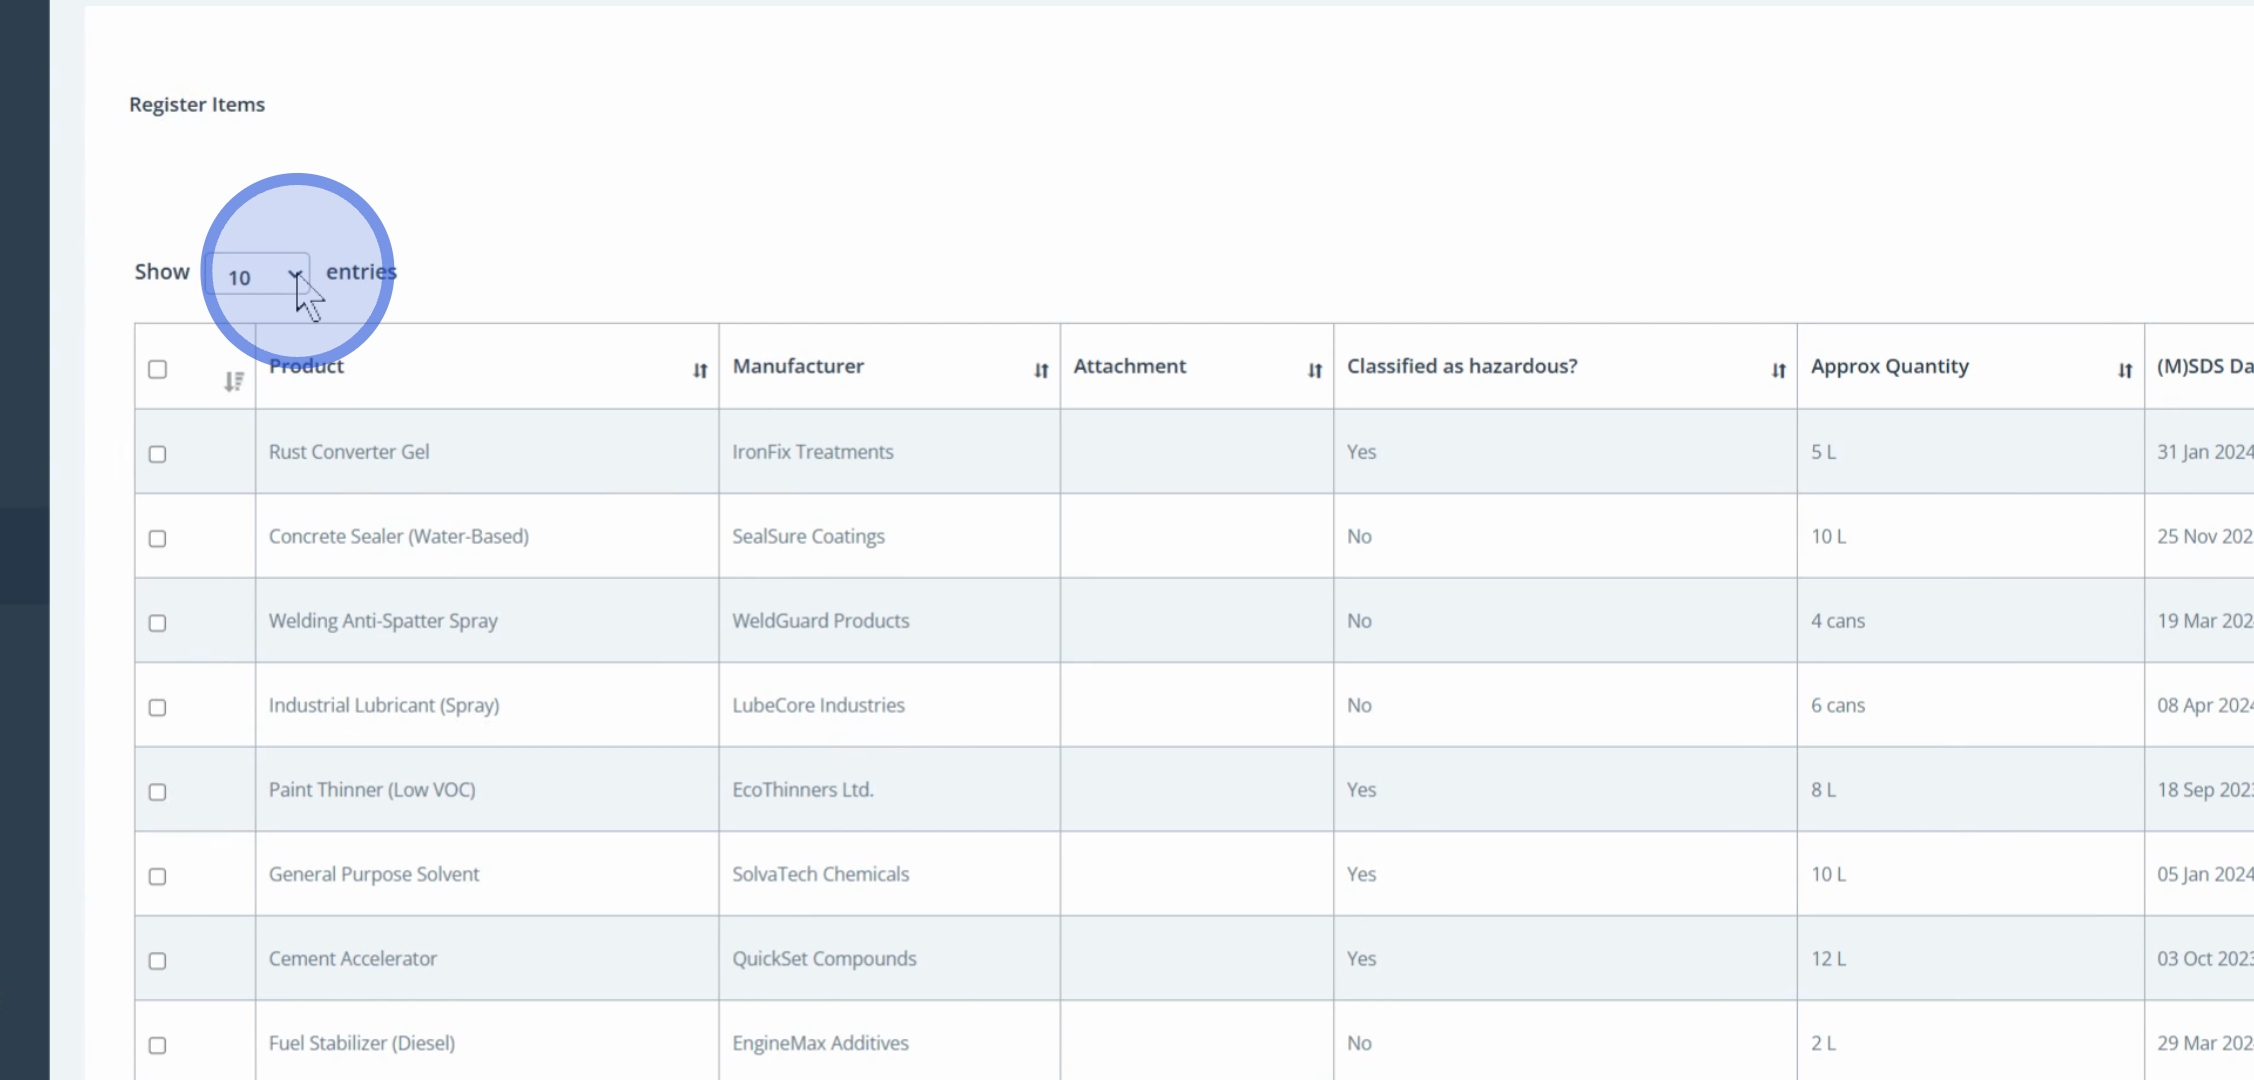
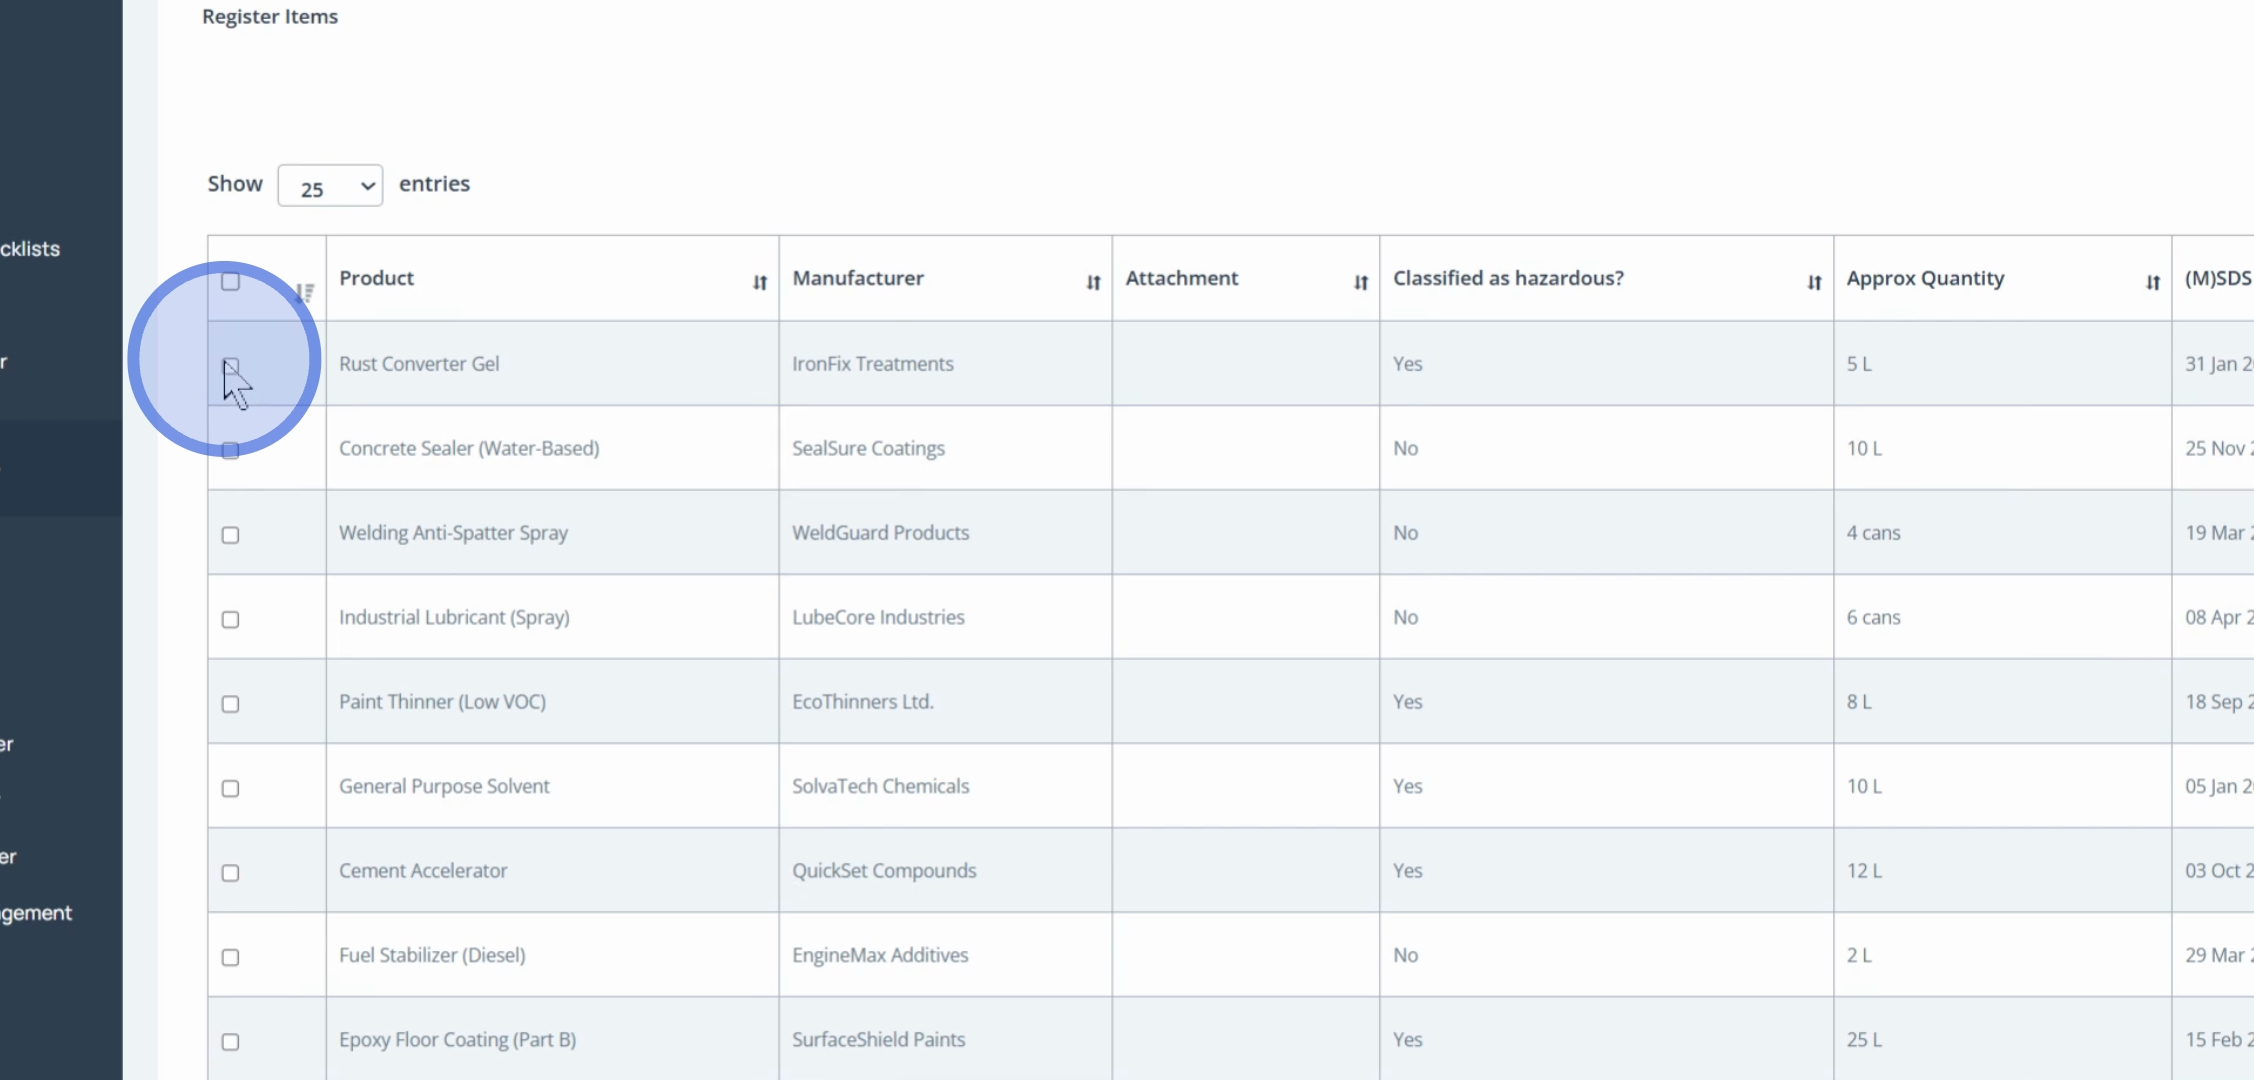
To adjust the number of entries displayed in the register grid, click on the dropdown menu to Select the number of entries to show. The grid will update to reflect your selection, which can go up to 25 entries.
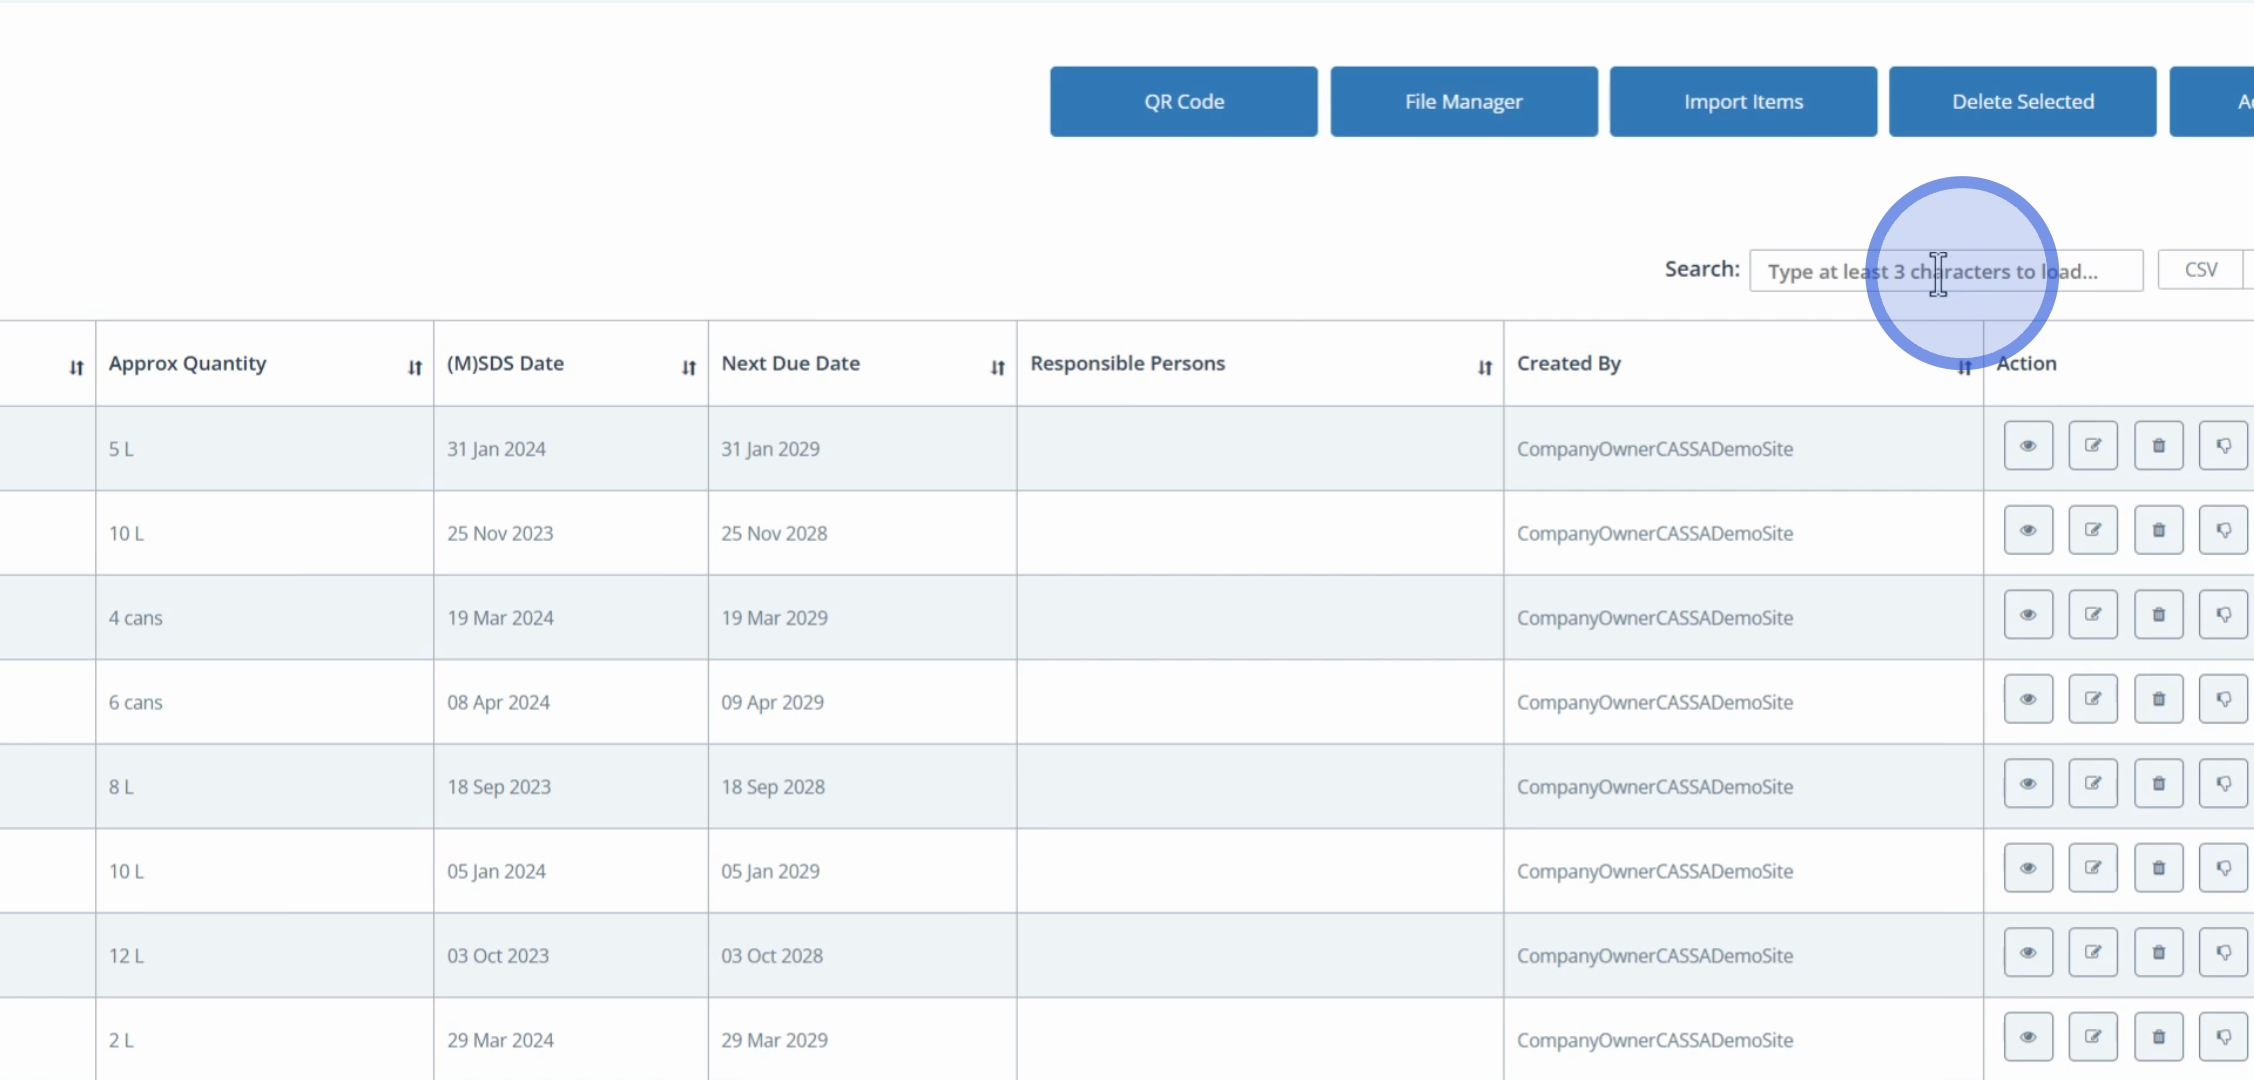
Above the grid, you will find five action buttons that offer various functionalities for managing your register:
The QR Code button allows you to generate a QR code for the register.
The File Manager is designed for managing the files associated with your register items.
The Import Items feature enables bulk importing of register items.
Using the checkboxes beside each entry, you can select one or more items and utilize the Delete Selected option to remove them.
The final action button allows you to Add New Register Item.
Beneath the action buttons, you will find a search box that allows for live searches. As you begin to type, such as 'epoxy', the search results will update in real-time.
Additionally, you have the export buttons that allow you to export your search results in multiple formats including CSV, XLS, or print.
Each individual register item has an action column on the right, featuring buttons for viewing, editing, deleting, and stopping the schedule for the selected entries.
Further details on these functionalities will be covered in a separate video.
In summary, this overview of the asset management register highlighted its display options, action buttons, search functionalities, and export options, laying the foundation for more in-depth tutorials on each feature.