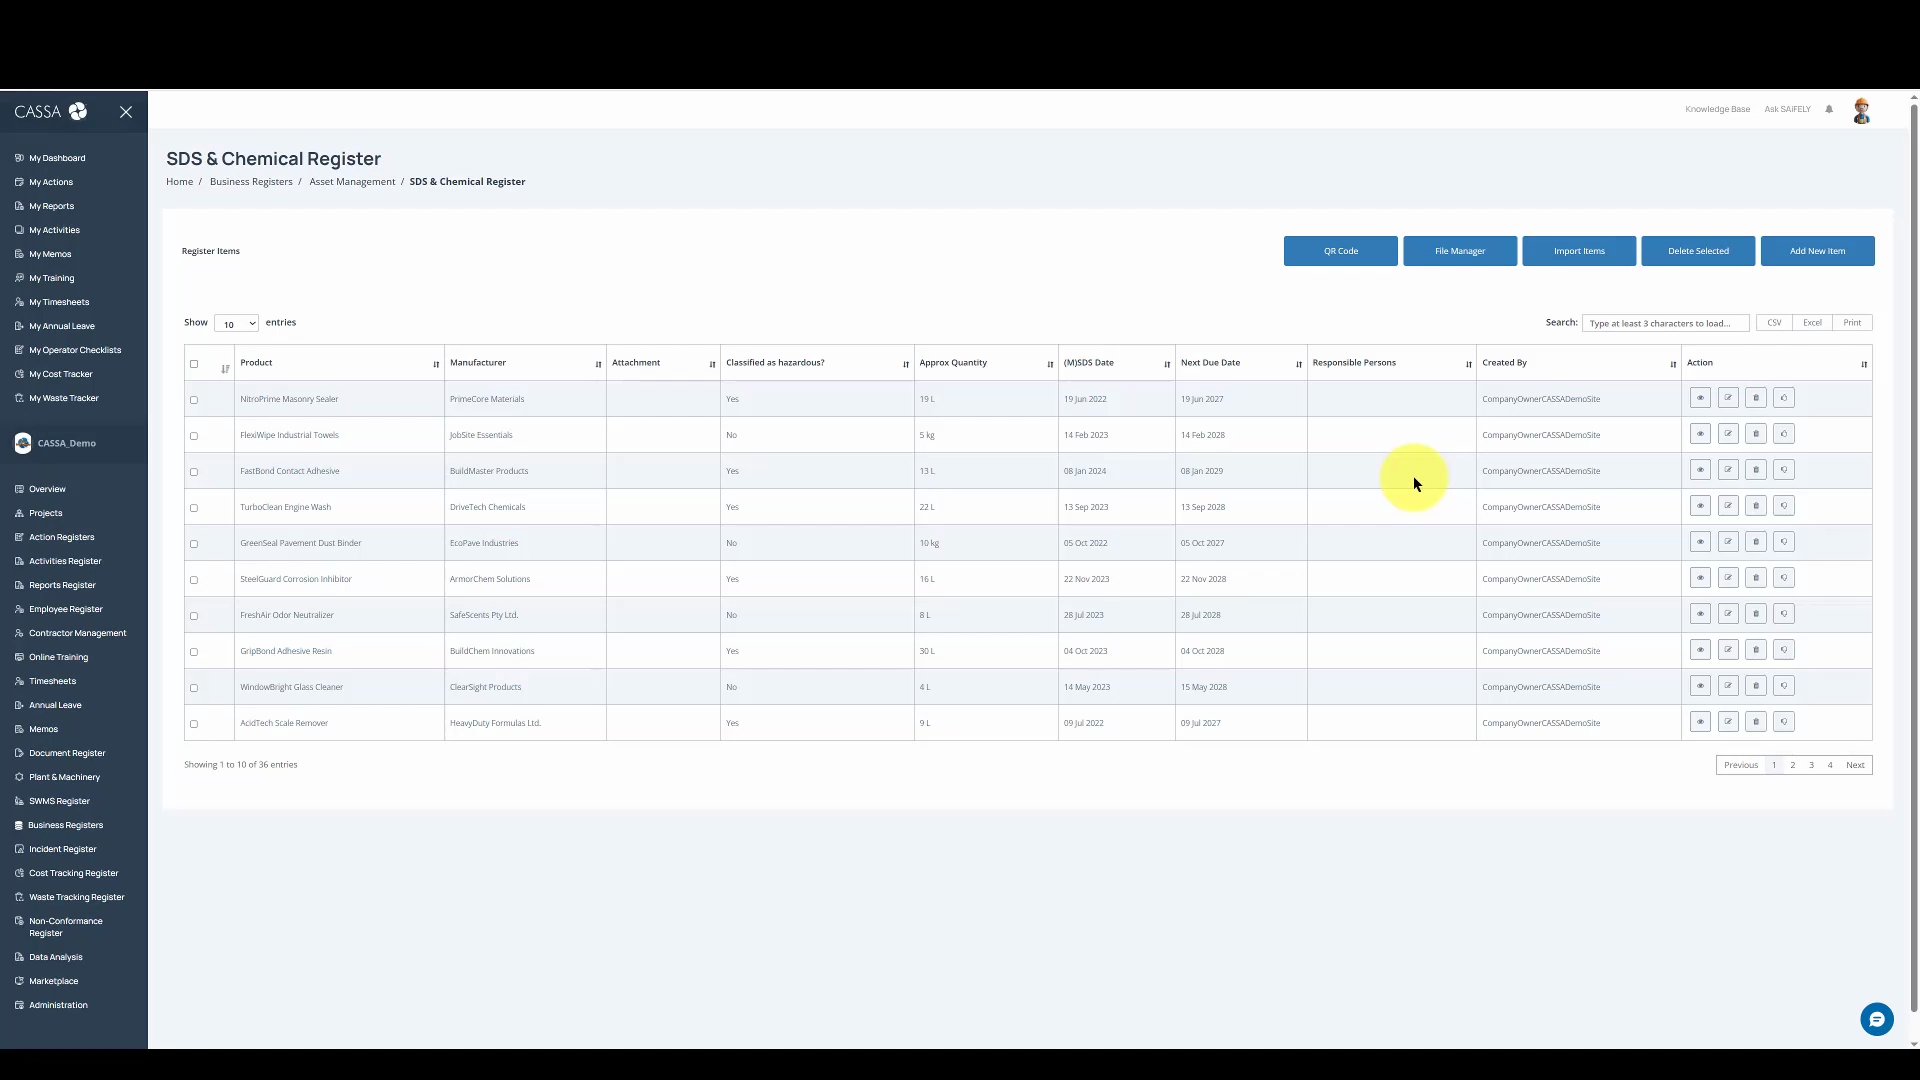
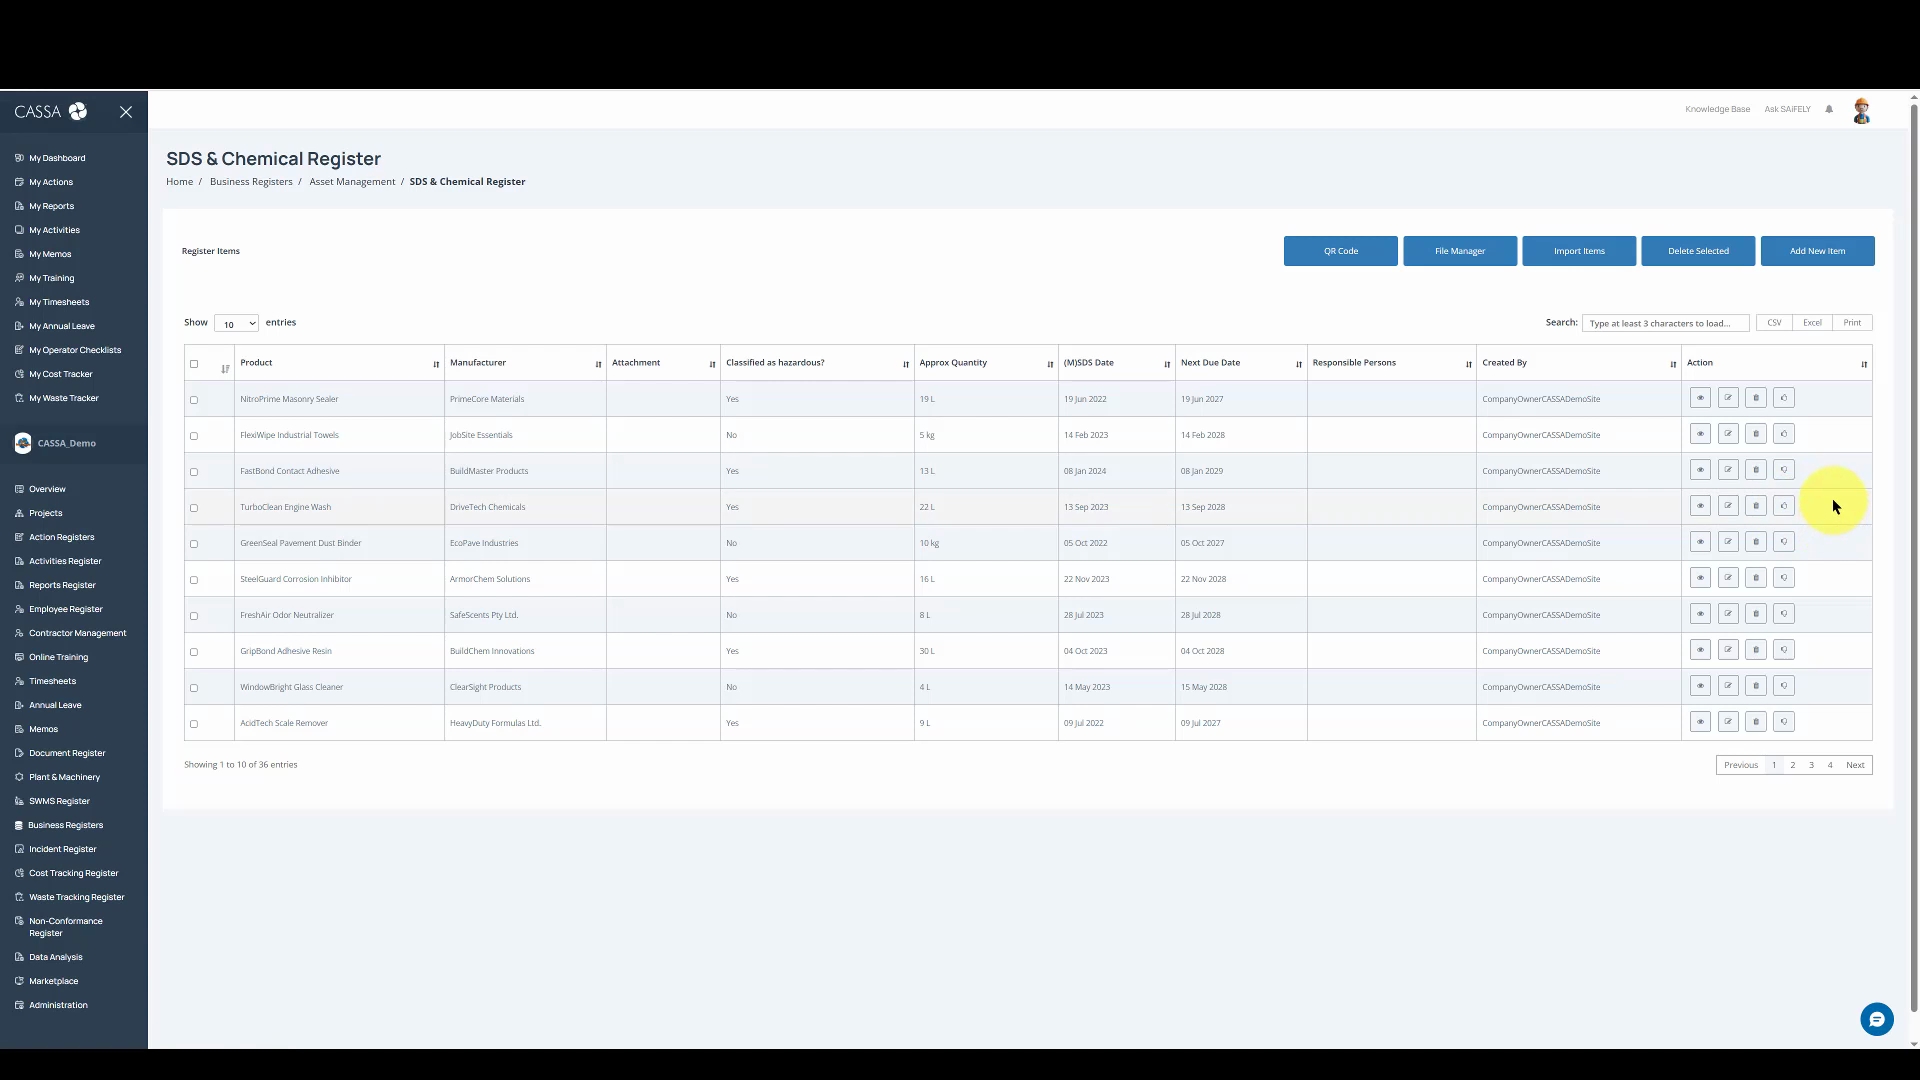
To stop all future schedules from being created for a specific registered item, first identify the item. Then, click on the Stop Schedule button.
A confirmation dialog will appear next.
In the confirmation dialog, you can select No to continue receiving notifications and actions, or click Yes to stop the schedule.
After this, the schedules are now stopped for that particular item.

You will notice that the down thumb icon has changed to a thumbs up, indicating the schedules have been stopped.

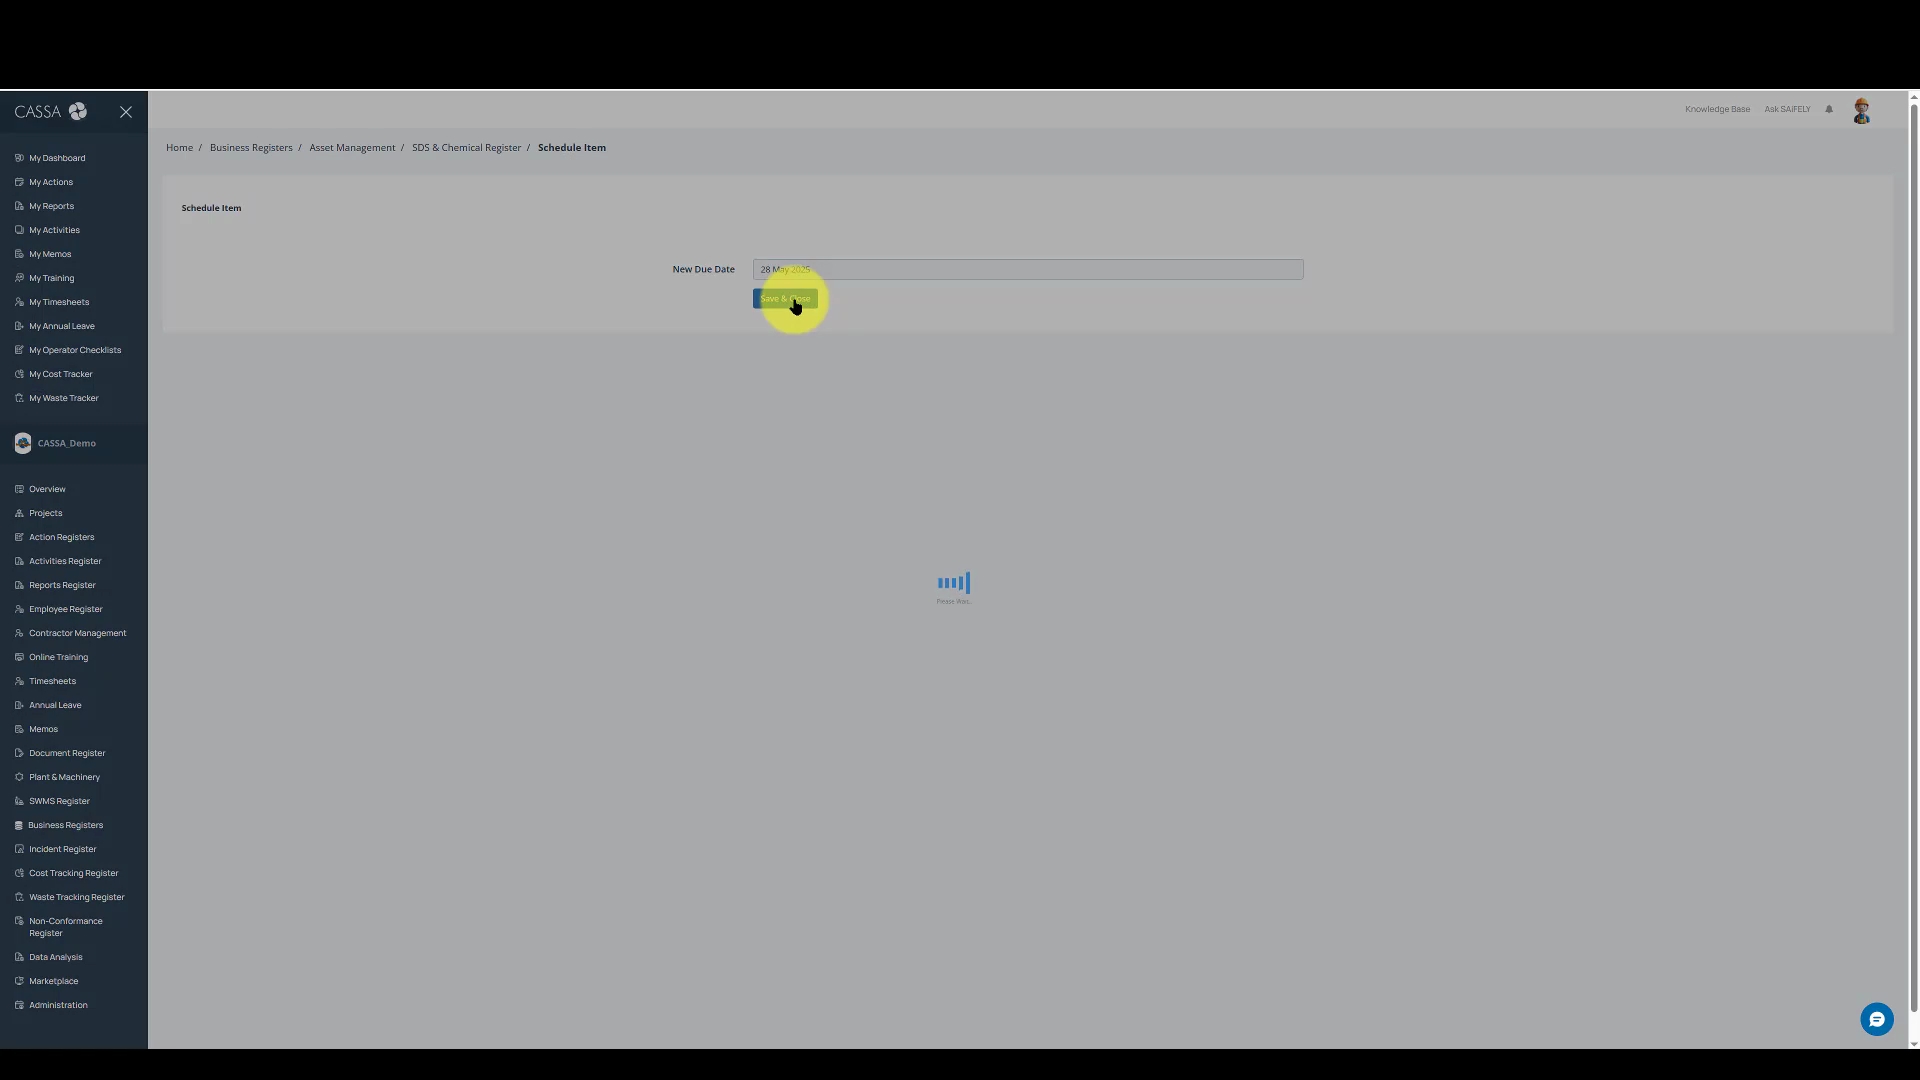
If you wish to start or restart the schedule, simply click on the Start Schedule button. Following that, select the new due date.
For example, you may choose a date two weeks in the future.
Finally, click on Save and Close to ensure the items are scheduled successfully. When the screen refreshes, you will see the thumbs up icon has changed back to thumbs down, indicating the schedule is active once again.
By following these steps, you can easily manage the scheduling for your registered items, allowing you to stop or restart notifications and actions as needed.