You know yourselves that, when working on-site, you must complete several tasks to get set up on projects and to be able to attend site inductions.
Of course, if you don't do these and don't get inducted, you'll be asked to leave the site.
Accept our CASSA Invitation
You've likely already received this email, but to begin the on-boarding, the Company Owner will send you an invite to their company within CASSA. It'll look like:
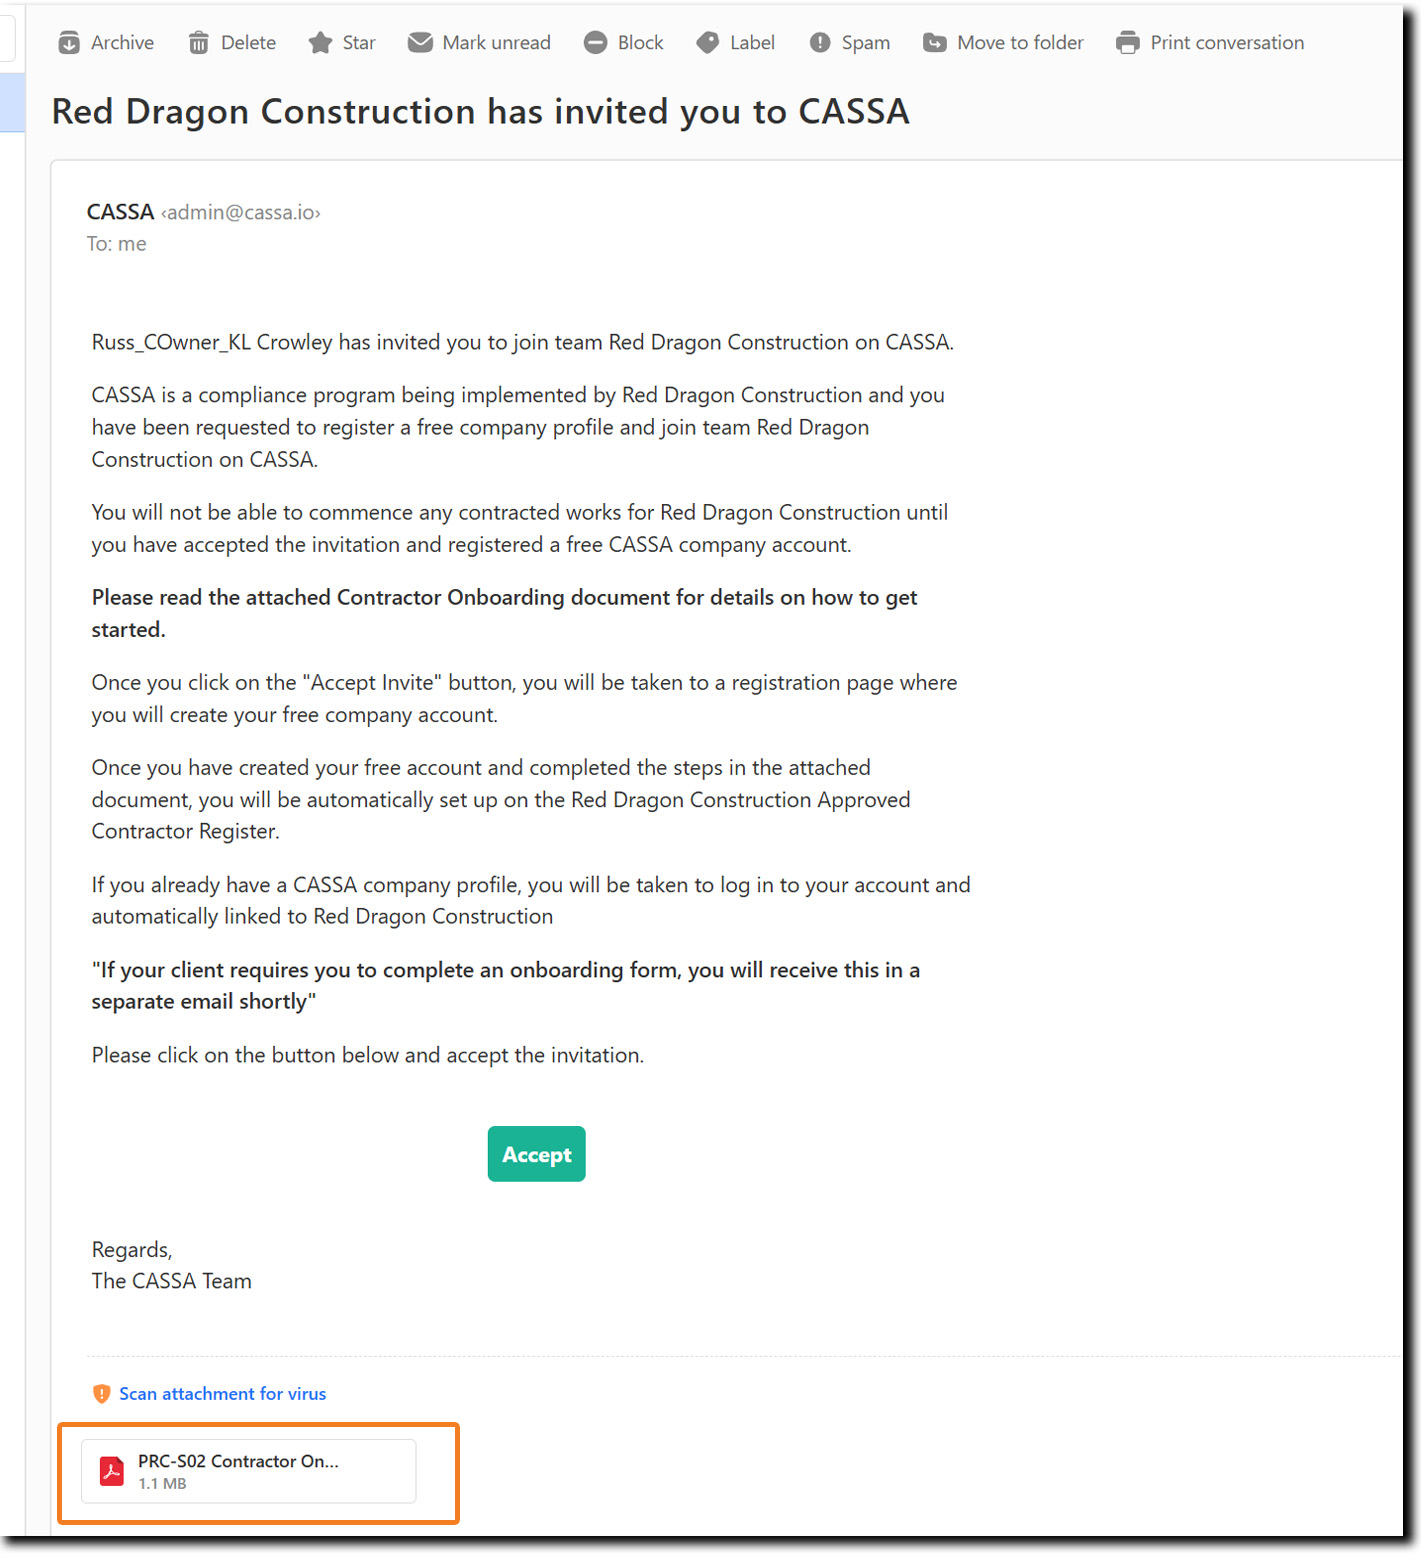
If you haven't done so already, click on the Accept button to go to the CASSA registration page and enter your details:
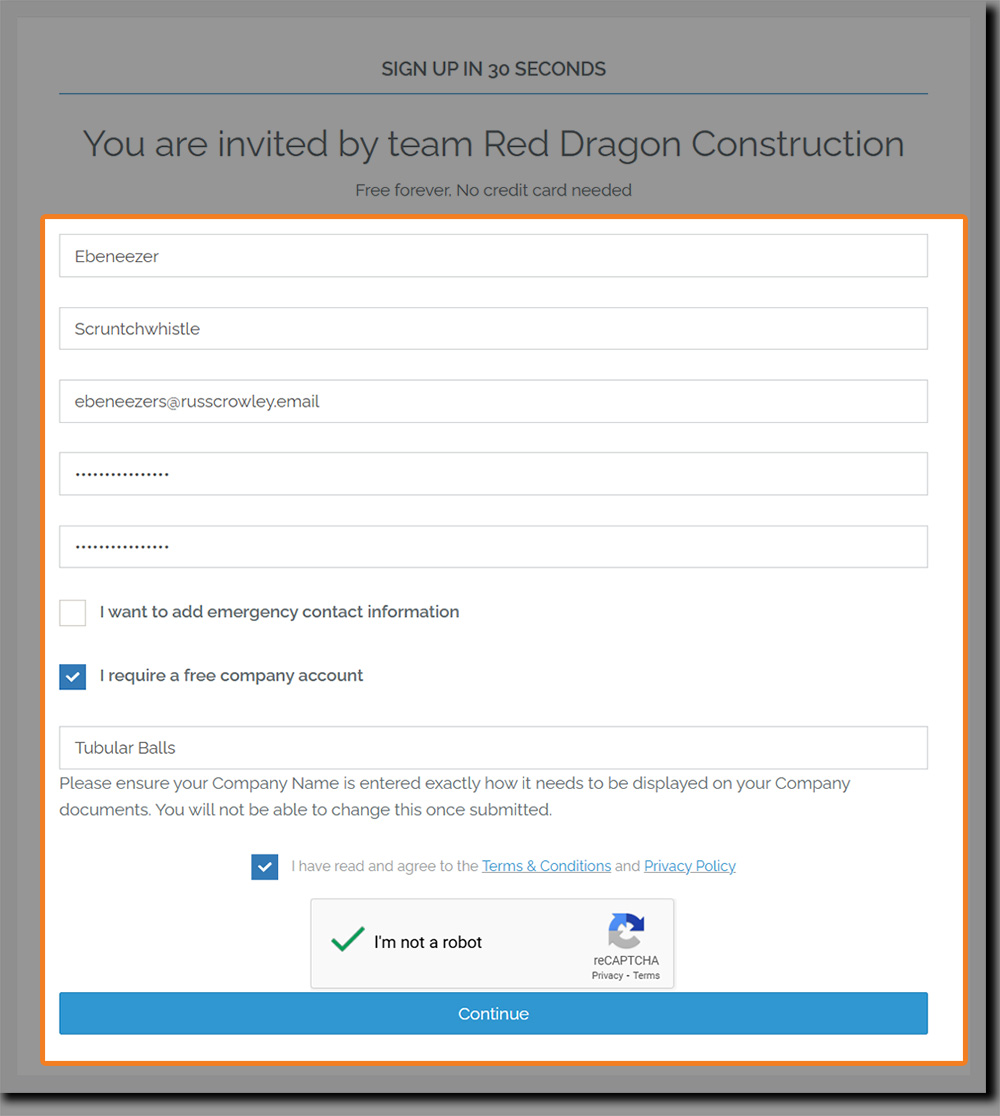
It's self-explanatory, but add your name, surname, email address, and password, select the "I require a company account" checkbox, and then enter your Company name.
Click on the Terms & Conditions and the Privacy Policy links and read both of these. You must confirm that you’ve read, understand, and agree to them to create an account.
After clicking on the Continue button, two things will happen simultaneously:
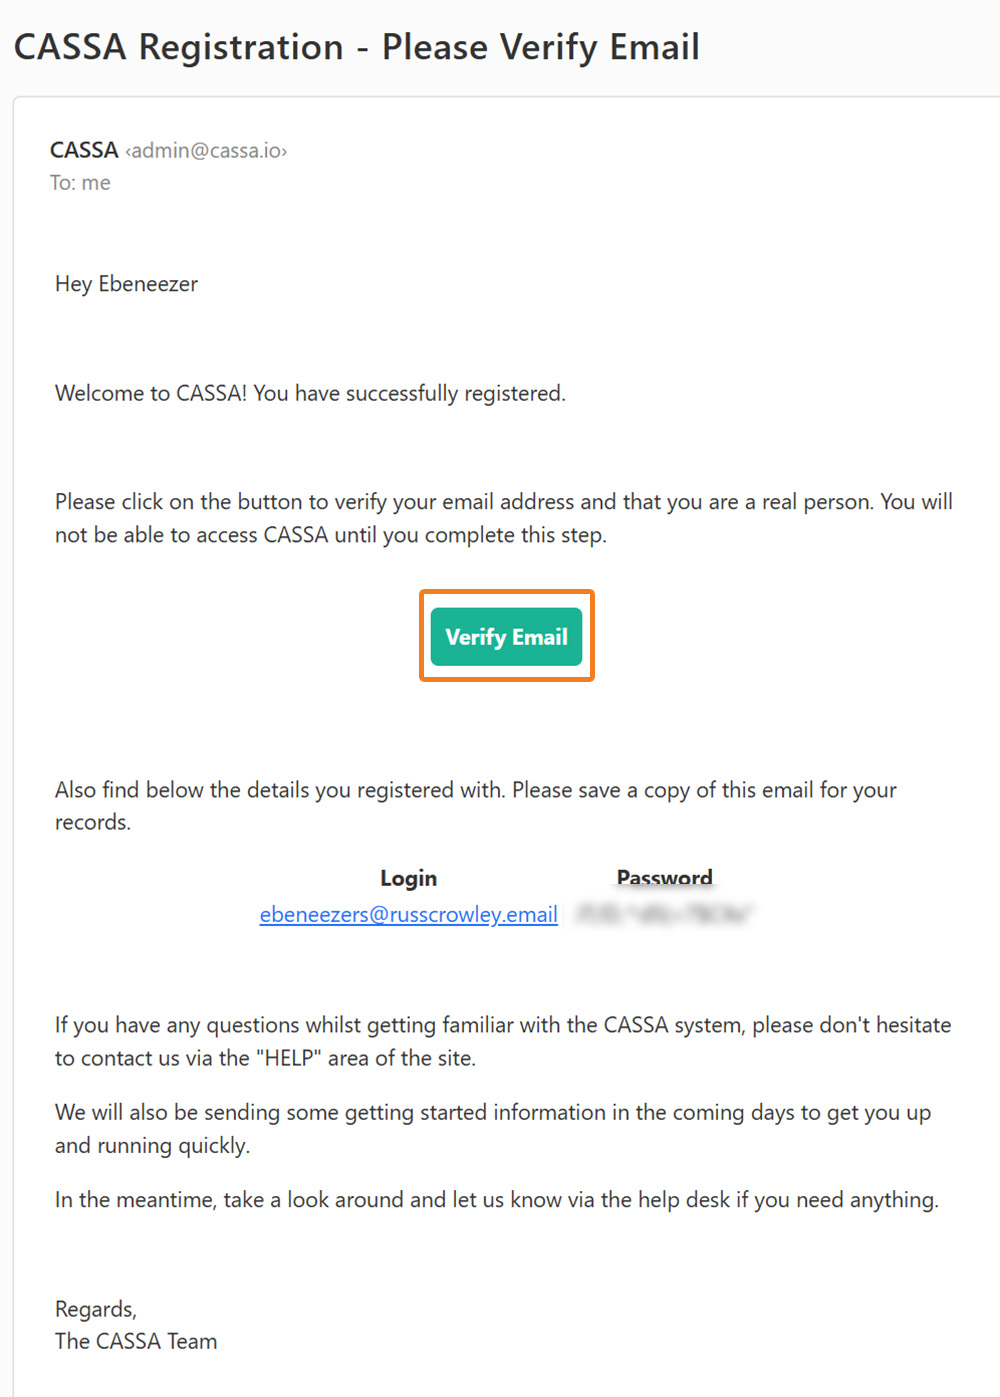
A verification email will be sent to your email address
You'll be taken to the login page. However, important to note is though you can login, you cannot perform any functions until you've verified your email address.

👍 Limited Access Account
As you're a contractor who's been invited to join by another company, your own contractors company account is limited in functionality (this is as required by your client).
In your email software, look for, and open the verification email, and then click on the Accept button.
This will take you into the CASSA system and as you're verified you can now complete your personal profile.
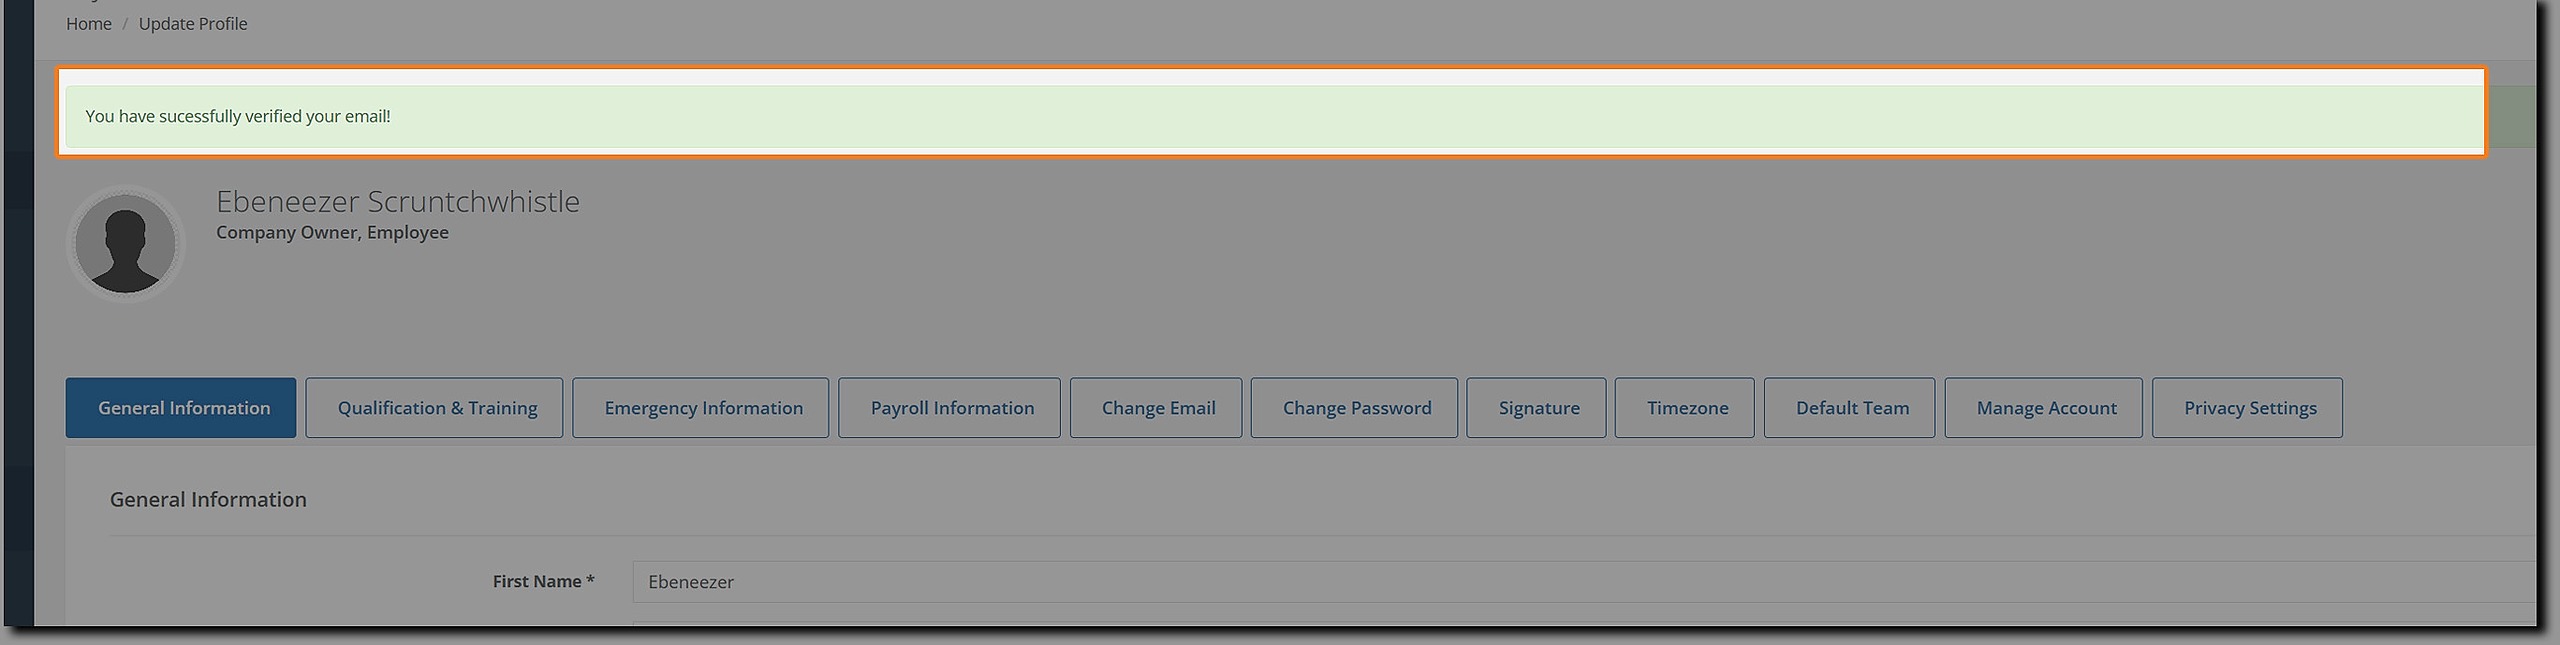
Complete your Personal Profile
Once you've verified your account, you'll now be prompted to enter information for both you as a user and your company profile.
You must enter certain information (as a bare minimum), but the good news is that you only have to do this once and, more importantly, it benefits you across the entire CASSA system (and will save you many hours in the long run).
If you're unsure what to do, click here to view how to complete your personal profile (opens in new tab).
Once done, this then enables other activities and functionality within the CASSA system, such as inviting your own contractors, employees, etc.
Complete your Company Profile
In a similar manner that you have your personal profile, so does your company.
Once you've completed your personal profile, you can now complete your company profile.
Here's the complete your company profile article.
Invite your Employees to your Company
The best way to invite your employees and get them up and running quickly is to create your employee’s profile for them.
To do this, in Employee Register, click on the Add Employee button:
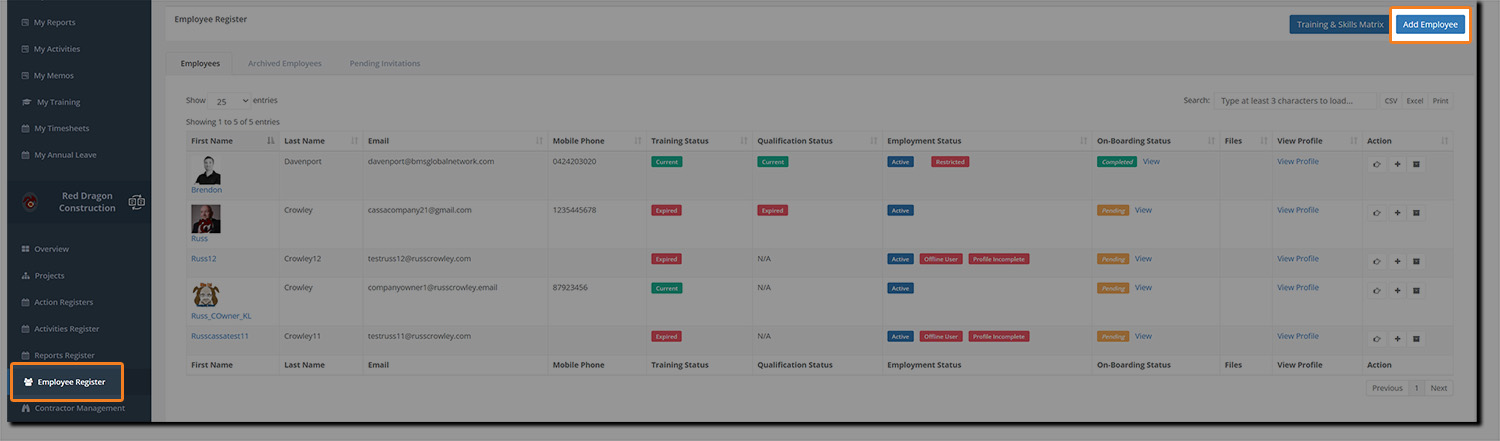
The Add New User form will display where you can add new users.
There are several options for adding employees and, if you're unsure what to do next, we cover this in full in the Adding an Employee article (opens in new tab).
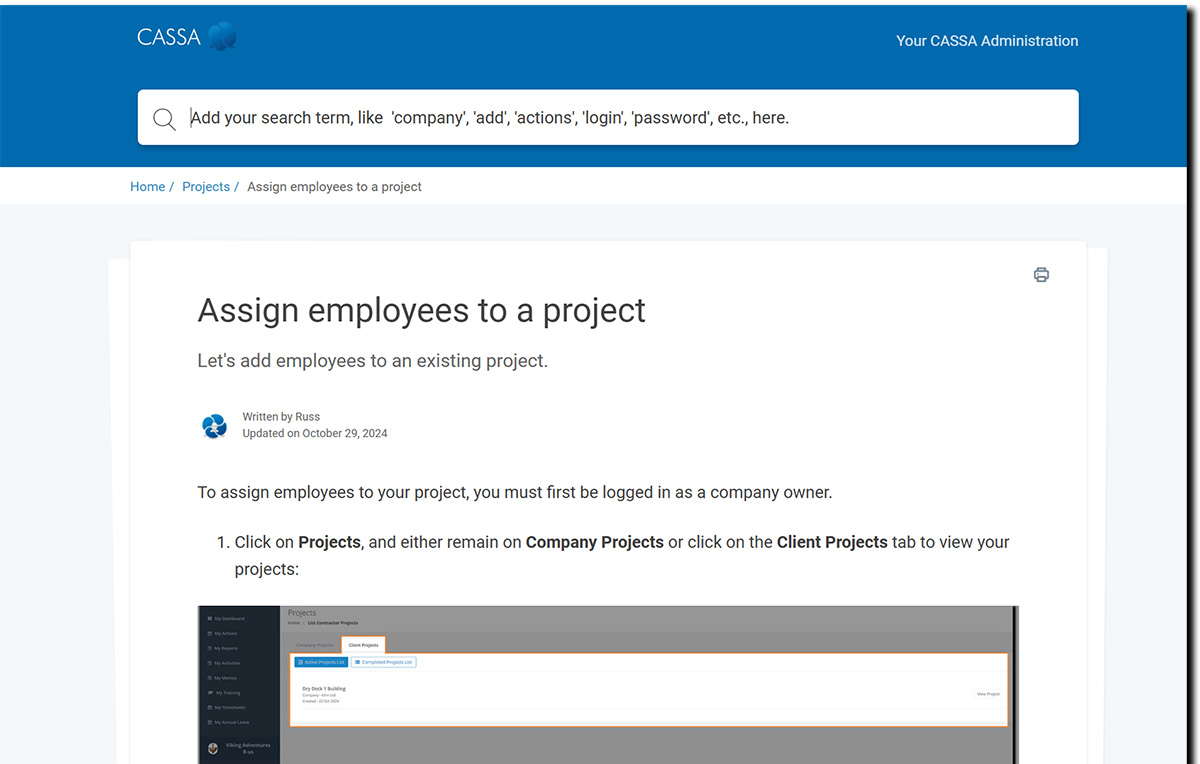
Assign your Employees to a Client's Project
Once you've assigned your employees to your own company, you can then assign them to a client's project.
We have this detailed in another article so, to save on virtual-trees, if you're unsure of how to do this, then refer to the Assign employees to a project article (this opens in new tab so you can discover how to do it and then come back here).
Complete Client Report Forms
If your client requires report forms to be submitted this is how to do it:
Click on Projects > Client Projects > :
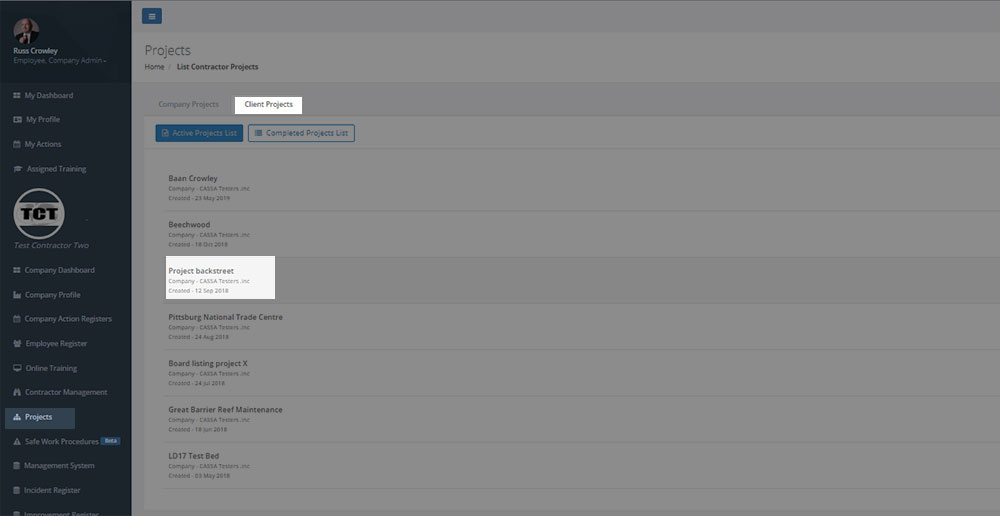
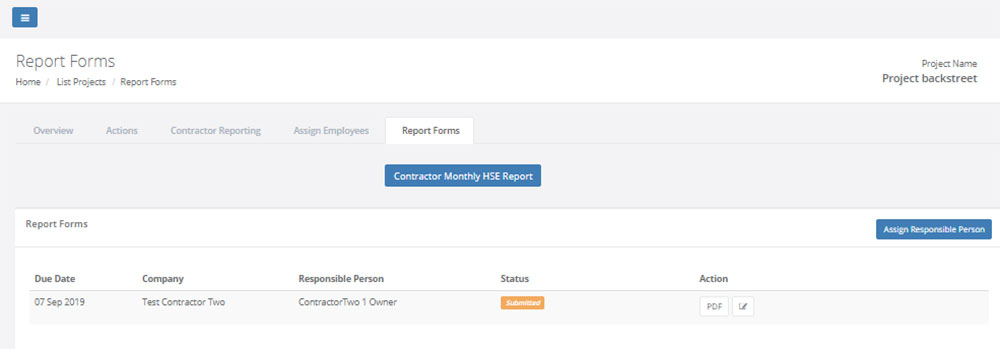
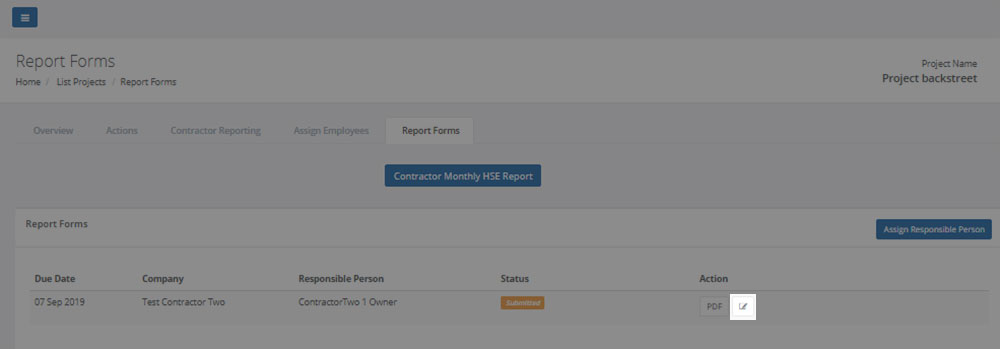
When your selected project shows, click on the Report Forms tab and you'll see the available reports listed.
As you can see, below, we've 1 Contractor Monthly HSE Report form with Pending status:
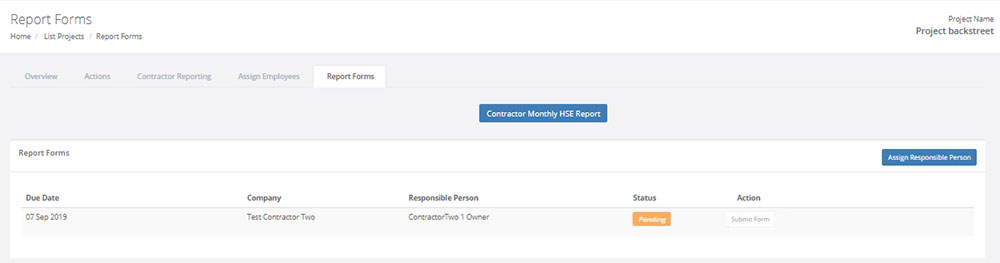
Click on the Submit Form button and then complete the form:
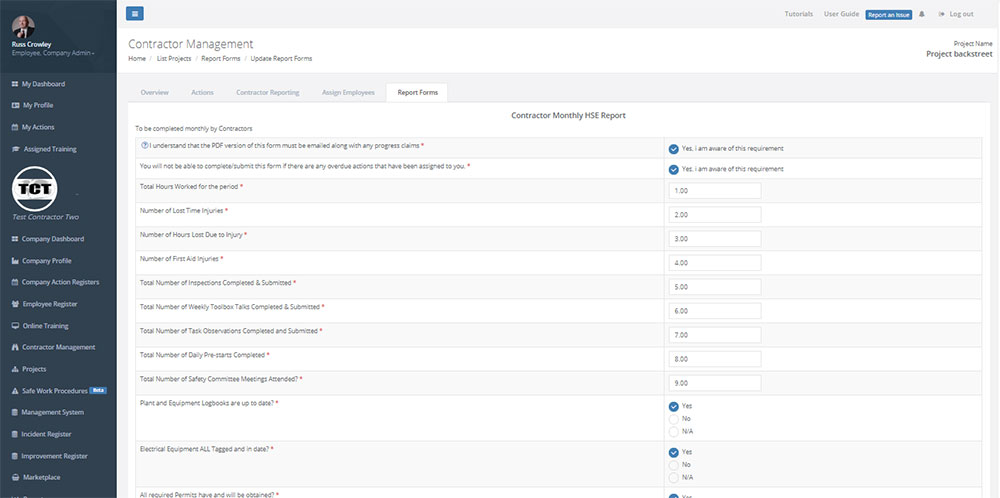
Once complete, click on the Submit button. The screen will refresh and you'll be taken back to the report forms grid:
Recurring Forms
For recurring forms, such as this monthly report form, when the Due Date comes around, the next monthly report will be auto-generated.
You can now either:
View PDF
Edit the form
View PDF
To view a pdf of your form:
Click on the PDF button:
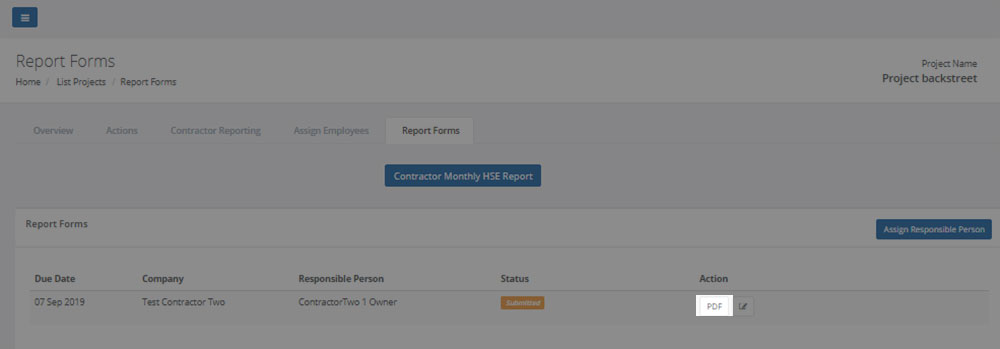
The pdf will then either open in a separate tab or will download to your computer (depending on your browser settings):
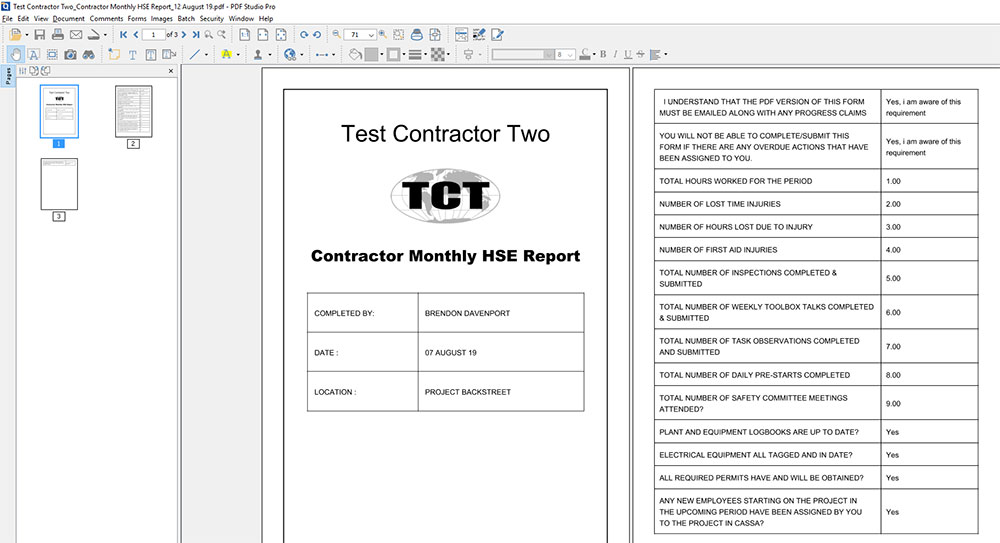
You can now view the report to ensure it's correct, print it out, etc.
The monthly report remains editable until it's been approved, so if you need to edit the report you can do so.
Edit Form
Your submitted form is editable until it's been approved. Once that happens, the edit capability is removed. To edit the report form:
Identify the report you wish to edit and click on the Edit button:
The form will then open for editing. Edit the report, as required, and when complete, click on the Update button:

Once the form's been saved, you'll be taken back to the form's grid. Again, the form can be edited until the client approves the form. At this point, the form's status changes and it's edit status is removed.
That's it. All done. Now you've been through it once, the next time will be as easy as falling off a bike!