Step-by-step:
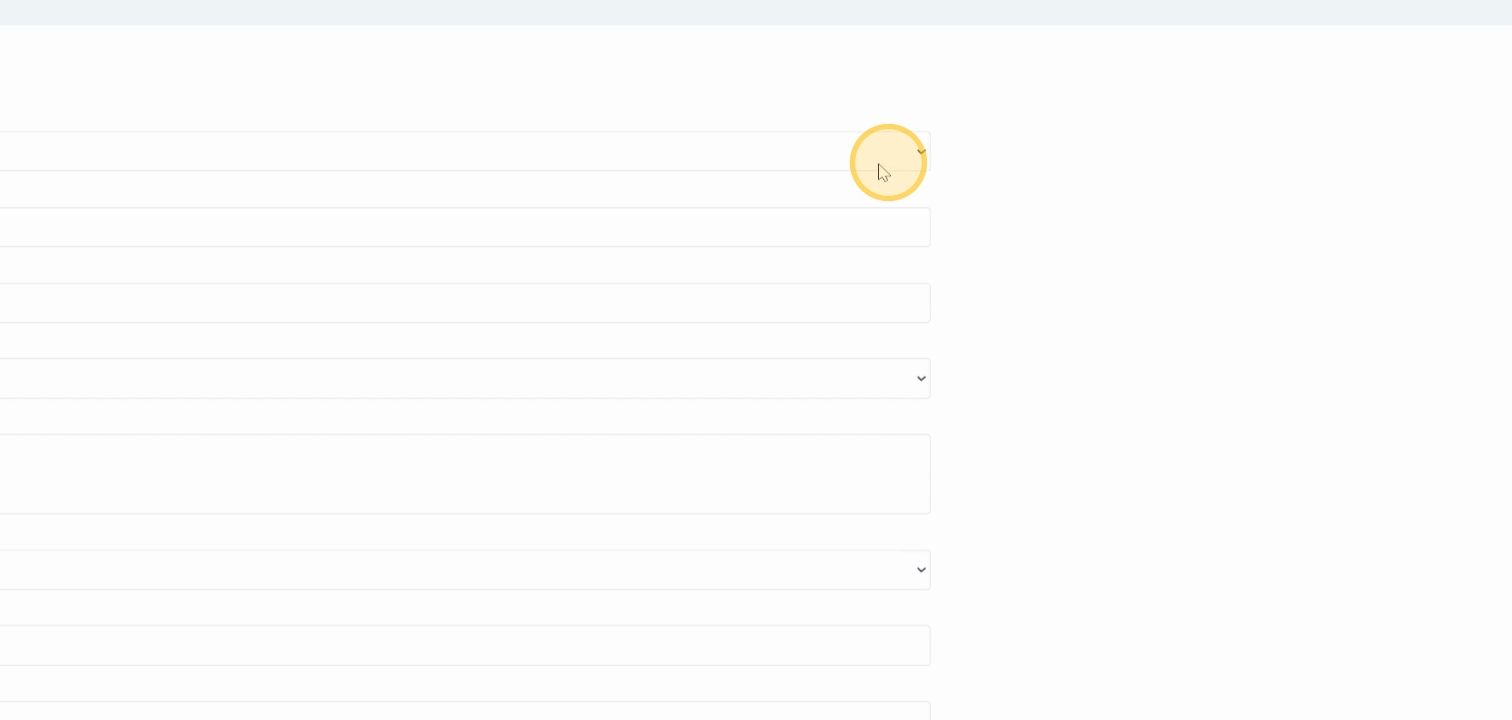
Step 1: Open Register
Locate the plant tracking register and find the Add New Plant button on the right-hand side.
Step 2: Click Add Button
Click the Add New Plant button to open the custom plant tracking form.

Step 3: Select Plant Type
In the form, click on the dropdown list for Plant Type and select either Mobile or Static.
Step 4: Enter Item ID
In the Item ID field (marked with a red asterisk), enter the item ID for the plant item.
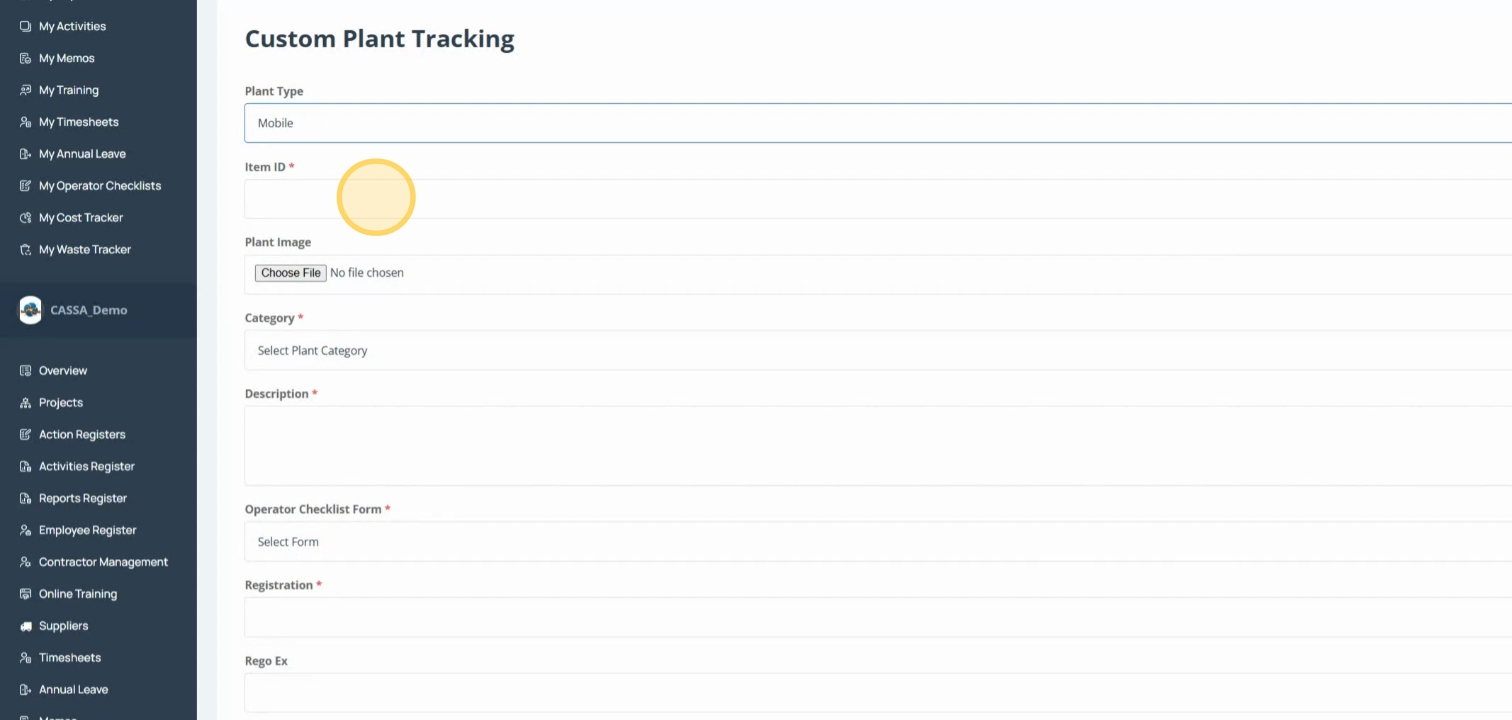
Step 5: Upload Image
Click on the Choose File button to add an image of the plant item.
Step 6: Select Category
Select the Category from the dropdown list.
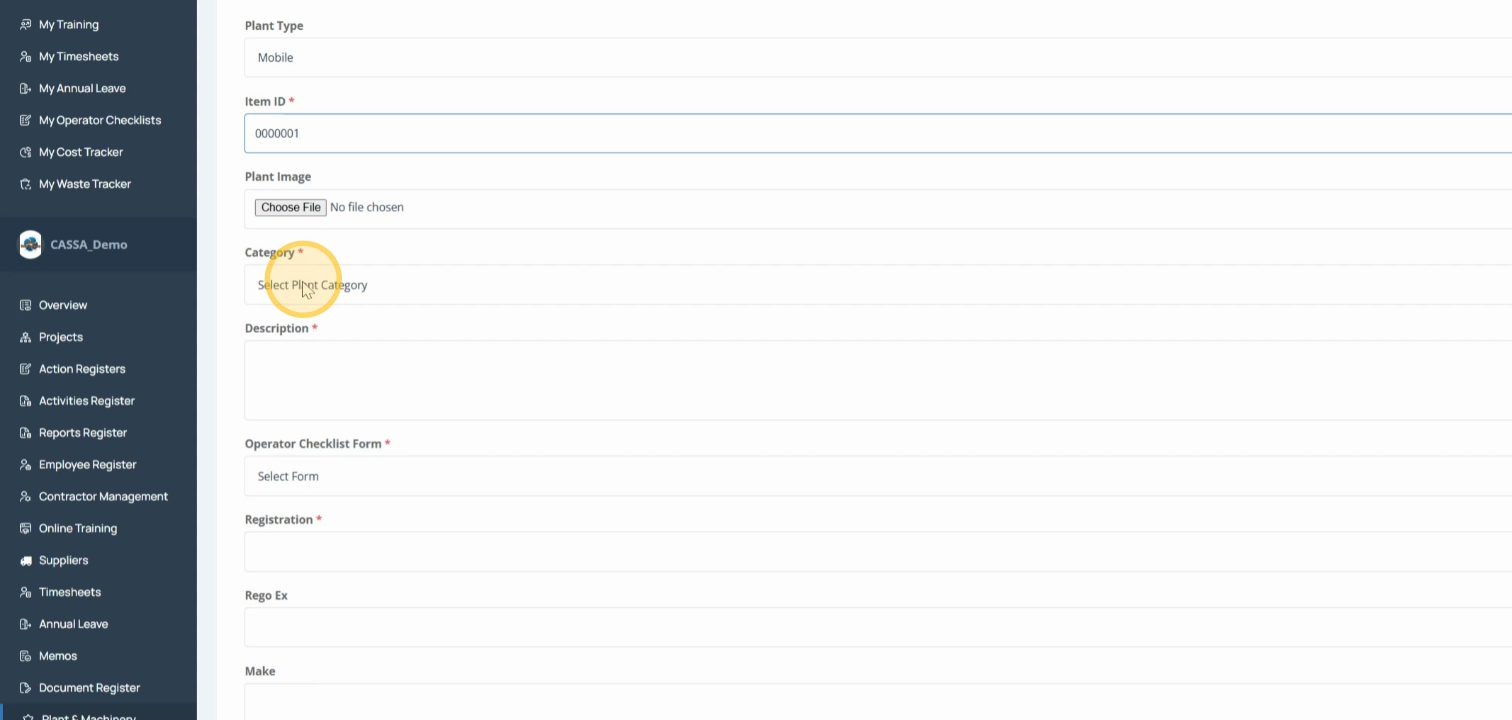
Step 7: Add Description
In the Description field, provide a comprehensive description of the plant item.

Step 8: Choose Operator Checklist
Click on the dropdown arrow in the Operator Checklist and select the appropriate form.
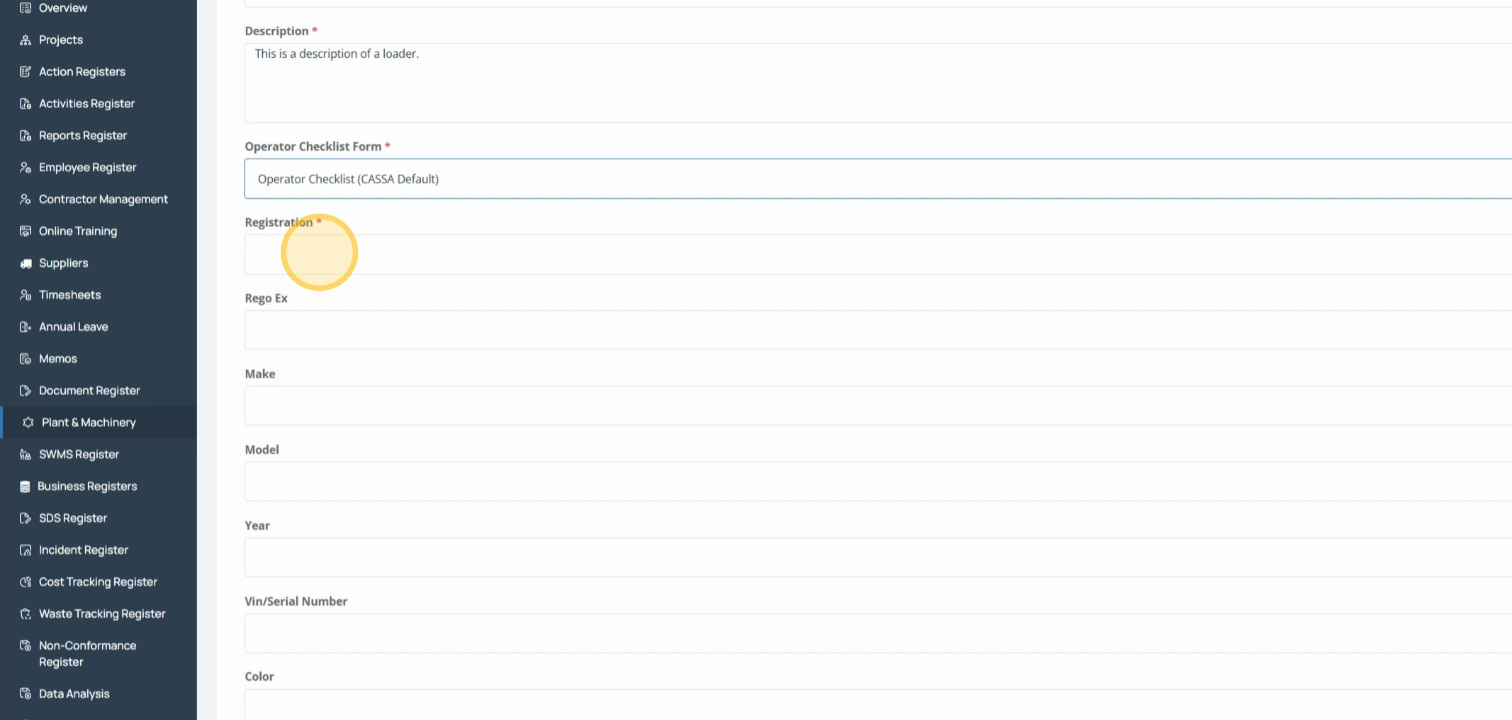
Step 9: Enter Registration
Input a random registration number or identifier in the Registration field.
Step 10: Fill Remaining Fields
Complete the remaining fields including Make, Model, Year, Serial Number, etc.
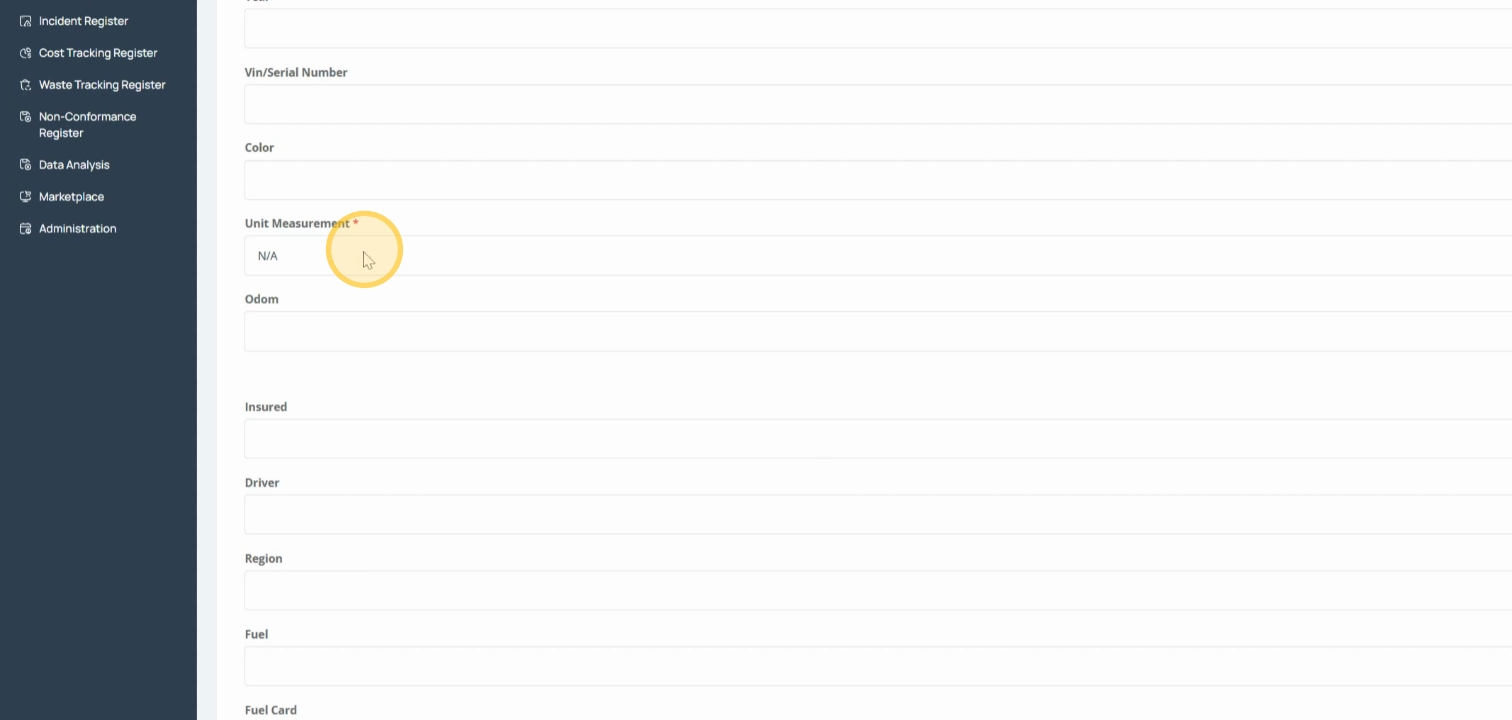
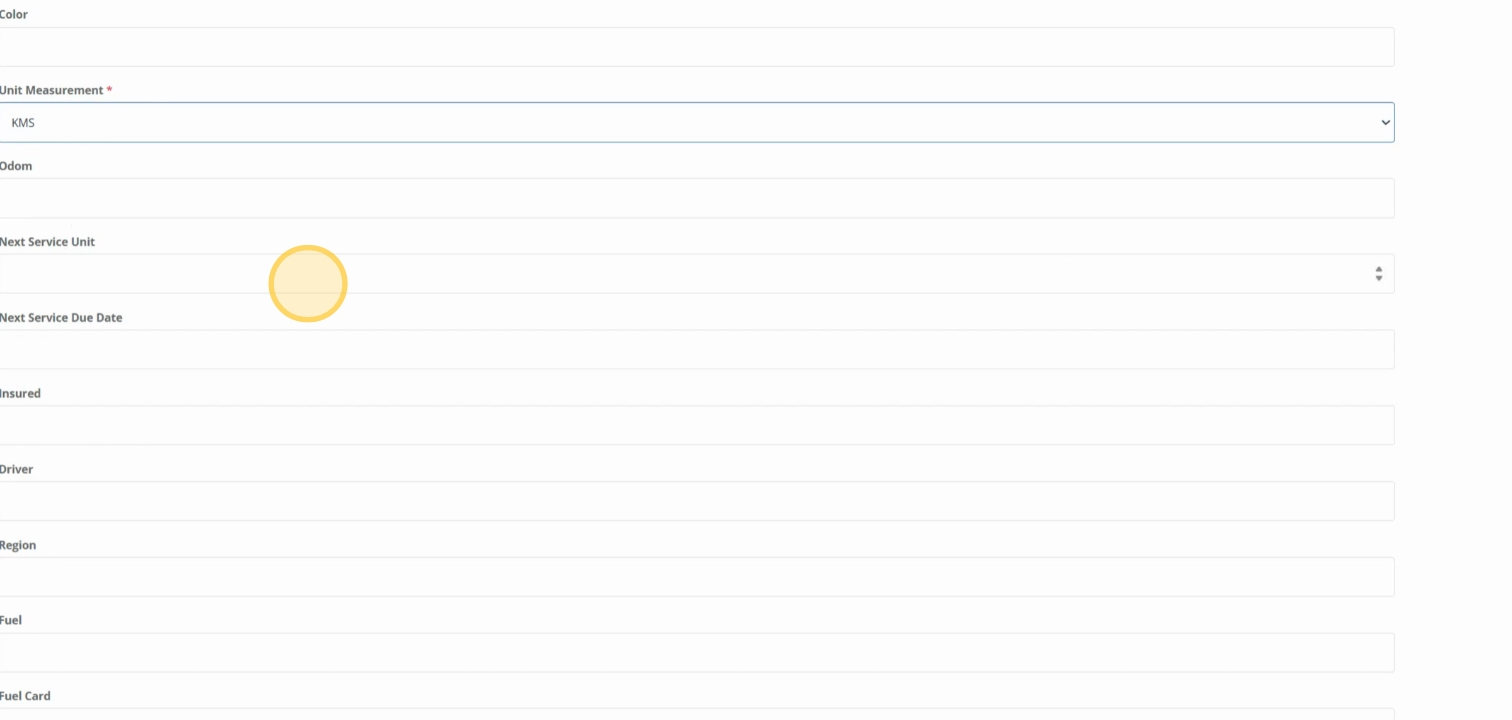
Step 11: Set Unit Measurement
Select the Type of Unit Measurement as either Kilometers or Hours.
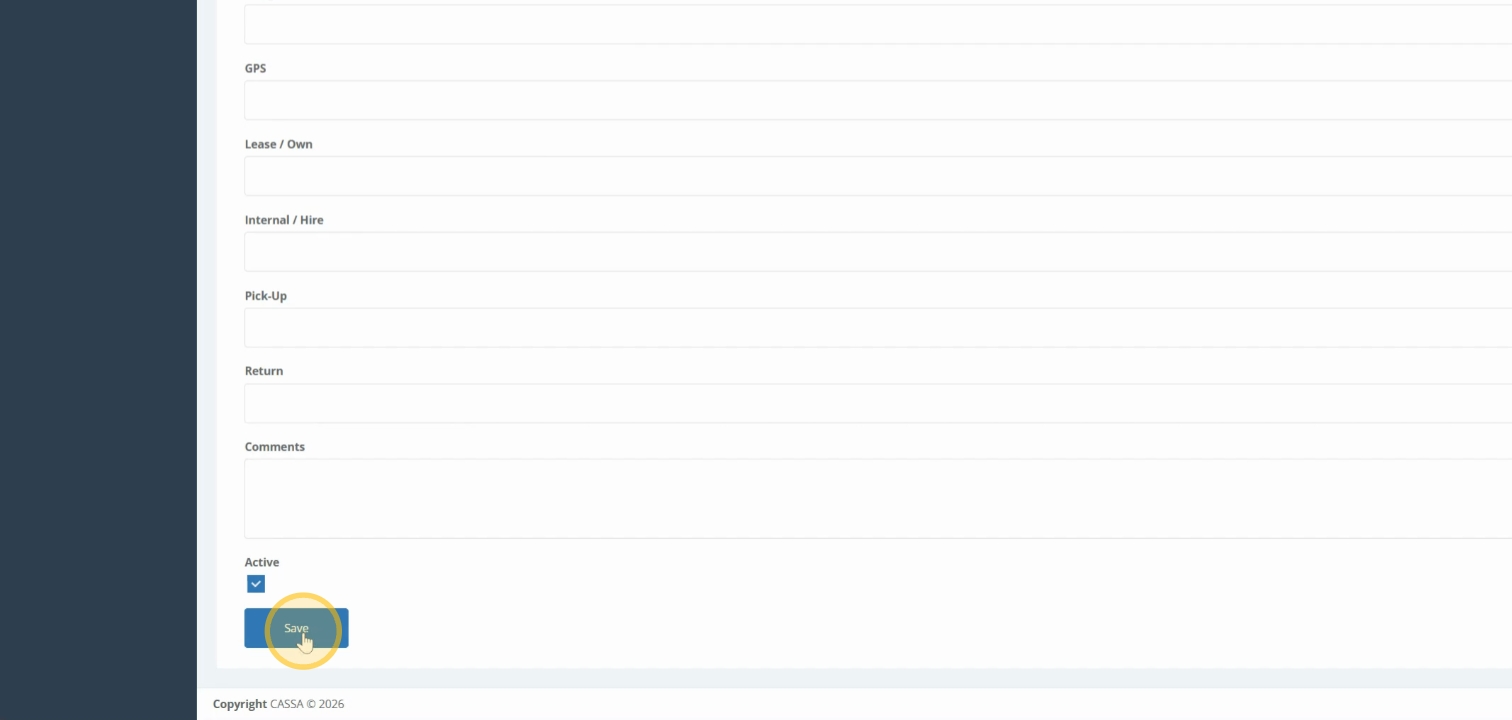
Step 12: Check Active Status
At the bottom, ensure the Active checkbox is selected. Deselect if the plant item is not active.
Step 13: Save Information
Once all information is correct, click the Save button. The screen will refresh and return to the plant tracking register.
Step 14: Confirm Entry
Check the grid to see if your new plant item is listed correctly in the plant tracking register.