Individual Plant Register Actions
For each registered plant item, you can access 1 or more actions.
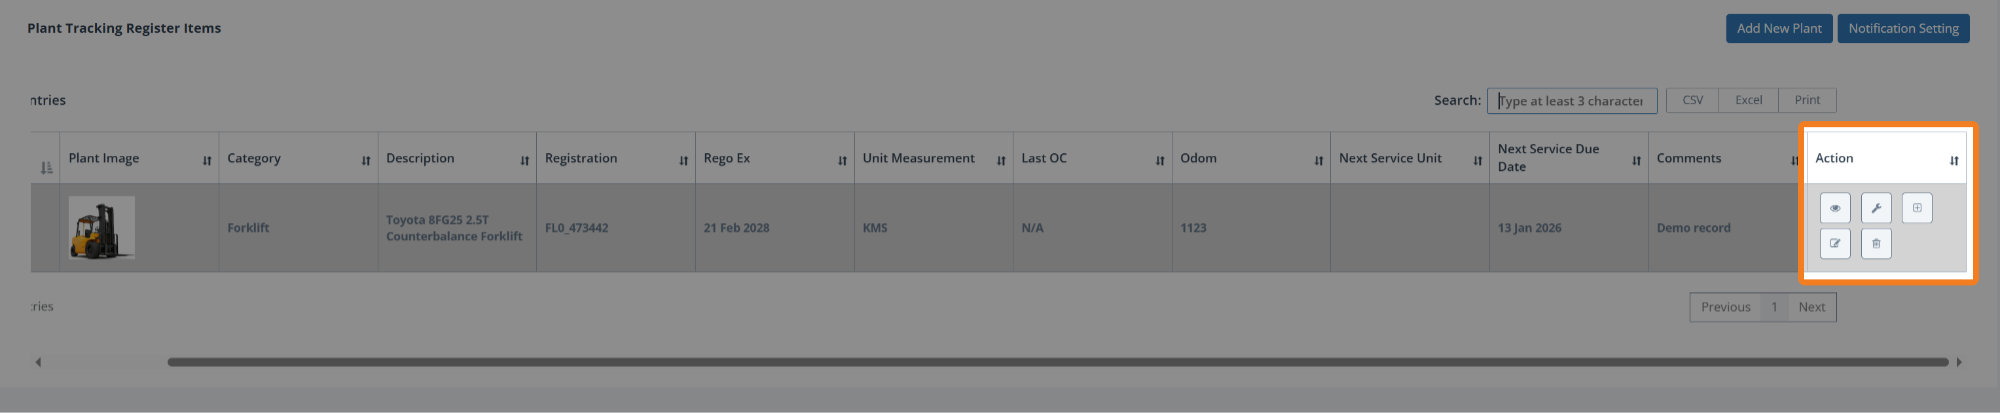
Note: If you can’t see the Action column in the grid, use the horizontal scroll bar and then you’ll see the following:
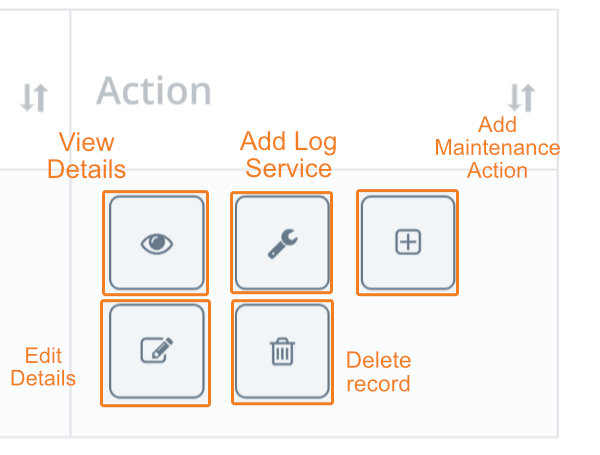
These actions are:
View Plant Details
Add Log Service
Add Maintenance Action
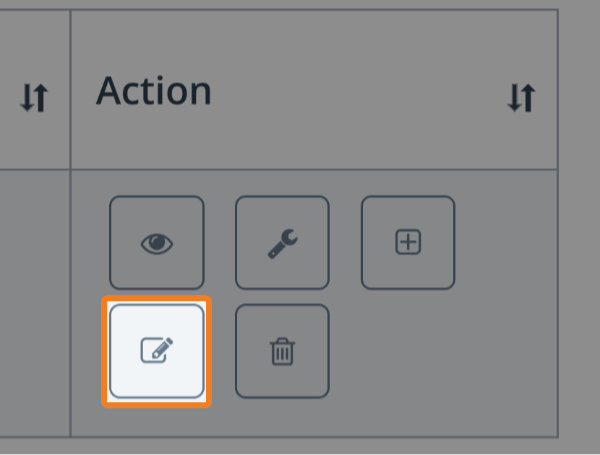
Edit plant
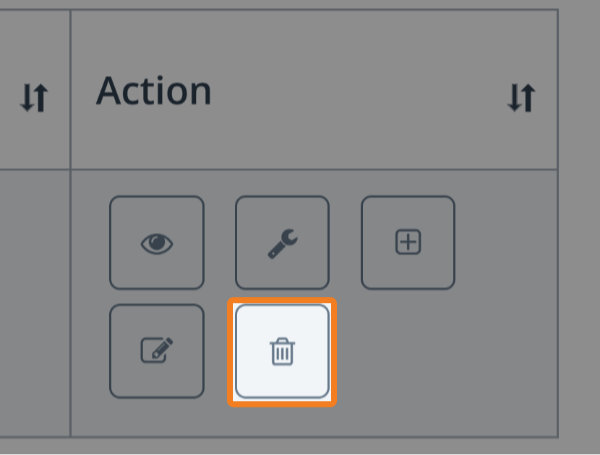
Delete plant
View Plant Details
To view plant details, click on the View Details button:
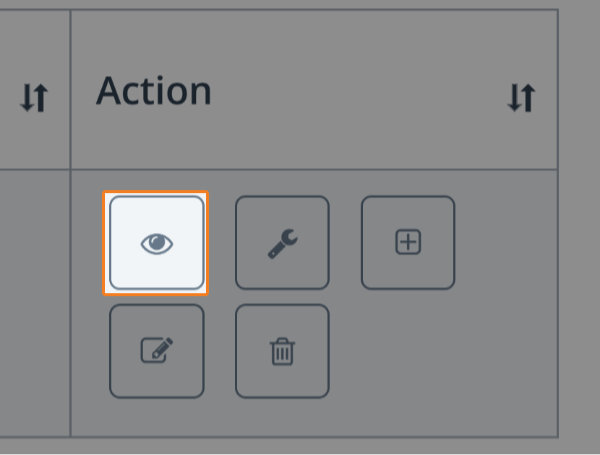
You’ll then see the Plant Details screen:
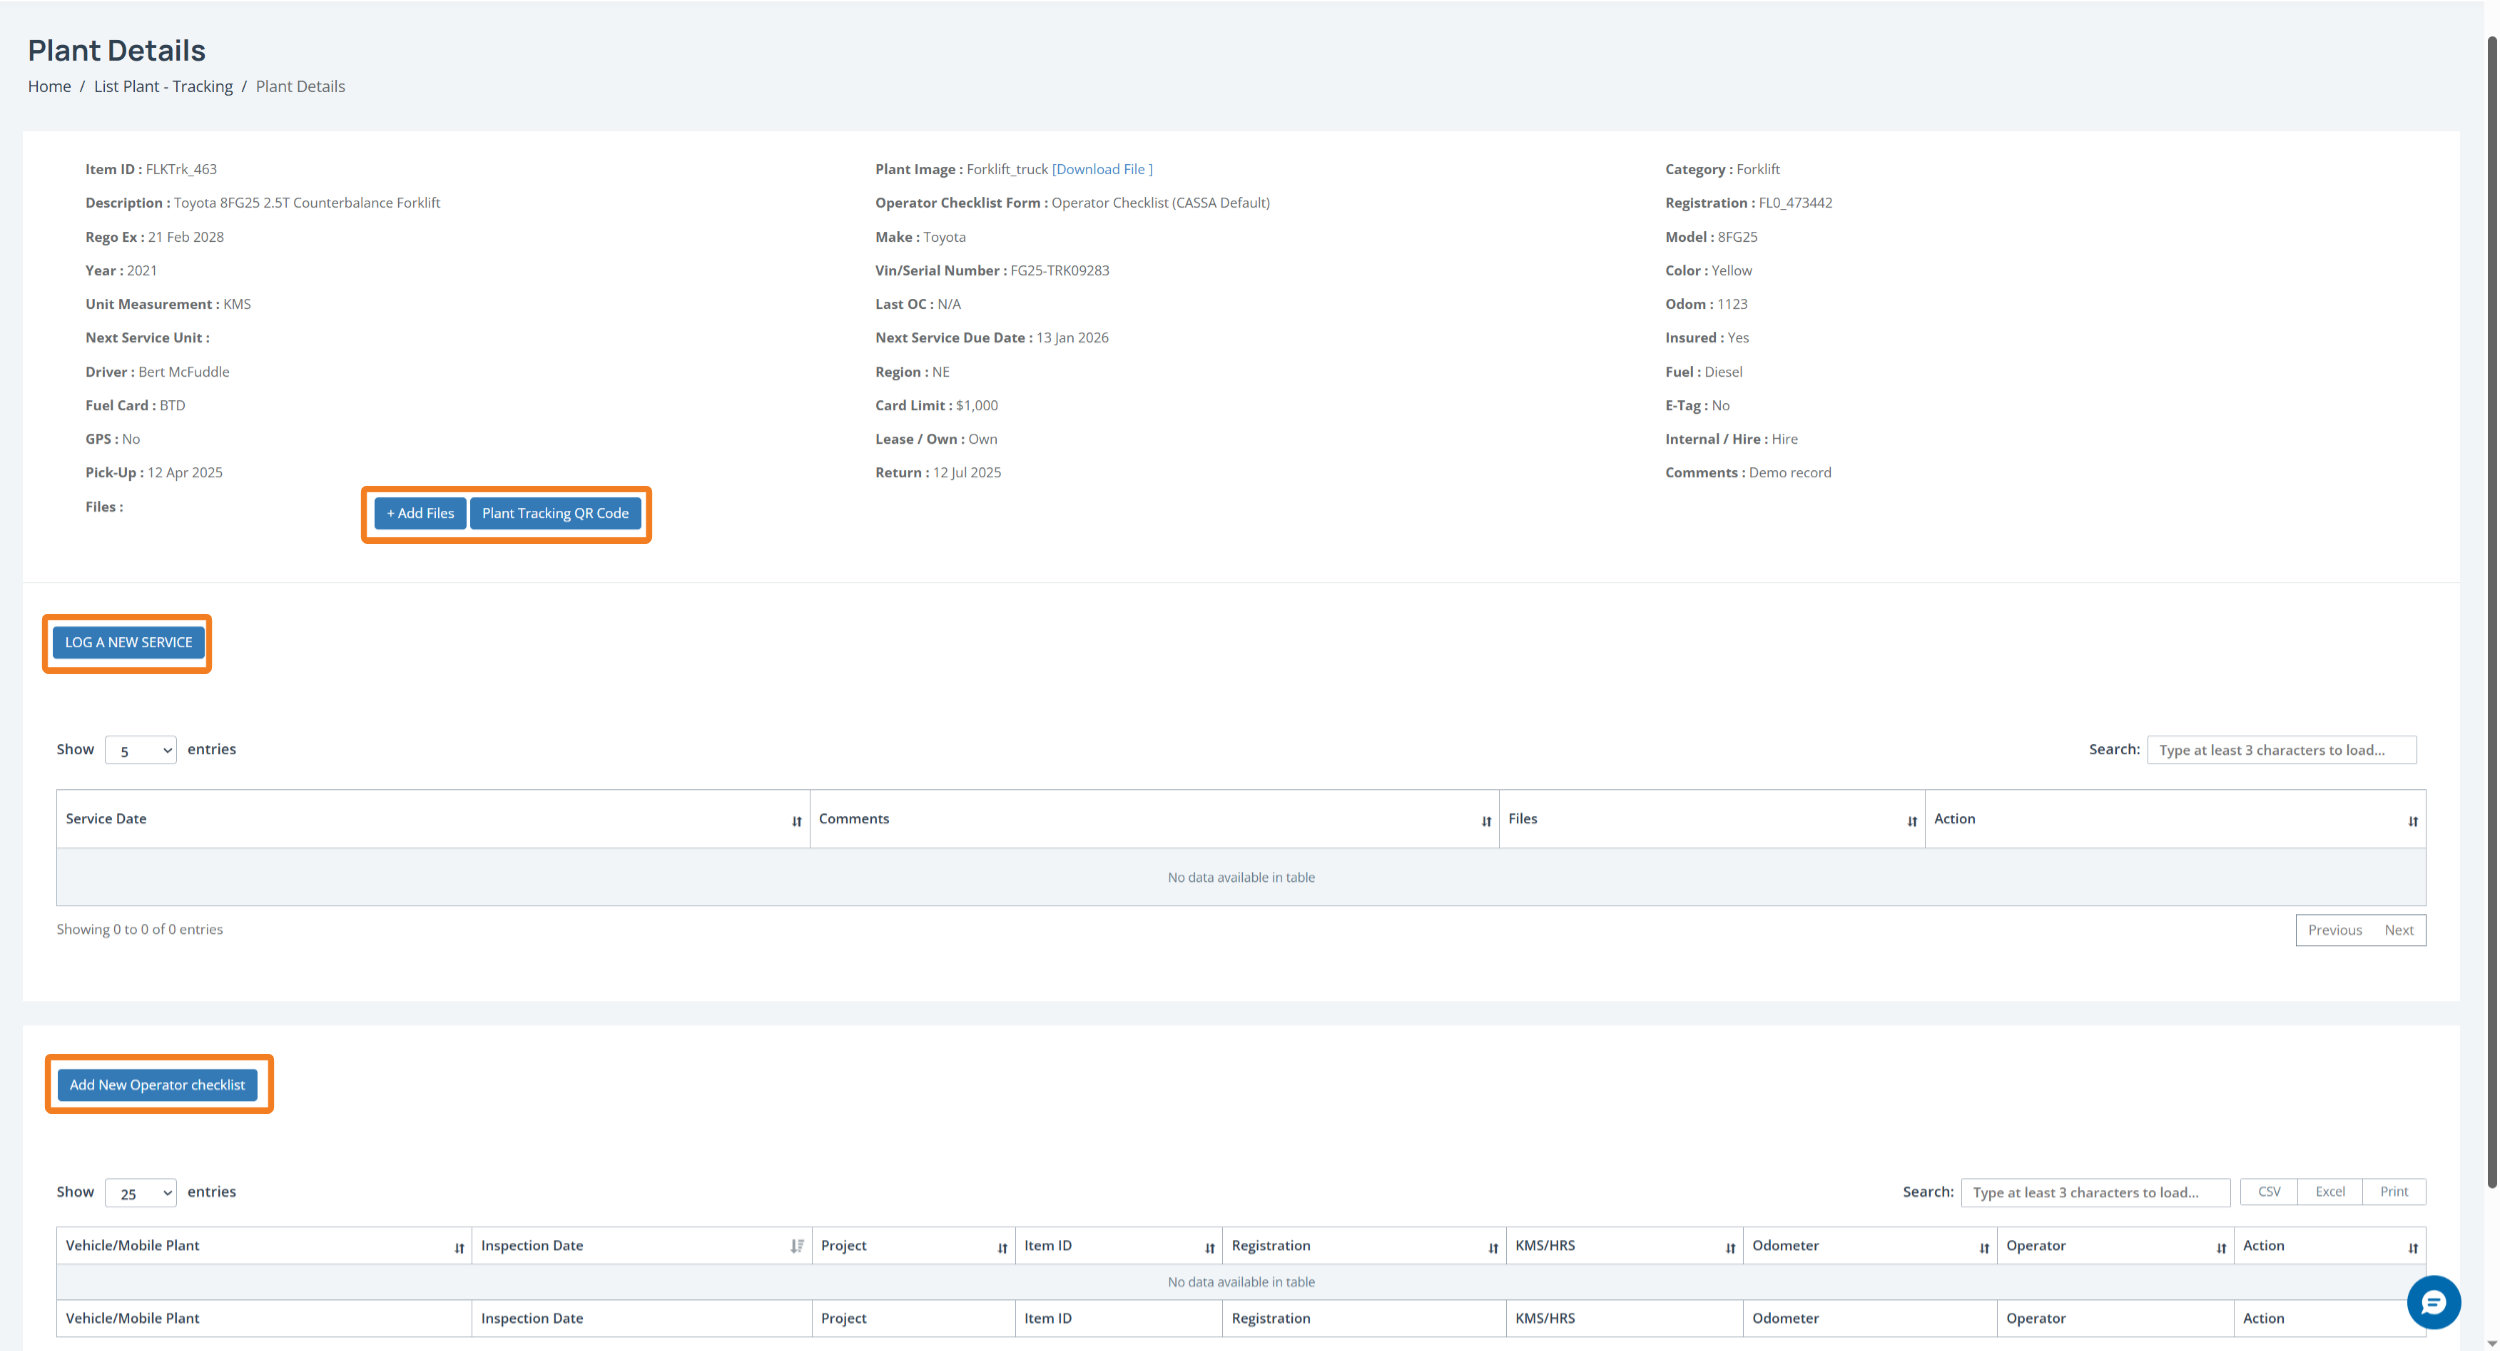
As this is in View mode, you can’t edit any plant details However, as highlighted in the above image, you can perform the following:
Add Plant Files
Get the Plant Tracking QR Code
Log a New Service
Add New Operator Checklist
Add Plant Files
To add plant-related files:
Click on the +Add Files button and you’ll see:
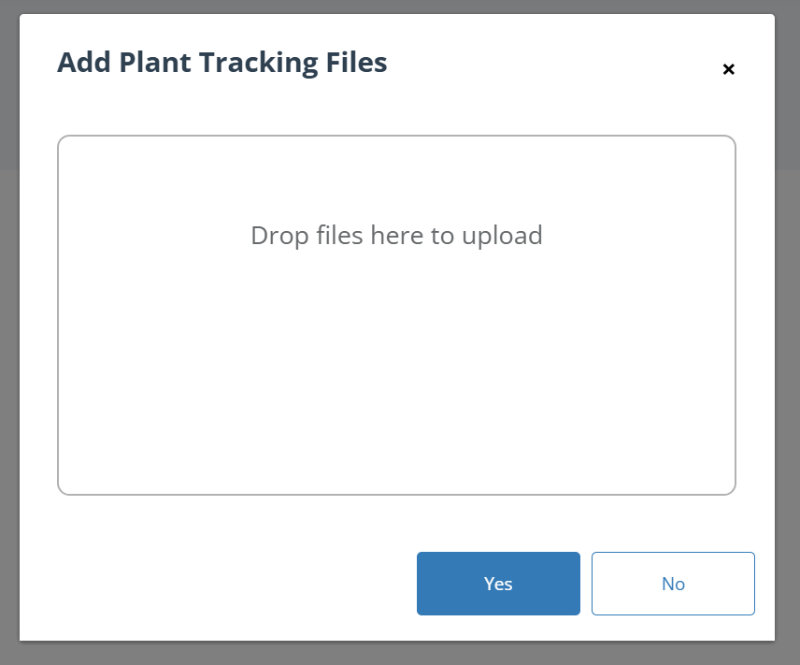
You can either drag-and-drop files from your computer or if you click in the Drop files here… area, the file Open dialog will display where you can navigate to, select your files, and upload them that way.
Once added, click on the Yes button and your files will be uploaded to the plant record.
Get the Plant Tracking QR Code
Click on the Get QR Code button and your Plant Details QR Code will open in a new tab:
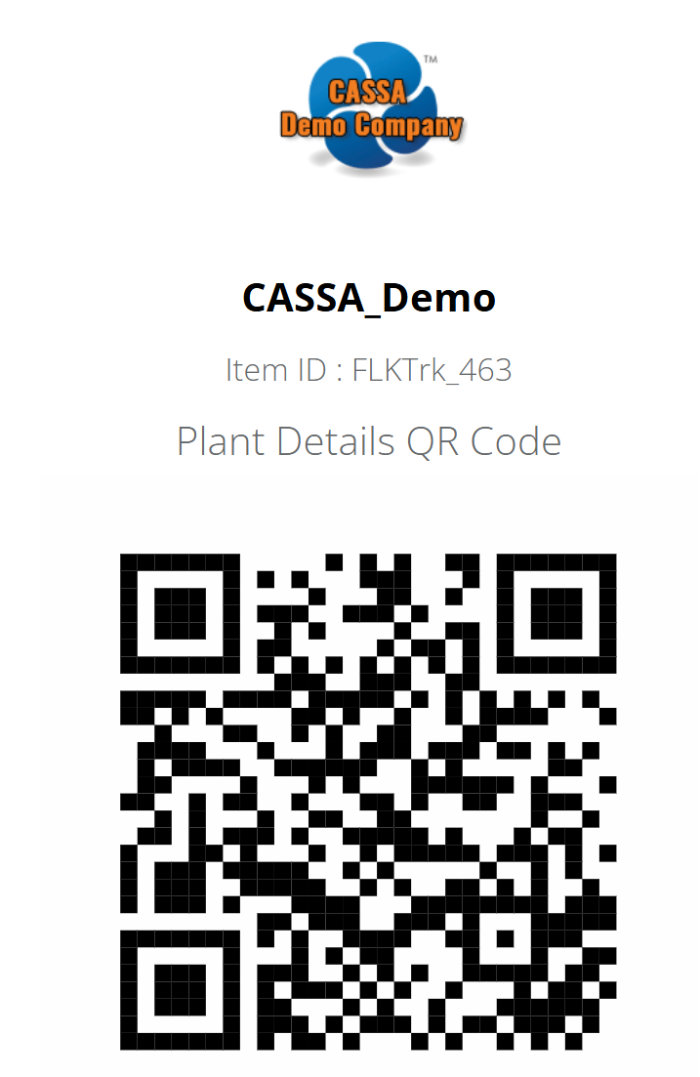
You can save this image to your device or scan it in the normal fashion.
Add Log Service
To add/log a new service:
Click on the Log a New Service button and the Add Log Service dialog box will display:
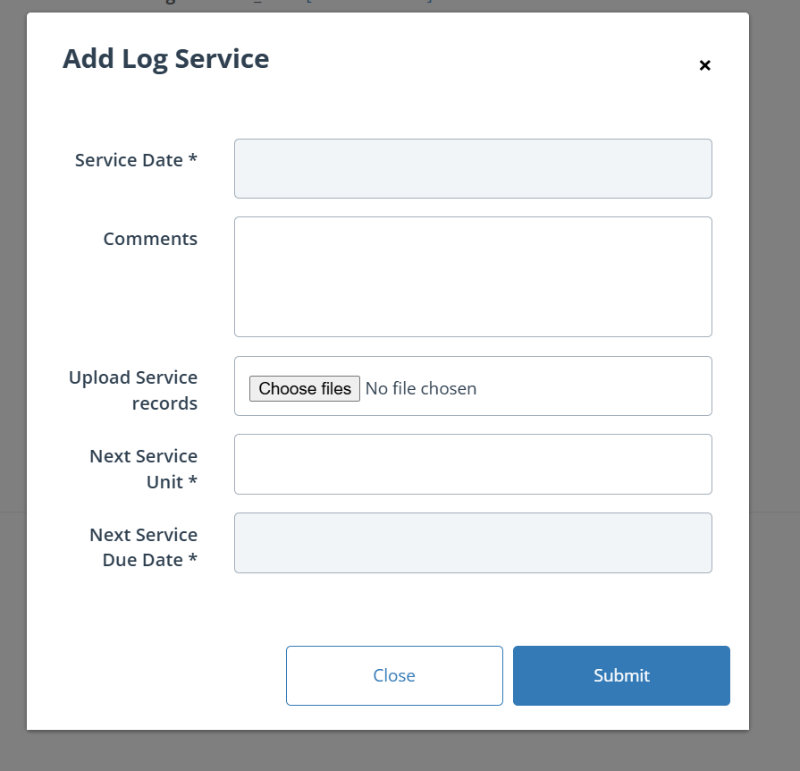
2. Here you add your: Service Date, any Comments, your Next Service Unit, Next Service Due Date, and can upload any service records.
3. When complete, click on the Submit button to close the dialog box and return to the plant details grid where you’ll see your log service added:

Edit plant
To edit the plant record:
Click on the Edit button of the record you wish to edit
The record will open in Edit mode:
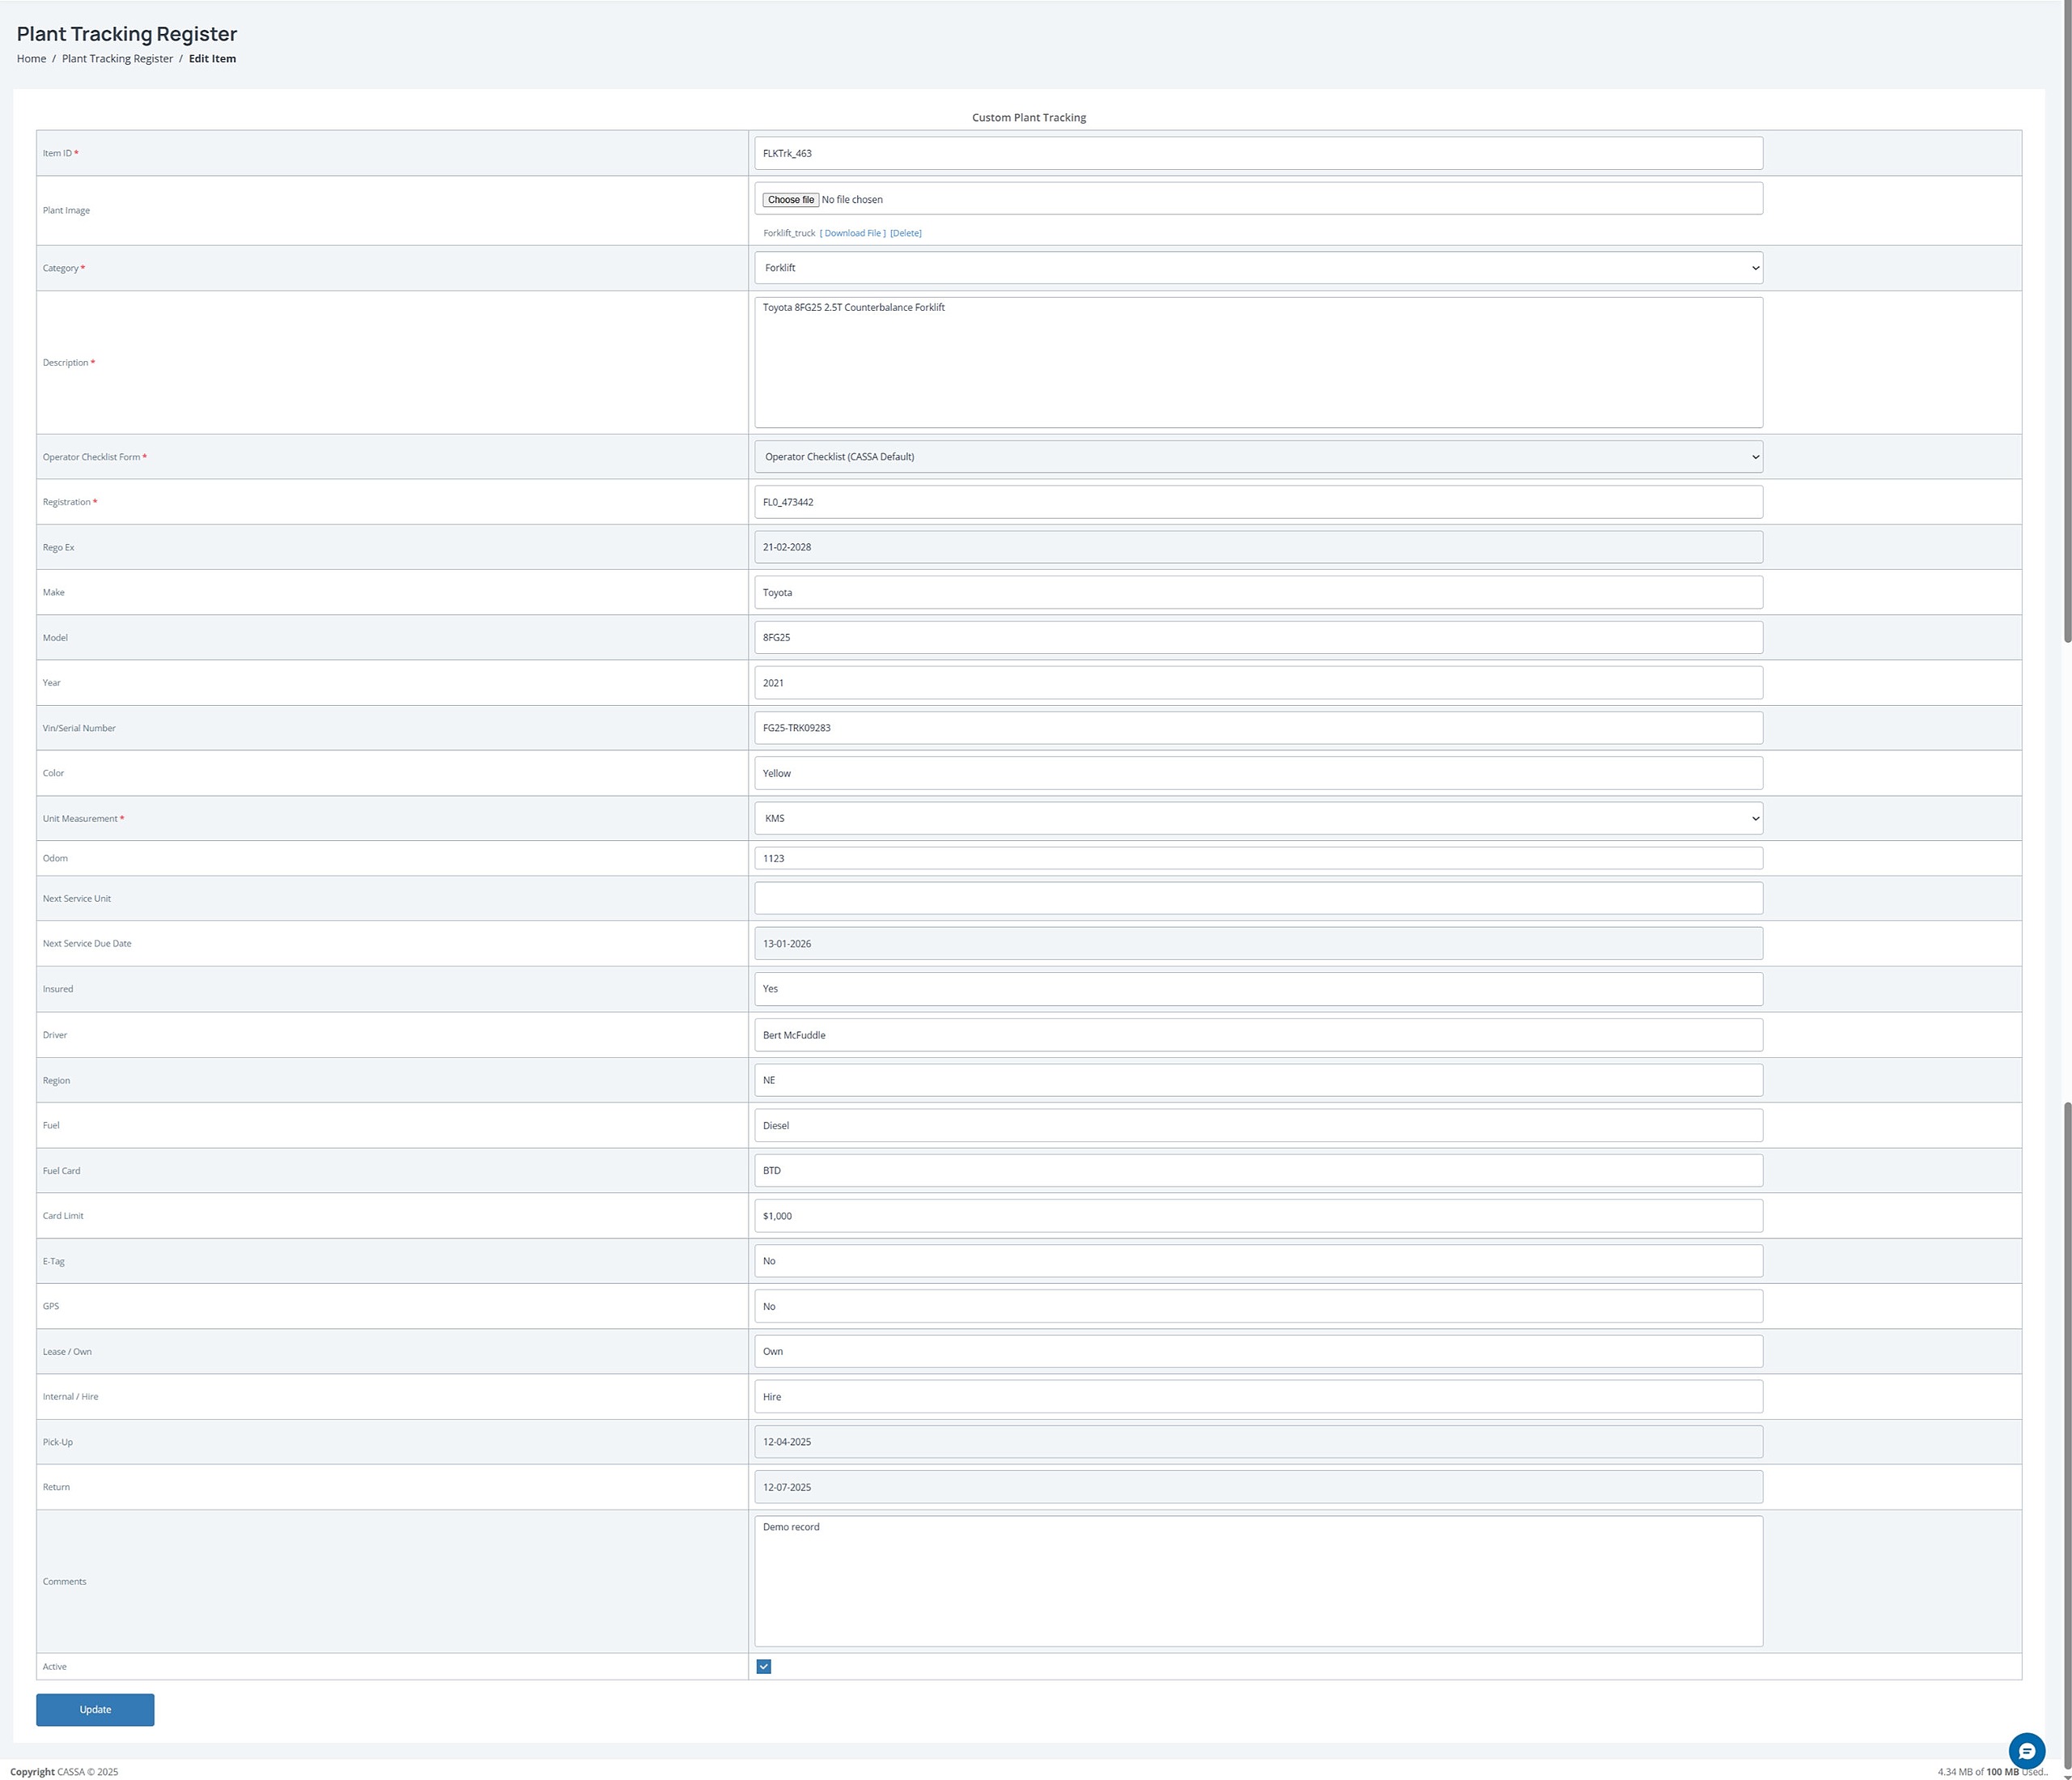
Here you can edit all your plant details.
When complete, click on the Update button and your changes will be saved, the screen will refresh, and the record updated.
Delete Plant
To delete a plant record:
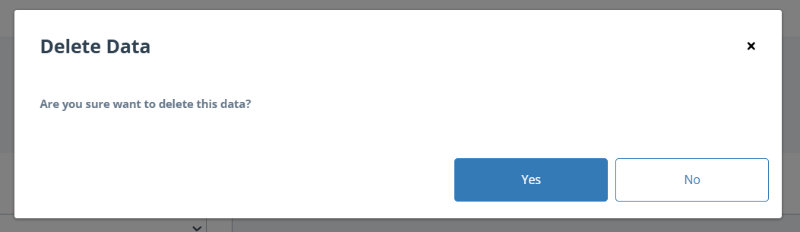
Identify the record you wish to delete and then click on the Delete button:
A confirmation notice will display. Click on Yes to delete the record. The dialog box will close, the screen will refresh, and the record will be deleted from the grid.