Here's a quick walkthrough of how to add a non-conformance item:
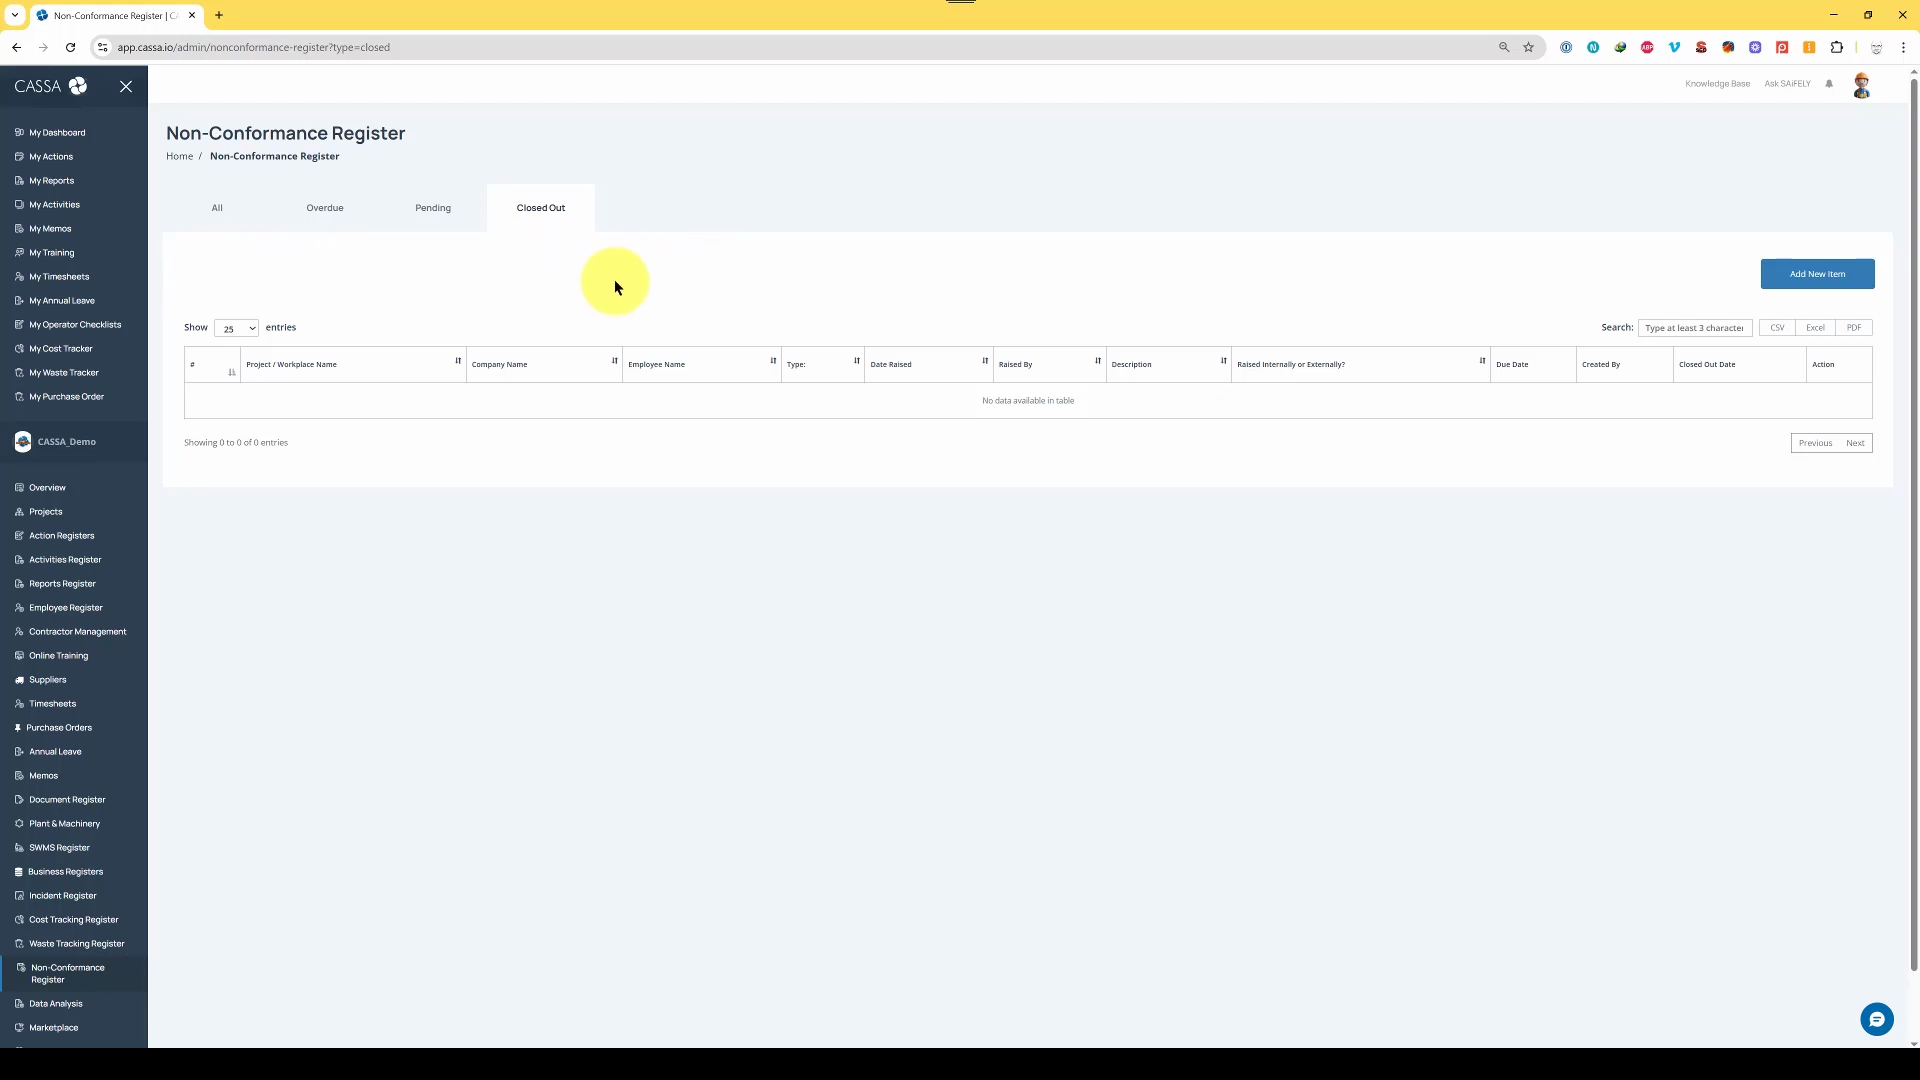
In the navbar, scroll down until you can see the Non Conformance Register, and left-click to open it.
To add a new non-conformance item, click on the Add New Item button.
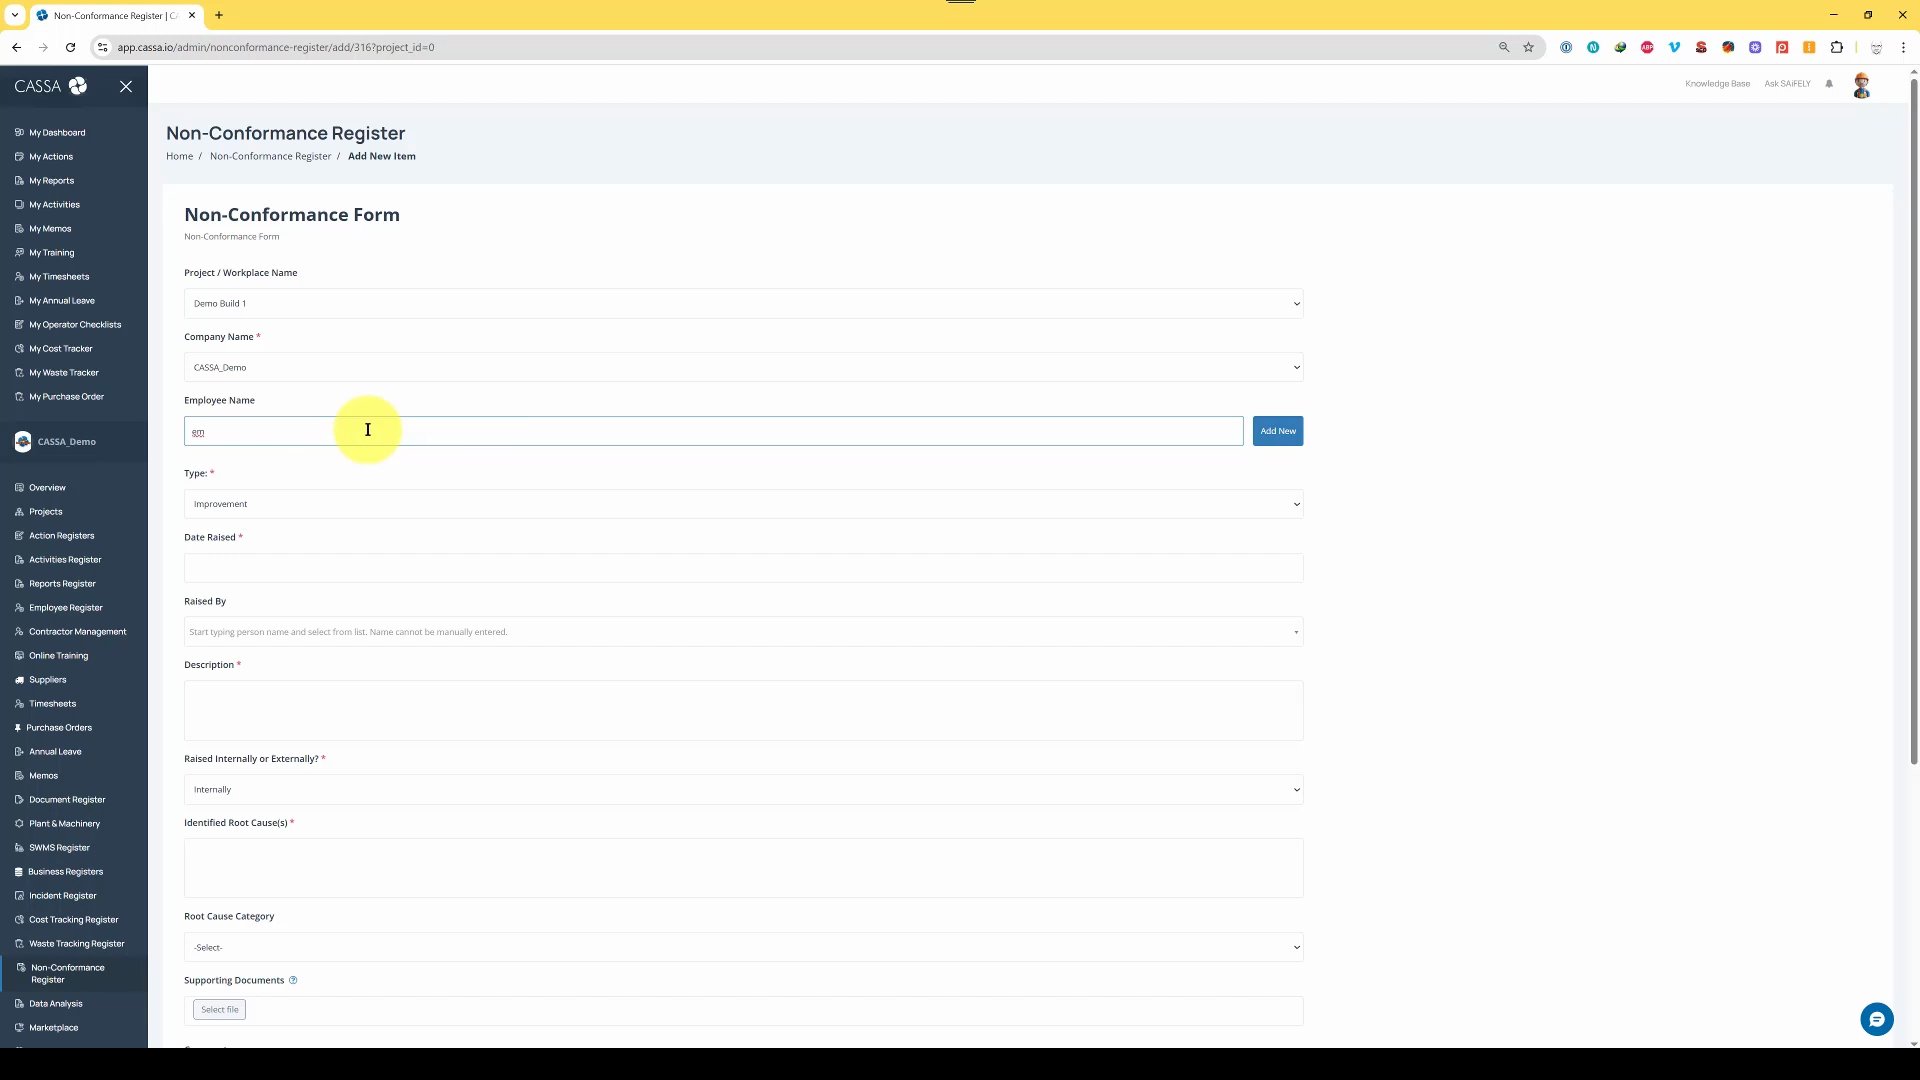
You will be presented with the non-conformance form. Start by selecting your project, for example, Demo Build One, then enter the company and the employee name related to the non conformance.
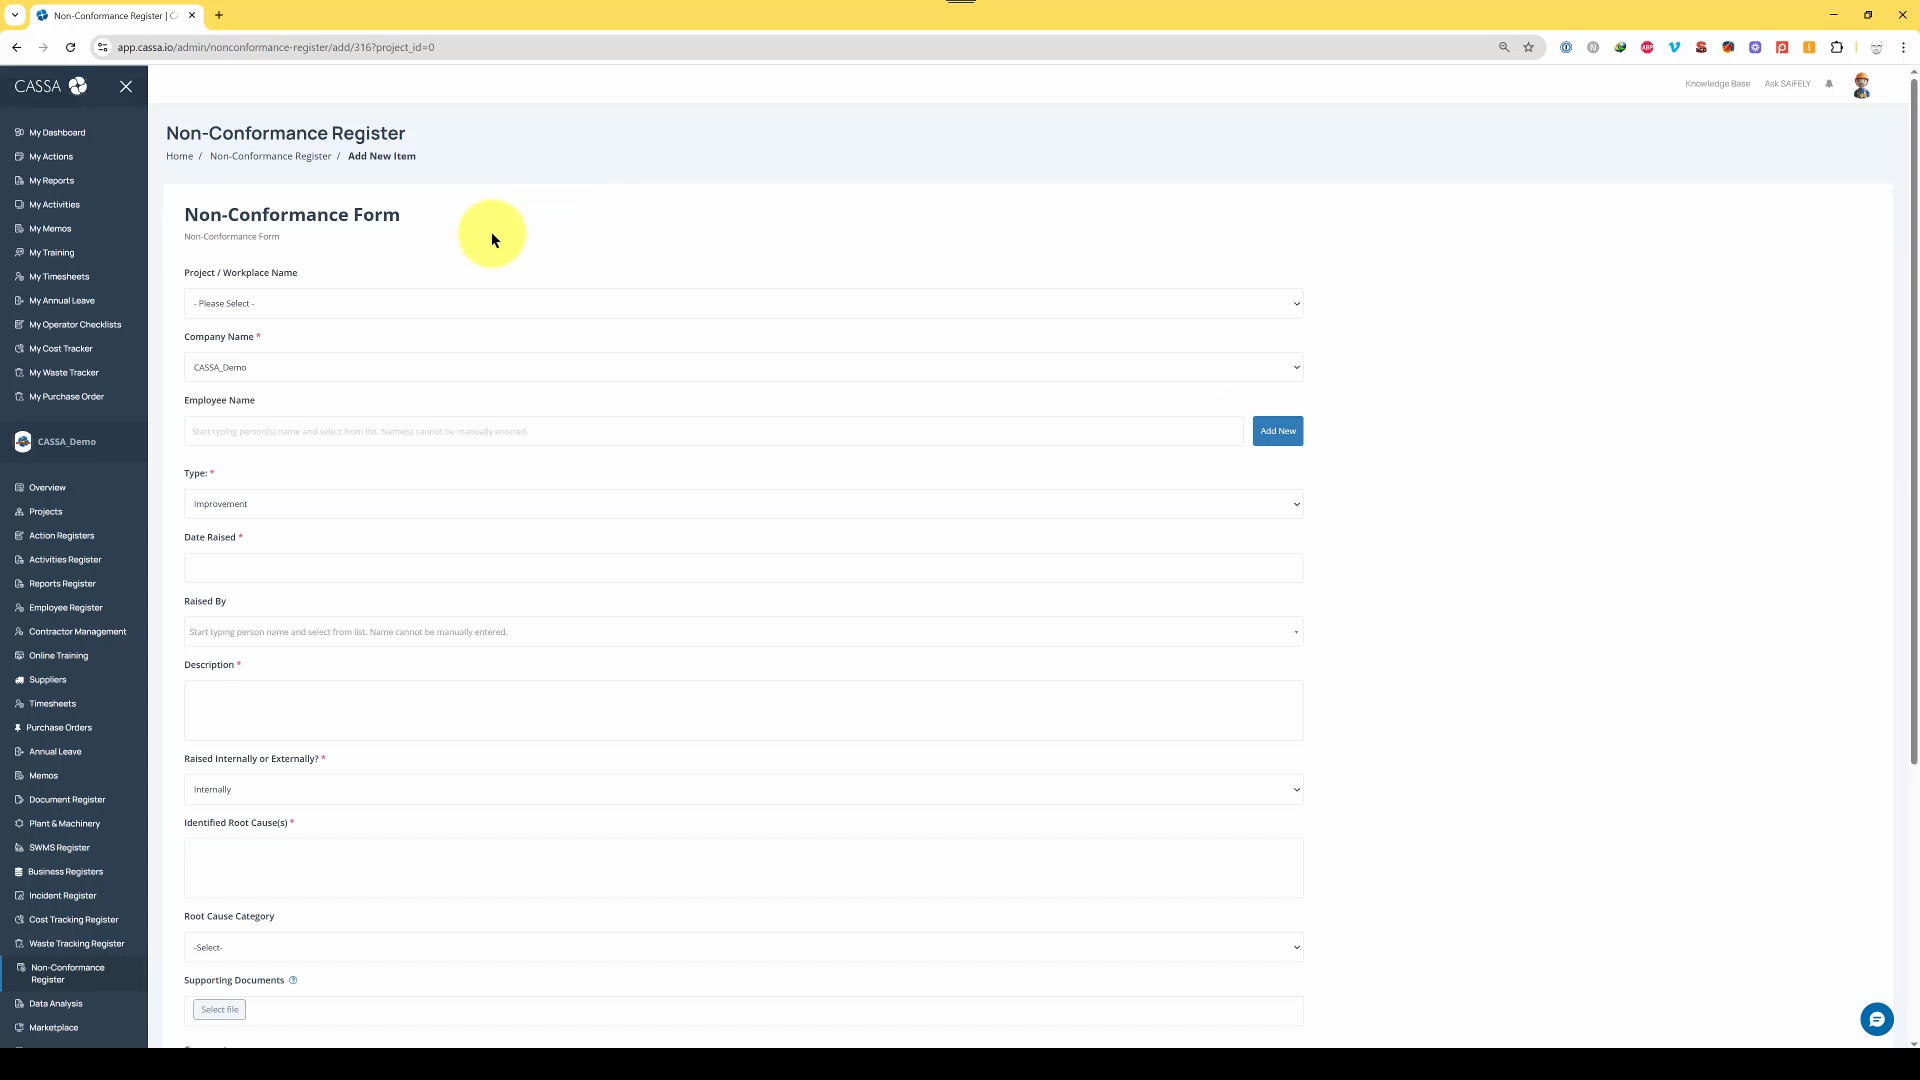
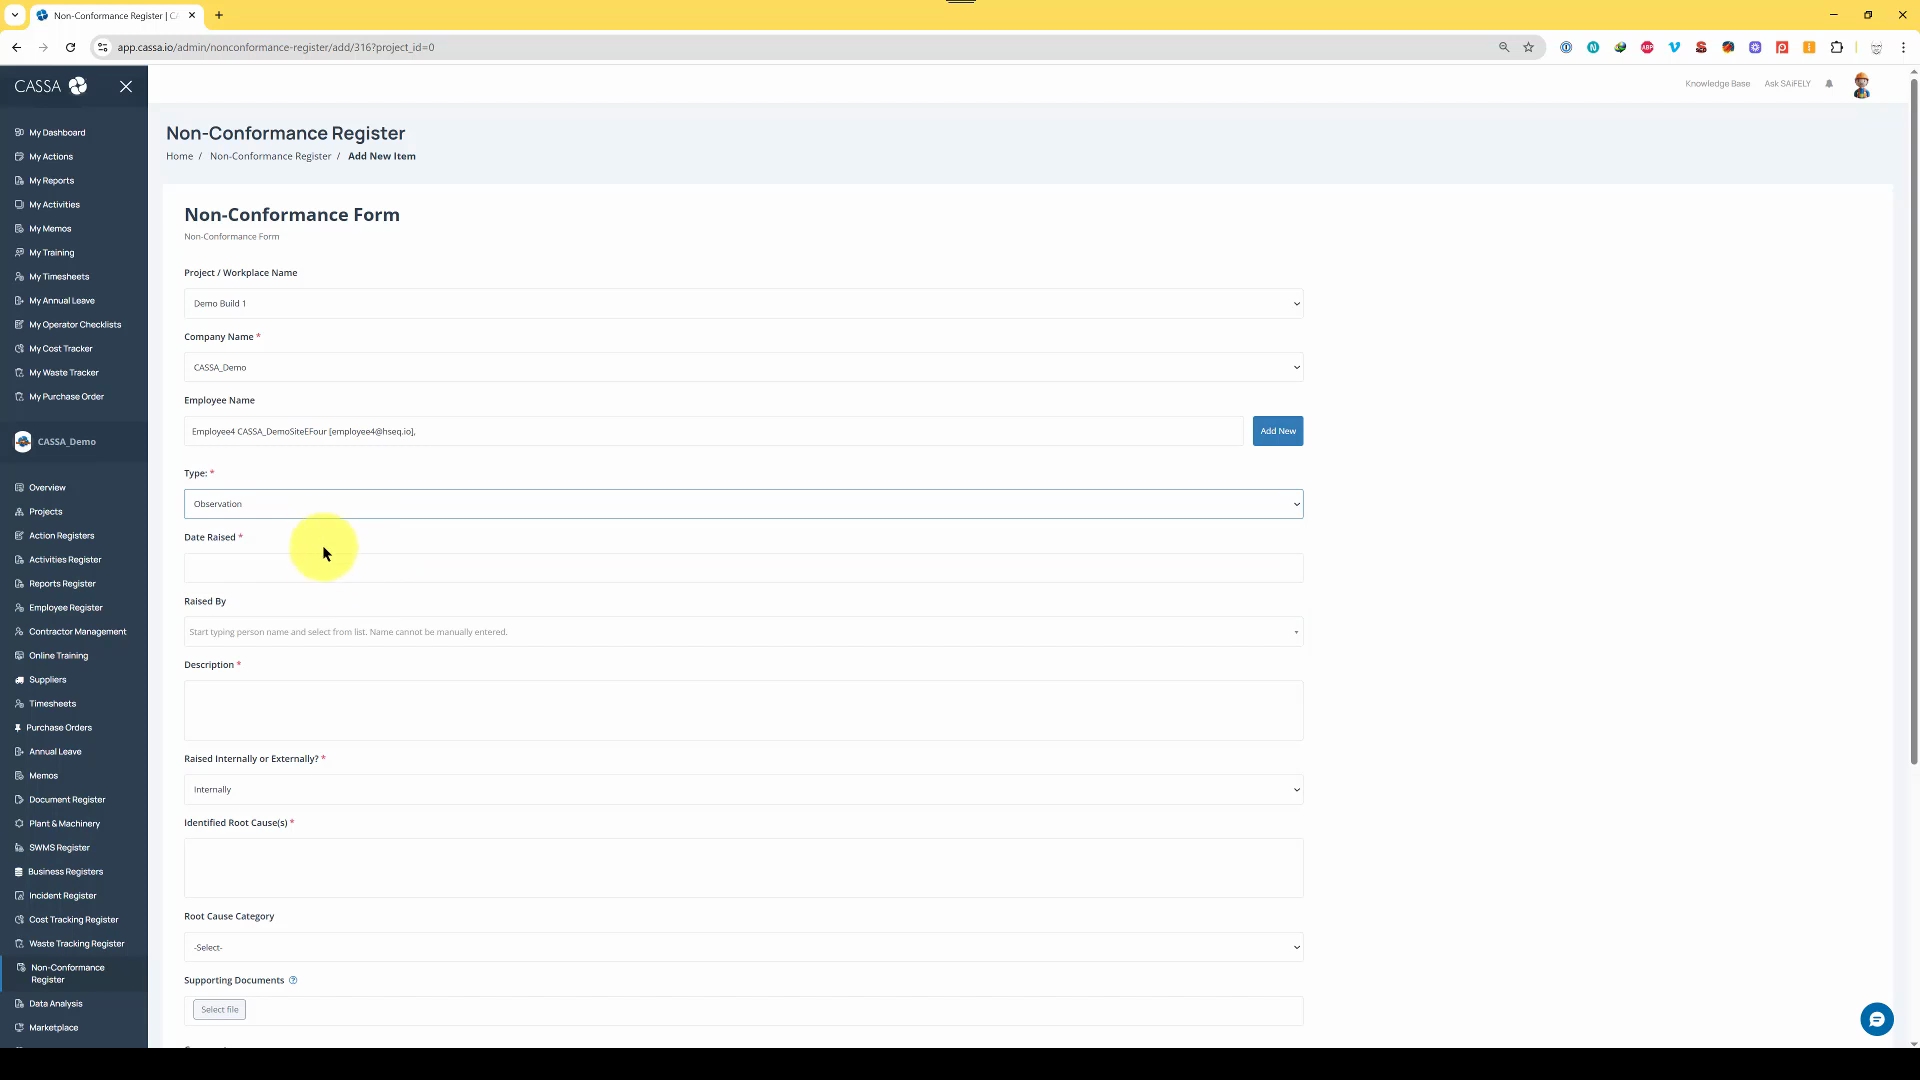
Begin typing the employee's name and then select the type of non-conformance. In this case, I chose Observation.
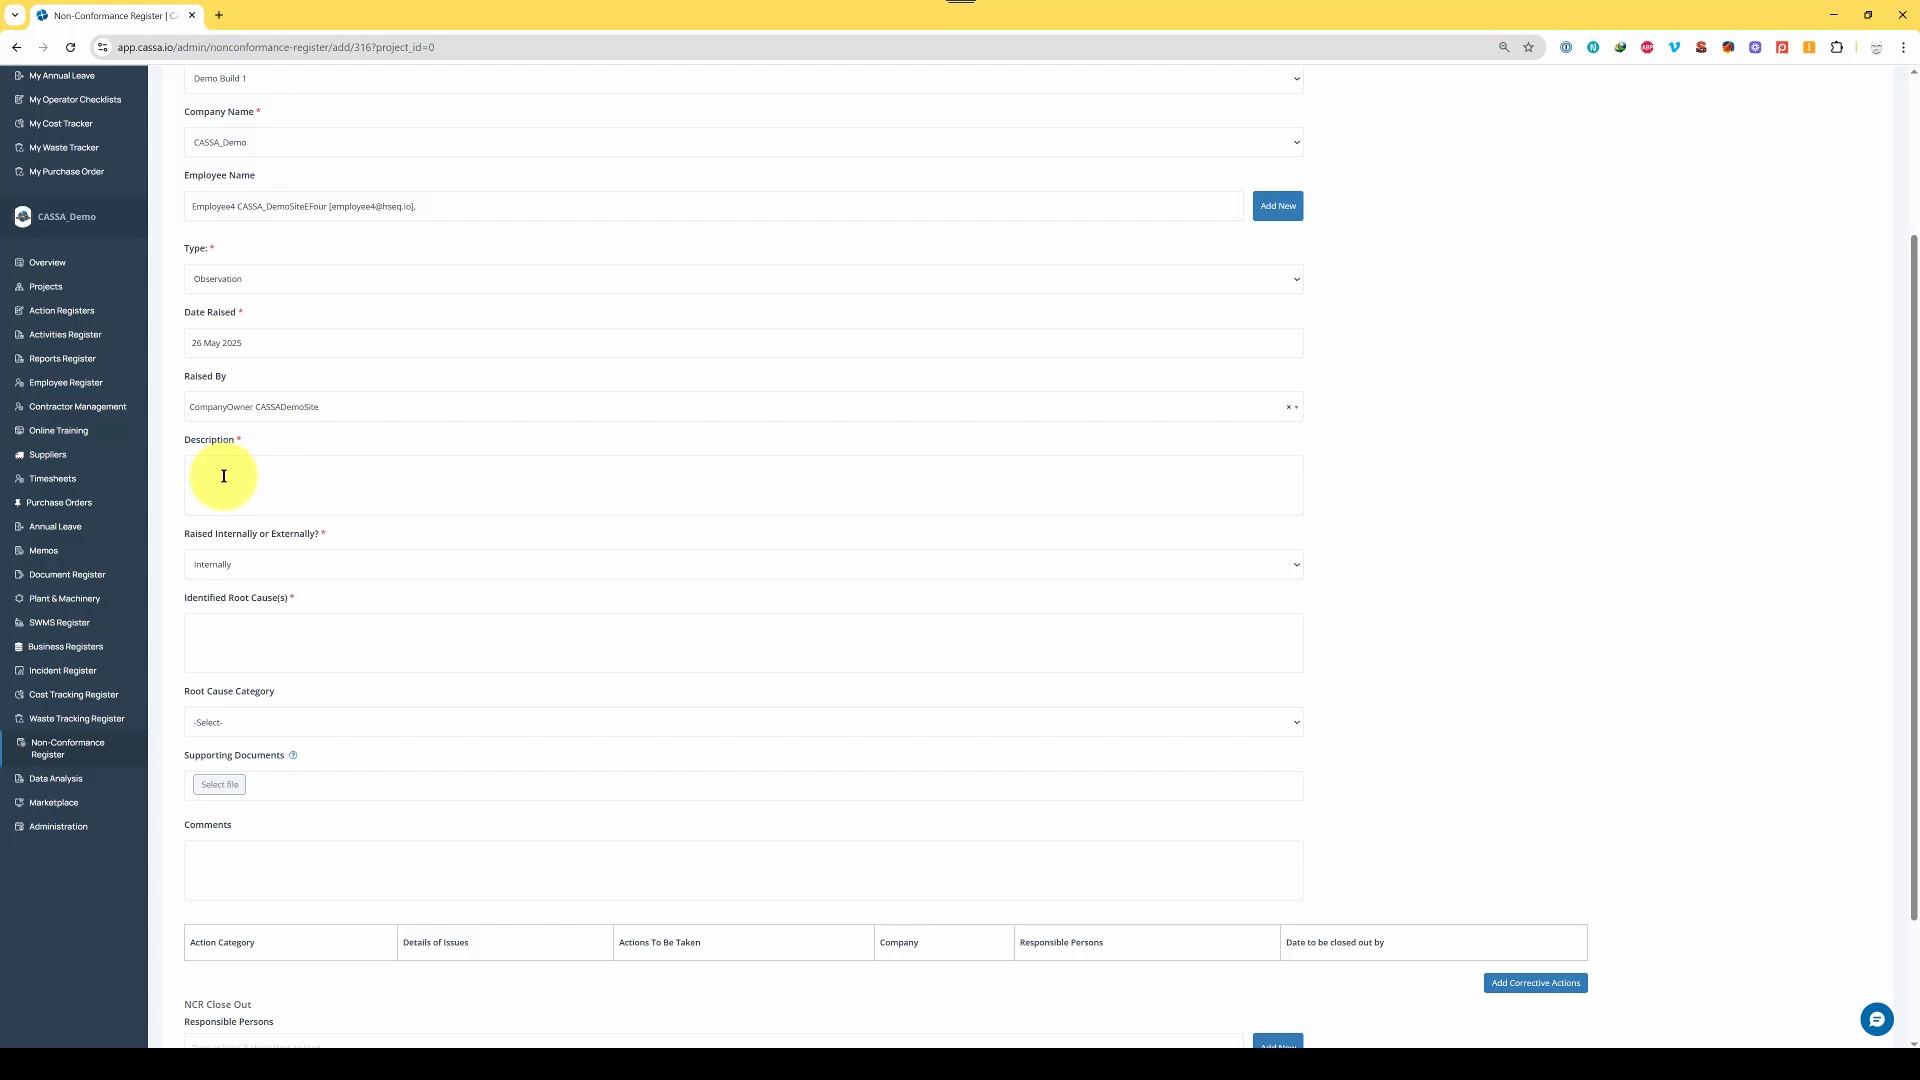
Next is to select the date raised using the date picker, and specify the person raising the non-conformance, which in this case is the Company Owner.
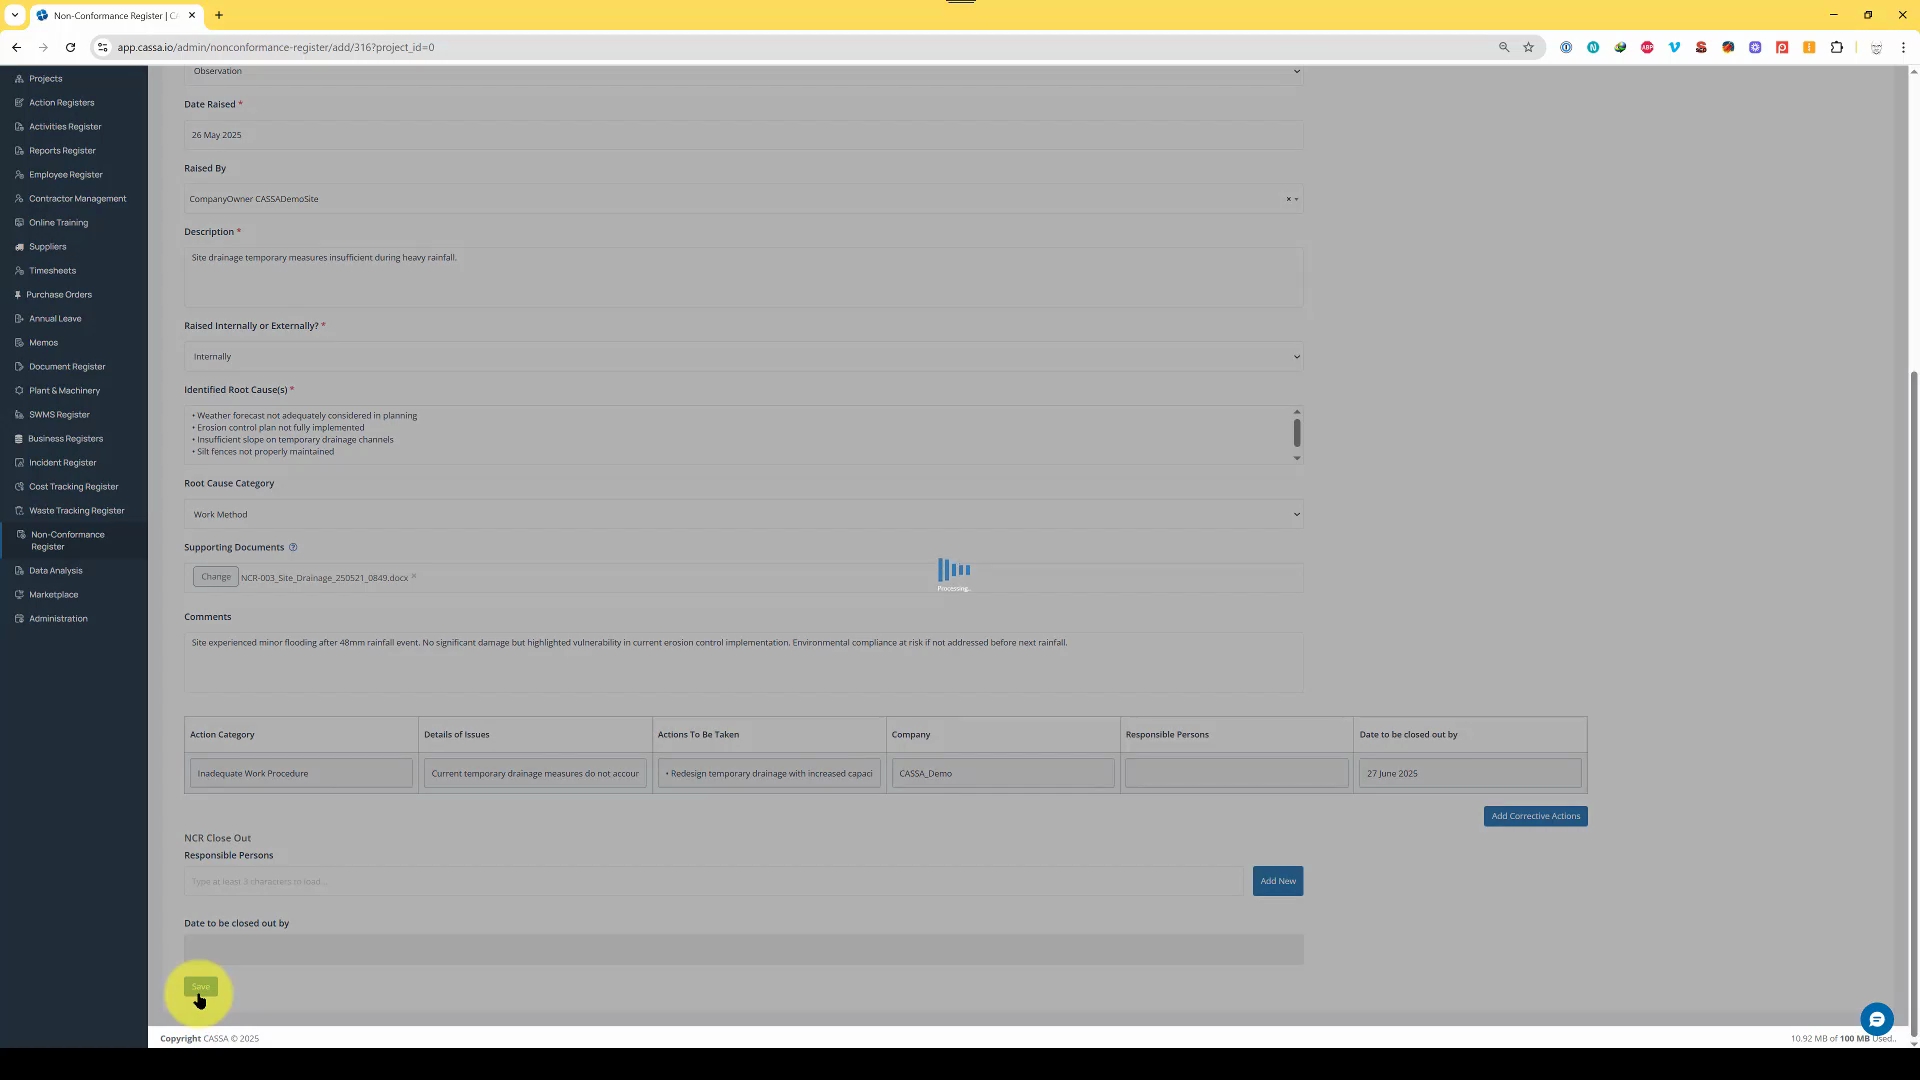
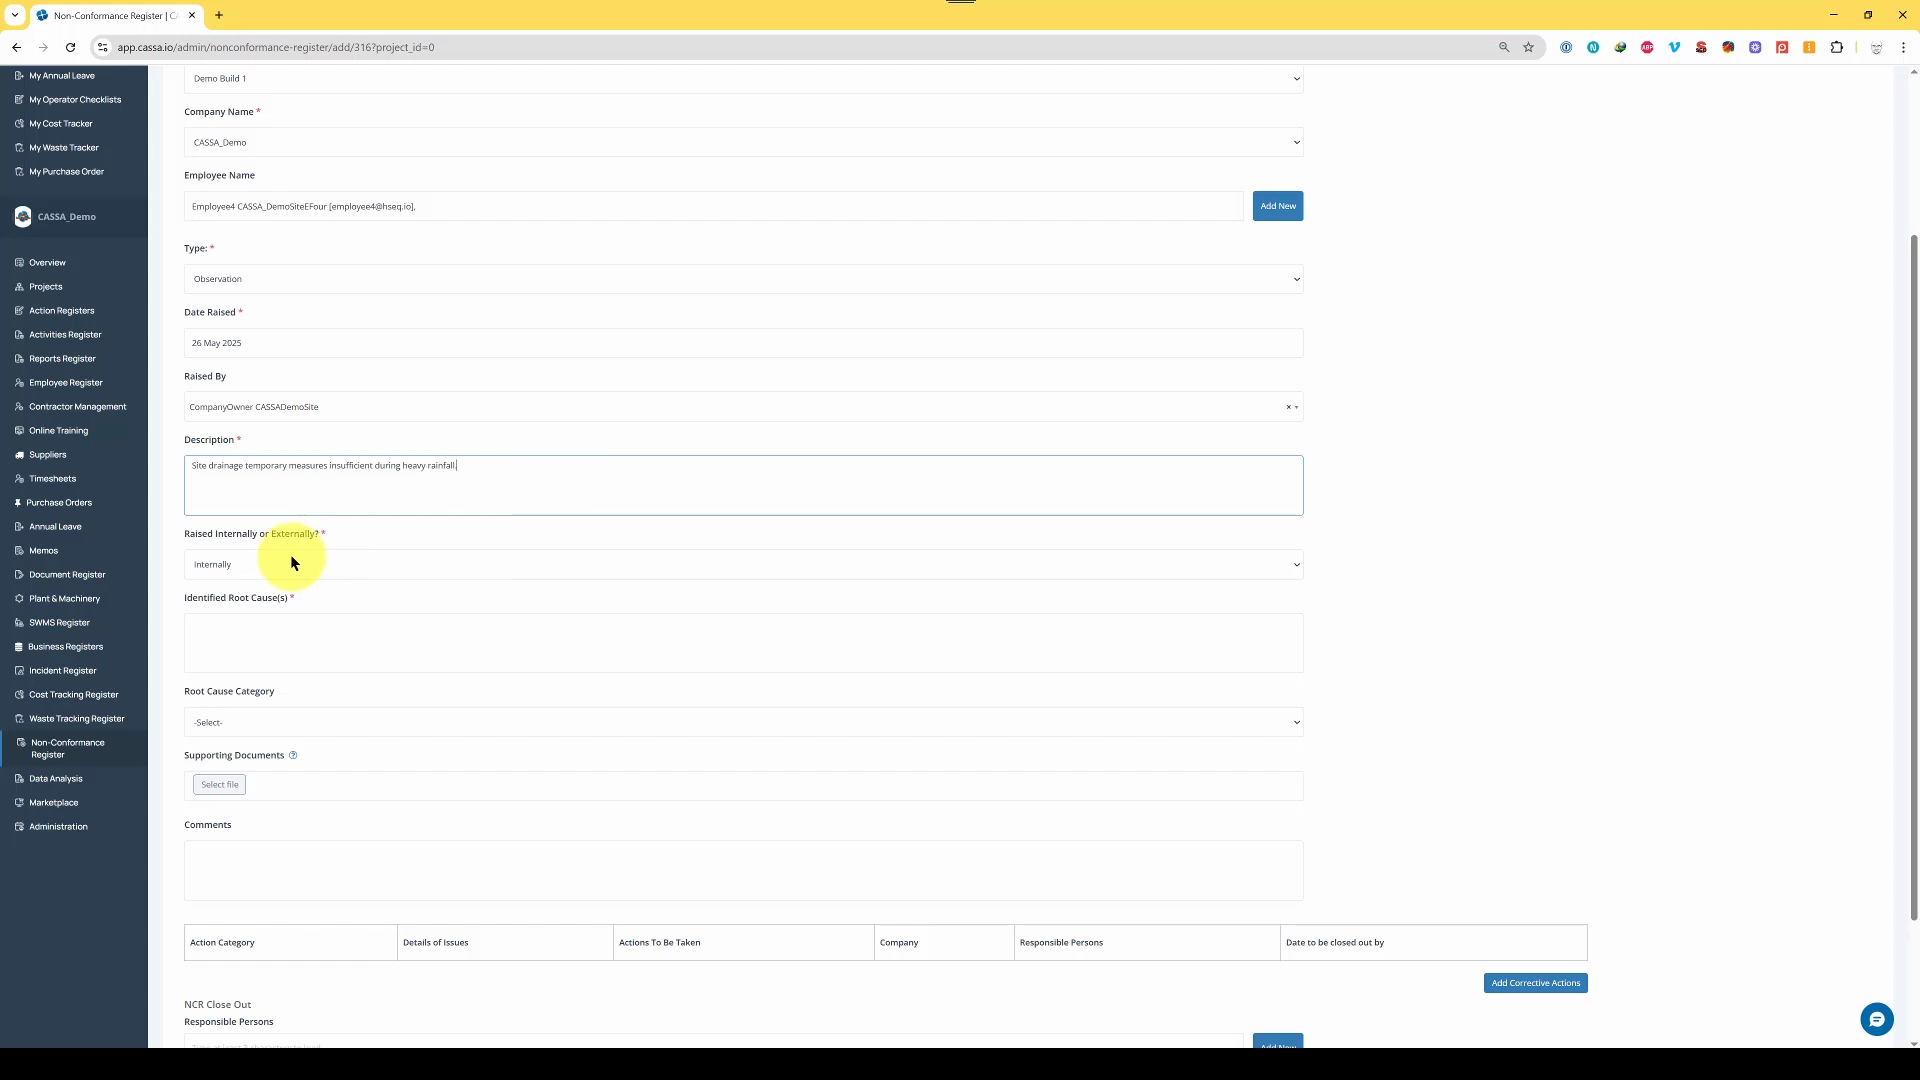
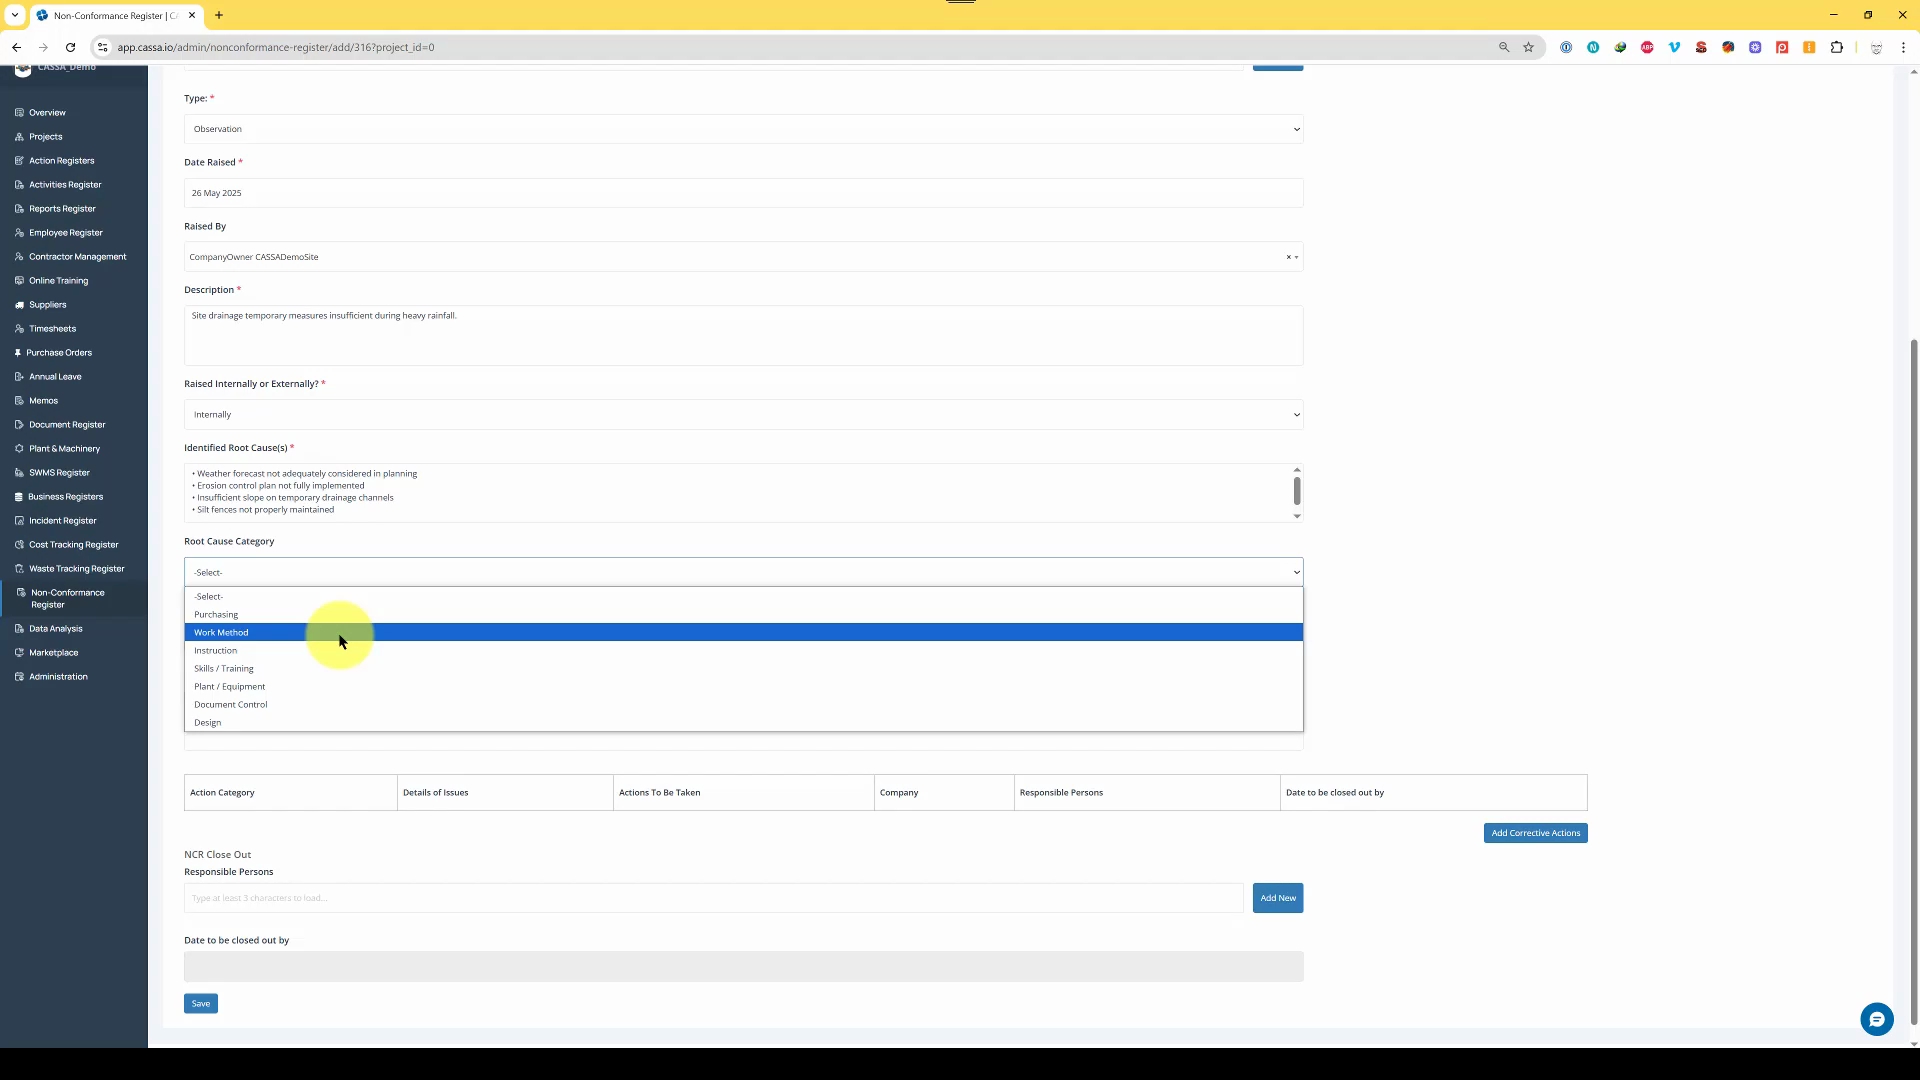
In the description, add a description of the observation. For instance: Site drainage temporary measures insufficient during heavy rainfall.
Next, select whether the non-conformance was raised internally or externally:
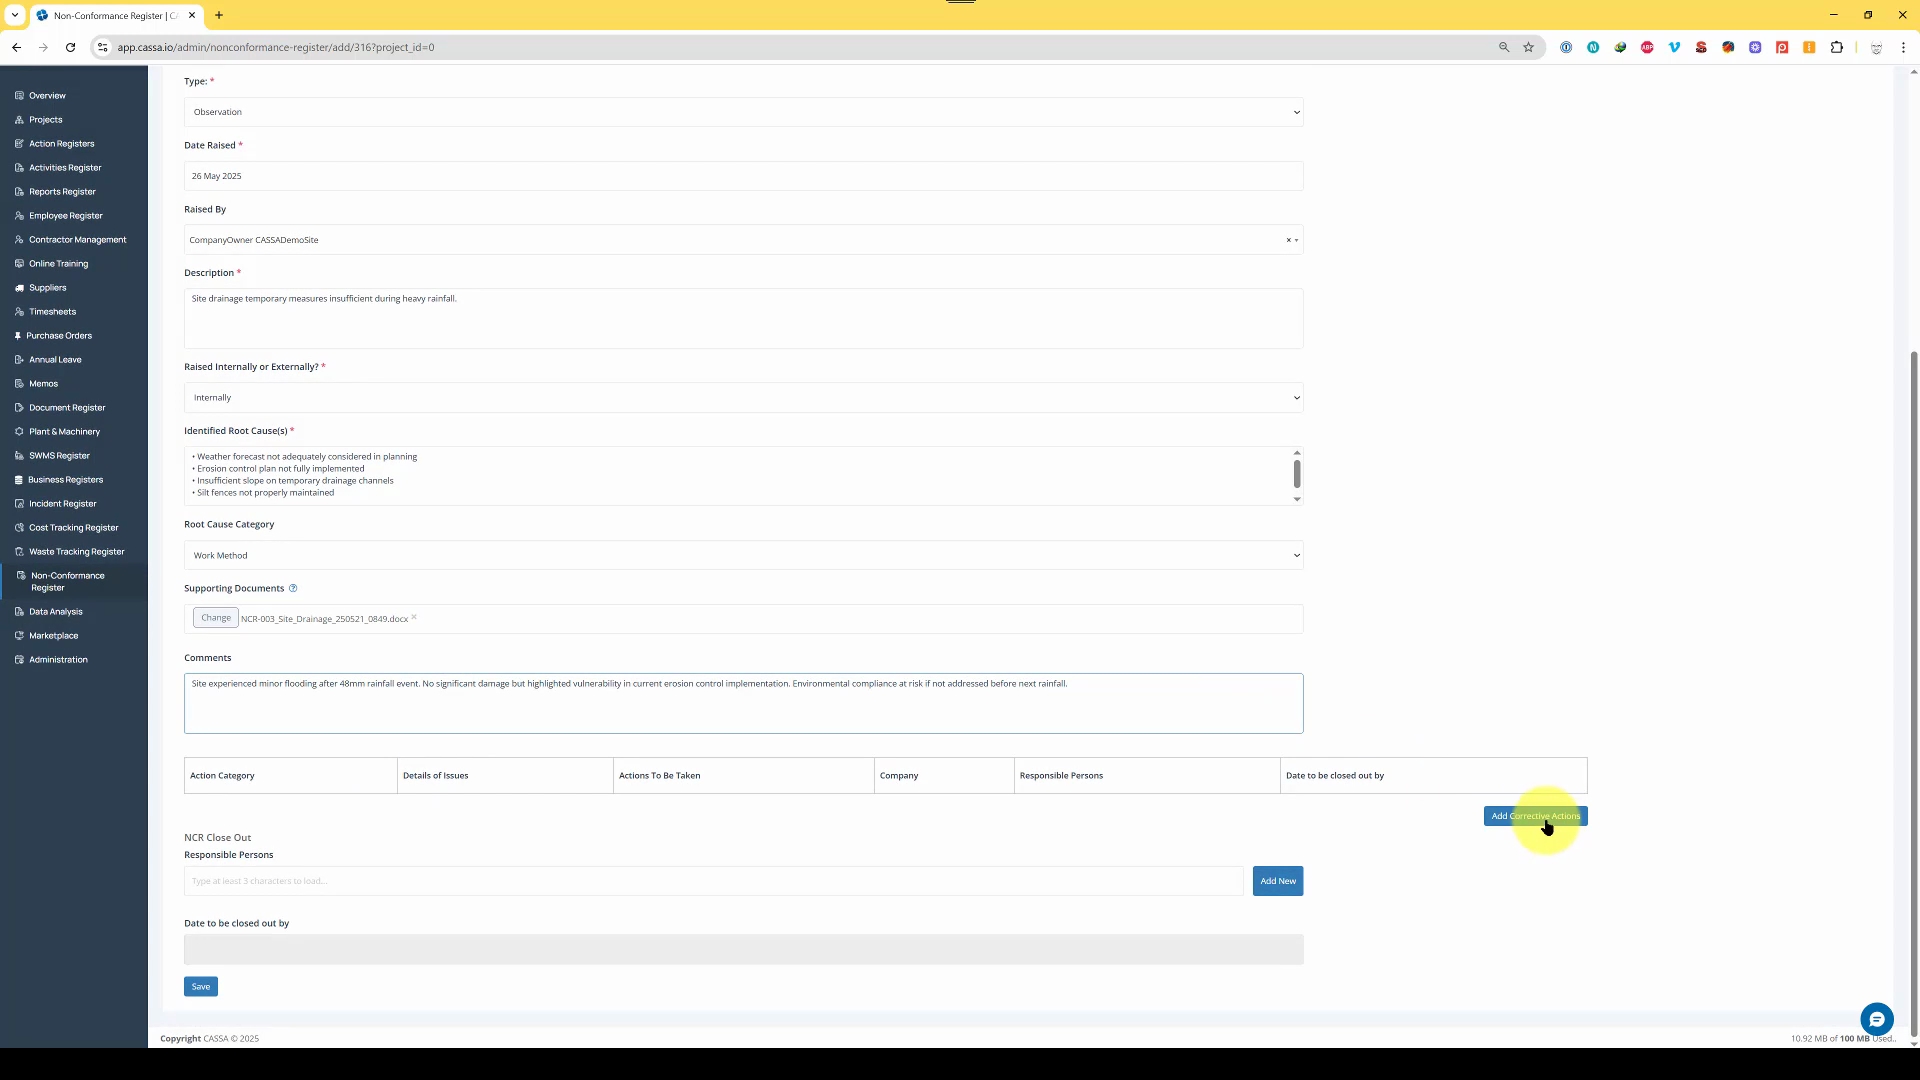
Then add the identified root causes, and then select the Root Cause Category:
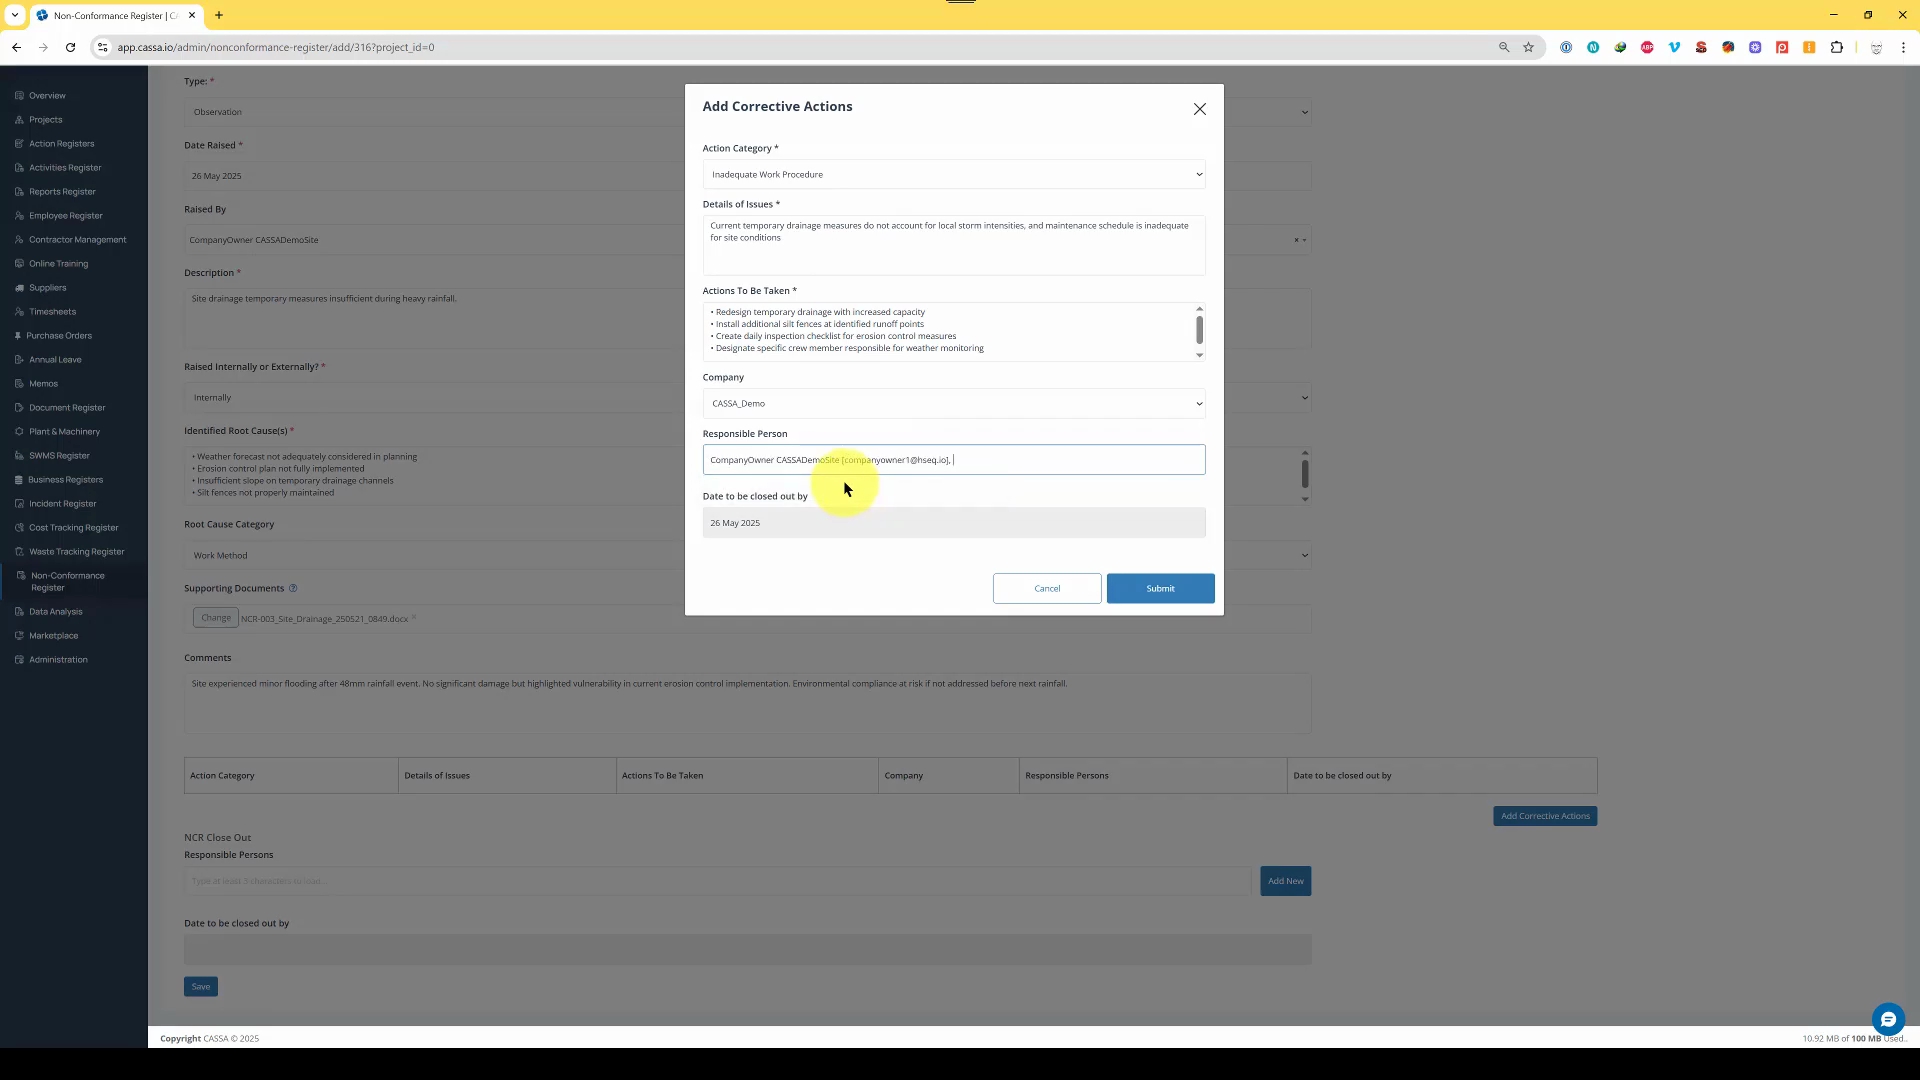
Upload any supporting documents and then click on the Add Corrective Actions button to include the required actions. Note the details of the issue and the actions to be taken.
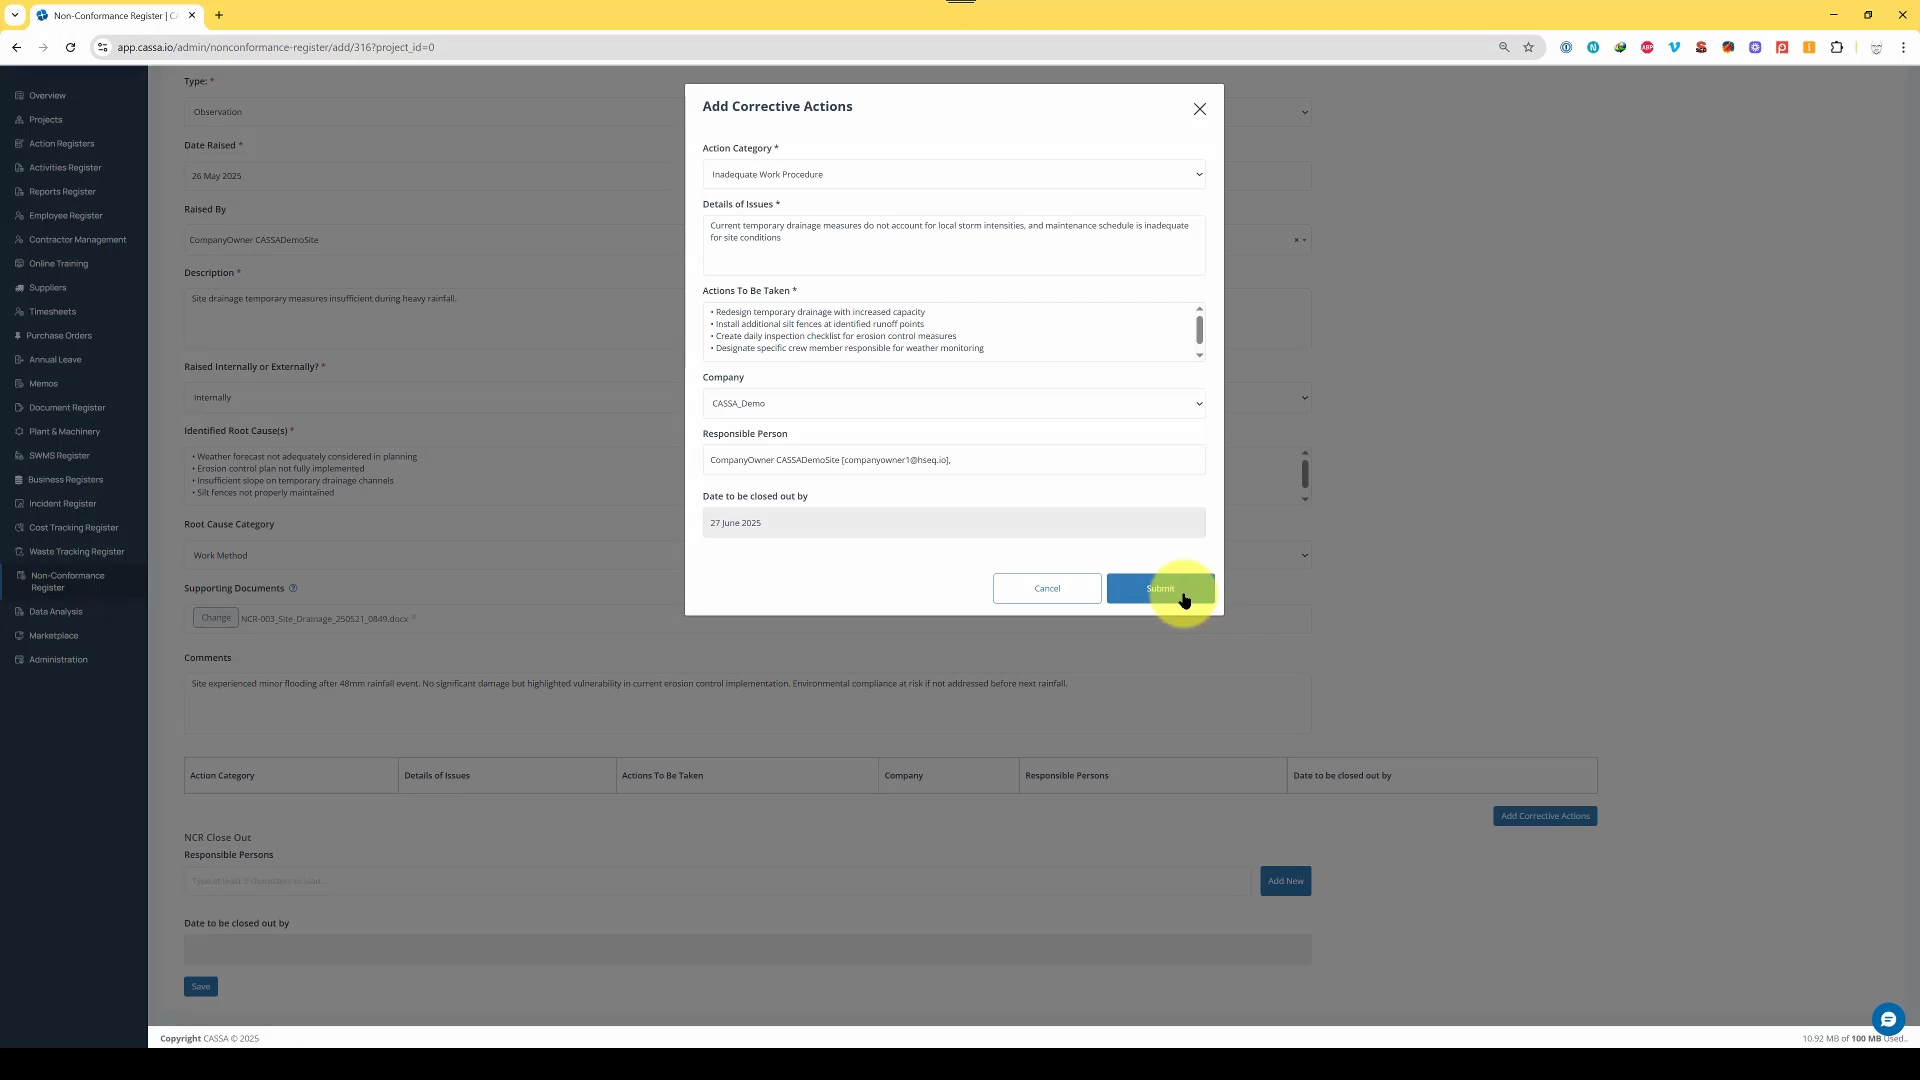
Designate the responsible person, which in this case is again the Company Owner, and then set a date for closure using the date picker.
Finally, click on the Submit button.
At this point, the corrective action has now been added. If this is a new NCR then you can leave the NCR closeout open for review.
Click on the Save button, and after a few moments, you will be taken back to the non-conformance grid and will see a confirmation that the new item has been added successfully.